
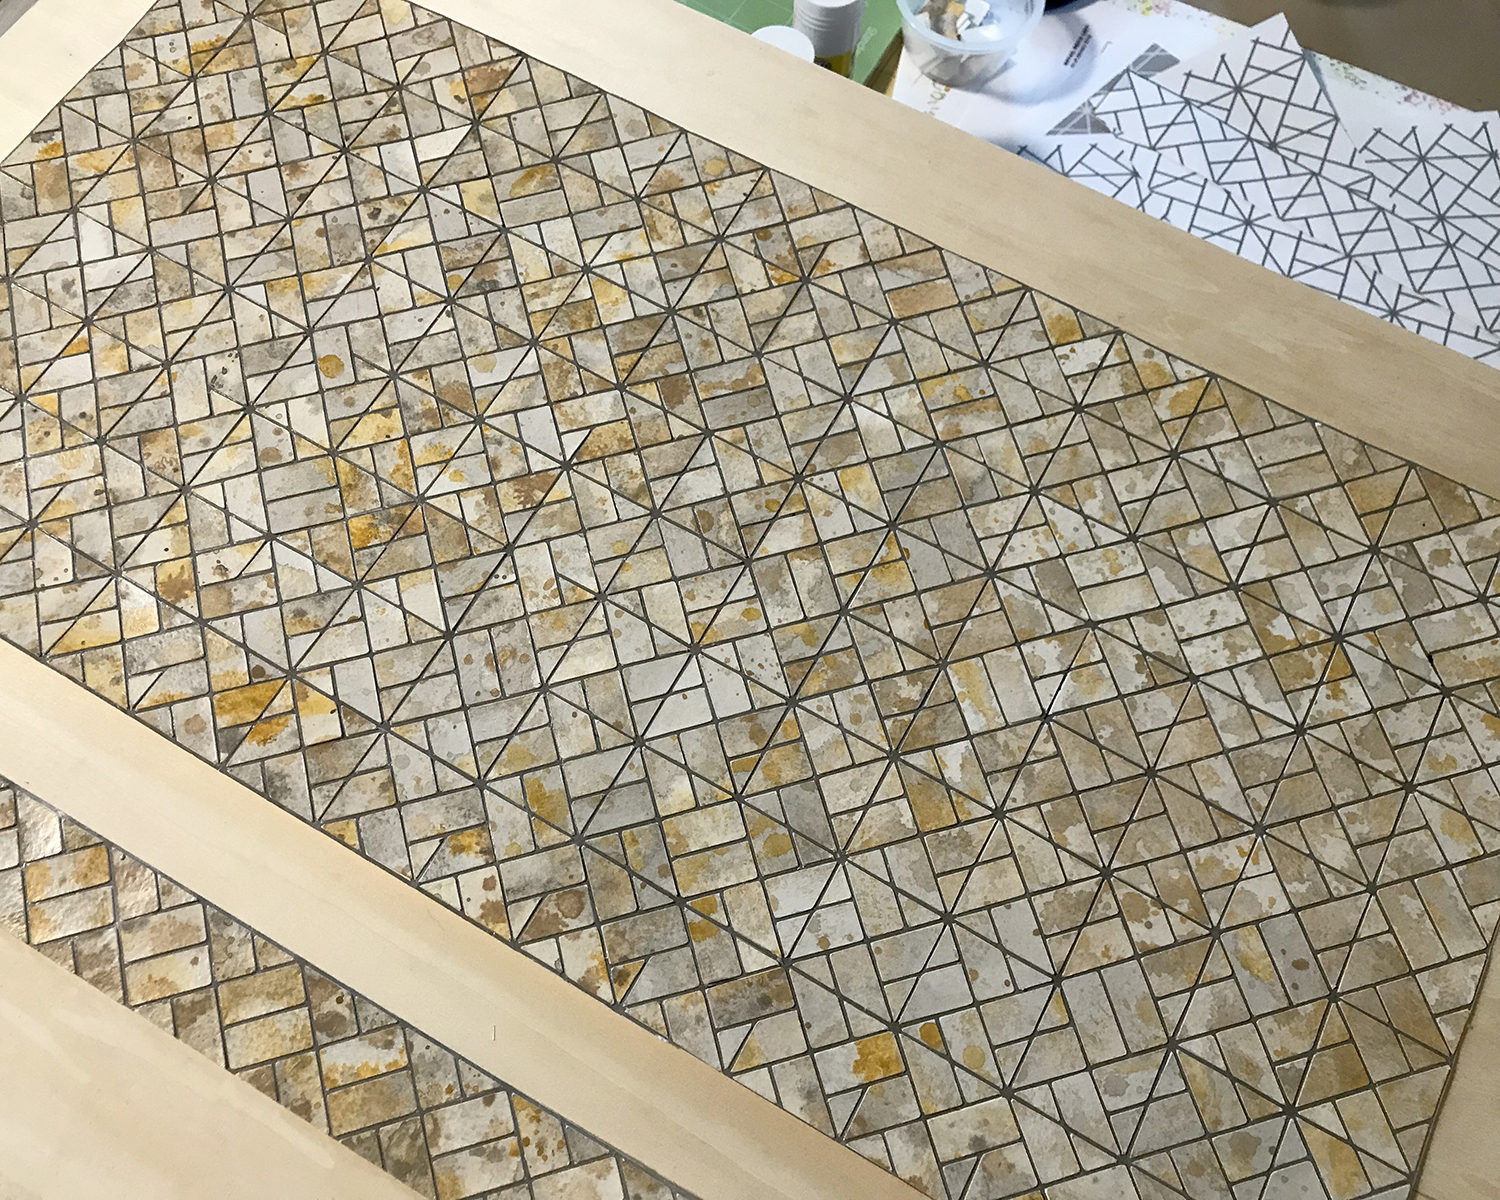
I finished gluing the painted paper tiles to the pattern for the Sea House Conservatory main floor.

Stoic Albie helped keep them flat, as Stoics do.

I then spent a lot of time considering how best to make the floor fit the base and carry over to outside the walls in a way that pleased me.

If I was a cat, this is how I might look pondering the options. “Why yes, that might actually work …”

As part of the solution, from quarter-inch birch ply I built a two-inch riser for the base and painted it medium grout gray. And — not because I want to relive the 1980s and feature wall faux finishes — I sea-sponged on a lighter warm gray. Mostly because I didn’t want to stare at a flat gray box. (My building process involves a lot of staring.)
Eventually, the weather/temperature/humidity cooperated and I was able to spray two good coats of matte sealer on the floor tile assemblies, prior to their grouting.
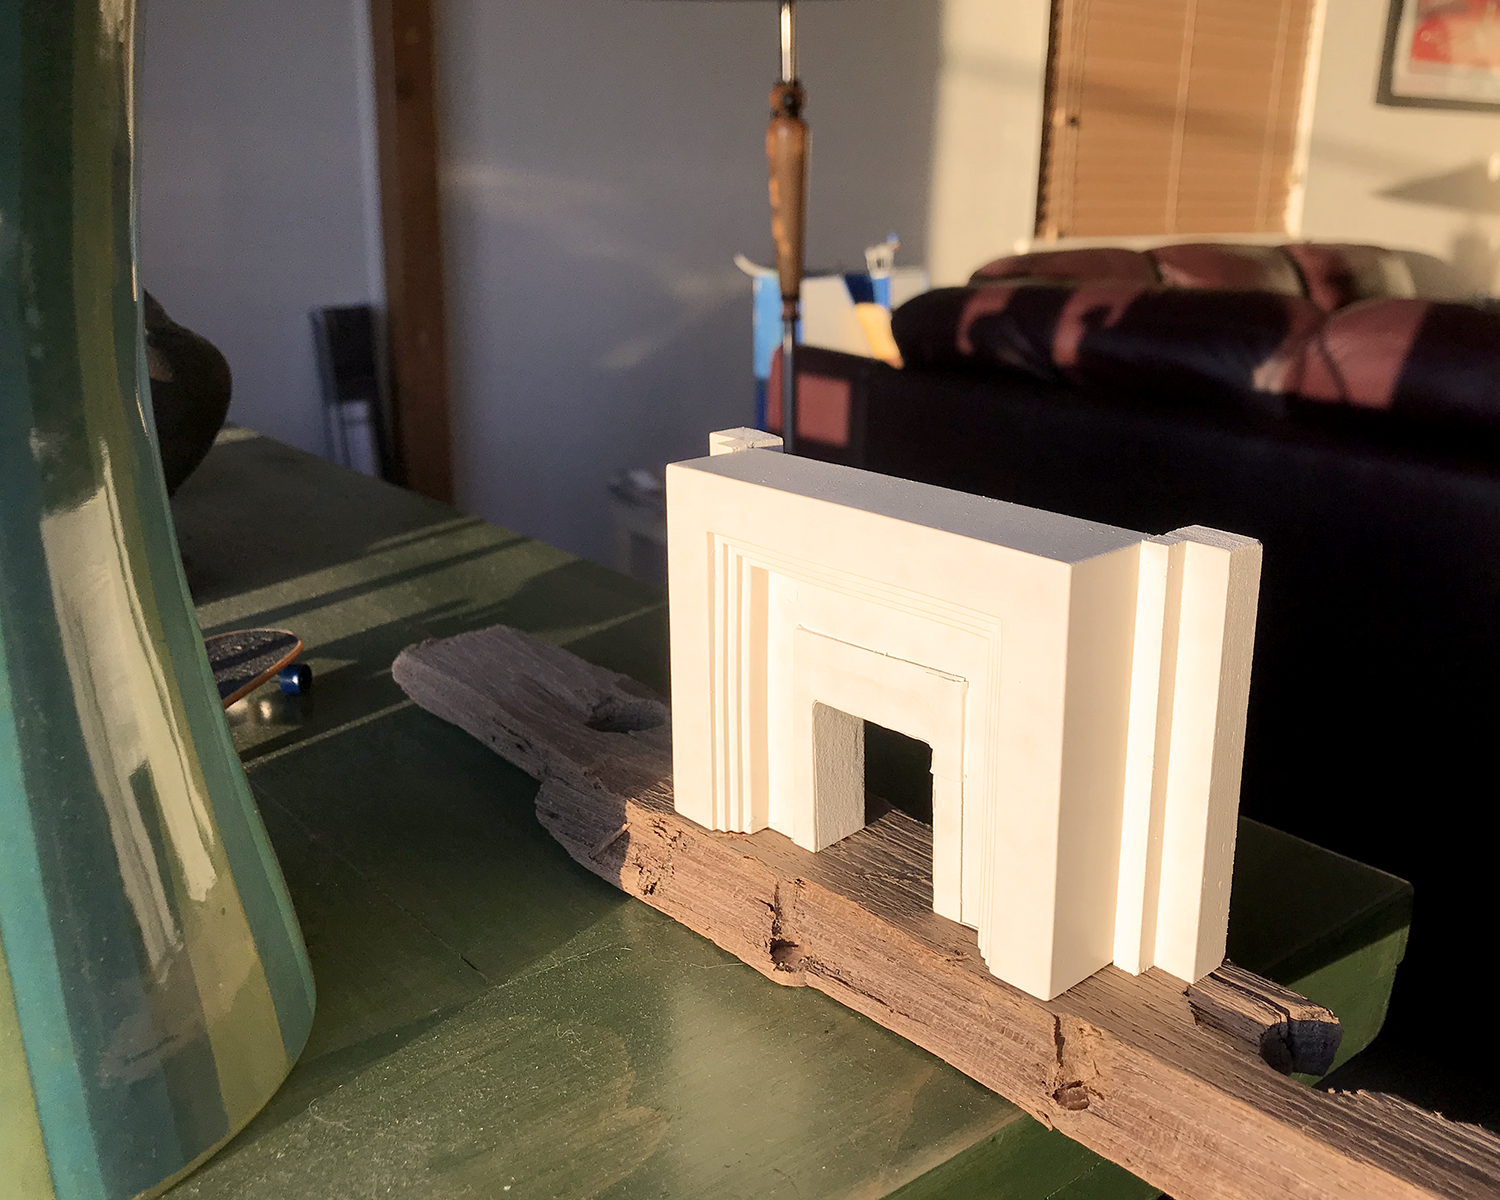
Also got a few more coats of satin antique white on the fireplace. (Built from this Houseworks Deco fireplace.) Here it is curing in the late afternoon sun, admiring its reflection in a glazed ceramic vase.
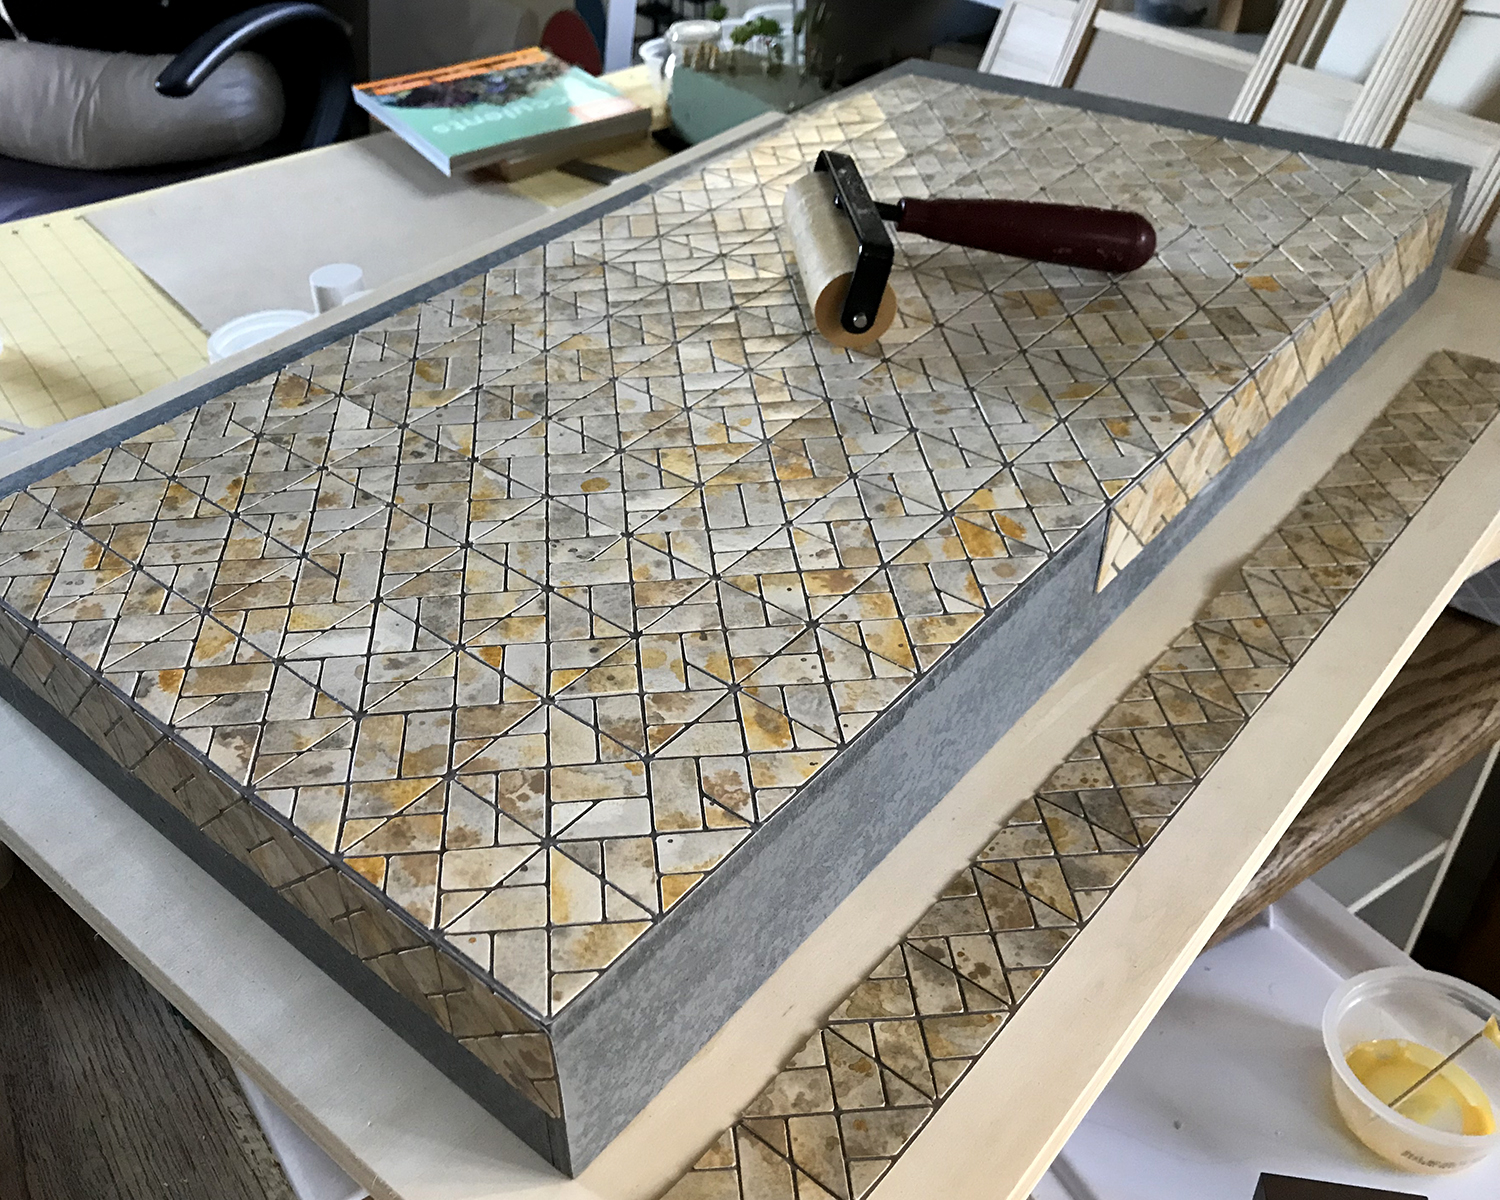
Gluing down the sealed tiles to the base. It will might make more sense in a few days when you see the whole idea. Are you really, really weary of seeing pictures of these tiles?
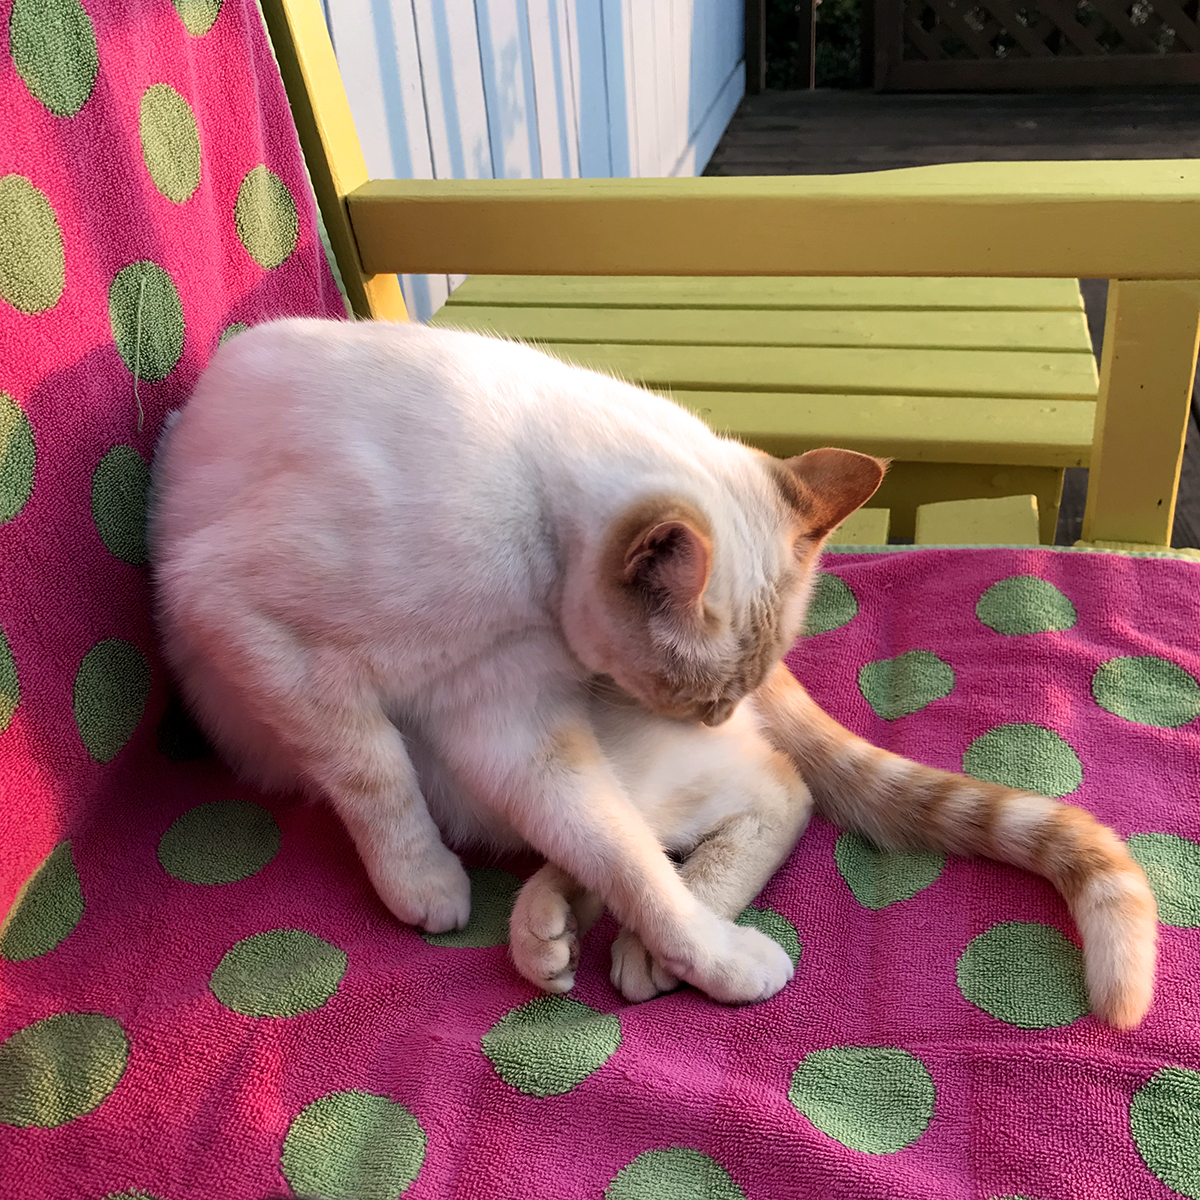
Then here’s a pic of Scarlett sitting next to me on the front deck yesterday, watching the sun go down (and grooming). (Her, not me. I was sipping a glass of delicious Double Brut IPA.)
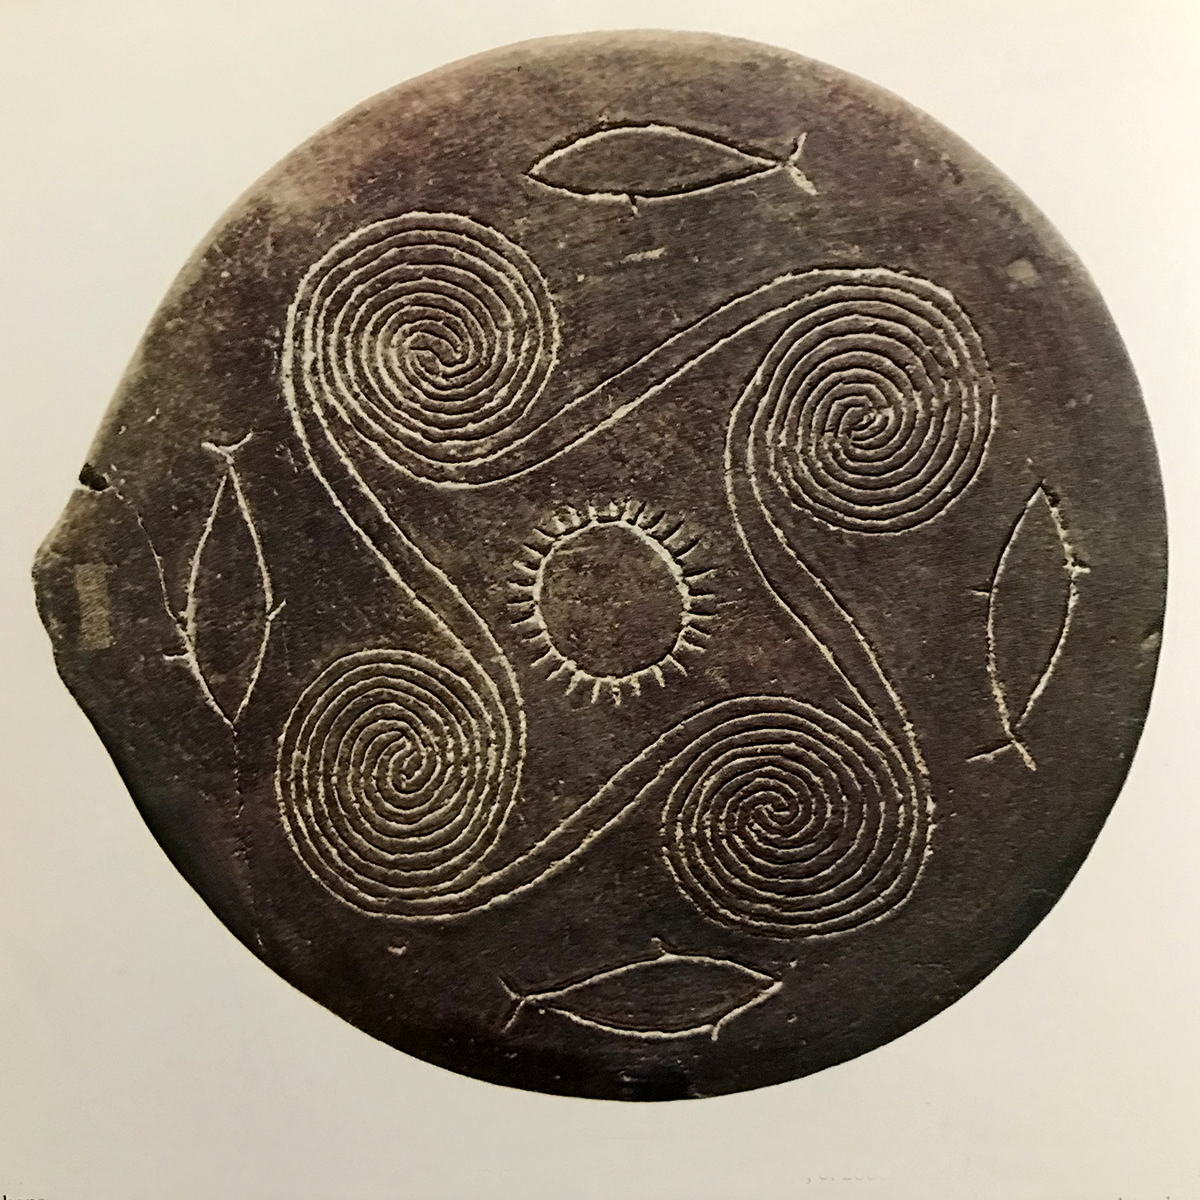
This is my current design inspiration for conservatory decor. It is a Cycladic terra cotta vessel from 2000 BC — ! — found on Naxos. I’m smitten with everything about it: the spiral waters, fish, the sun, or maybe a full moon? (From Art of Crete, Mycenae and Greece by German Hafner, 1968, public library.)
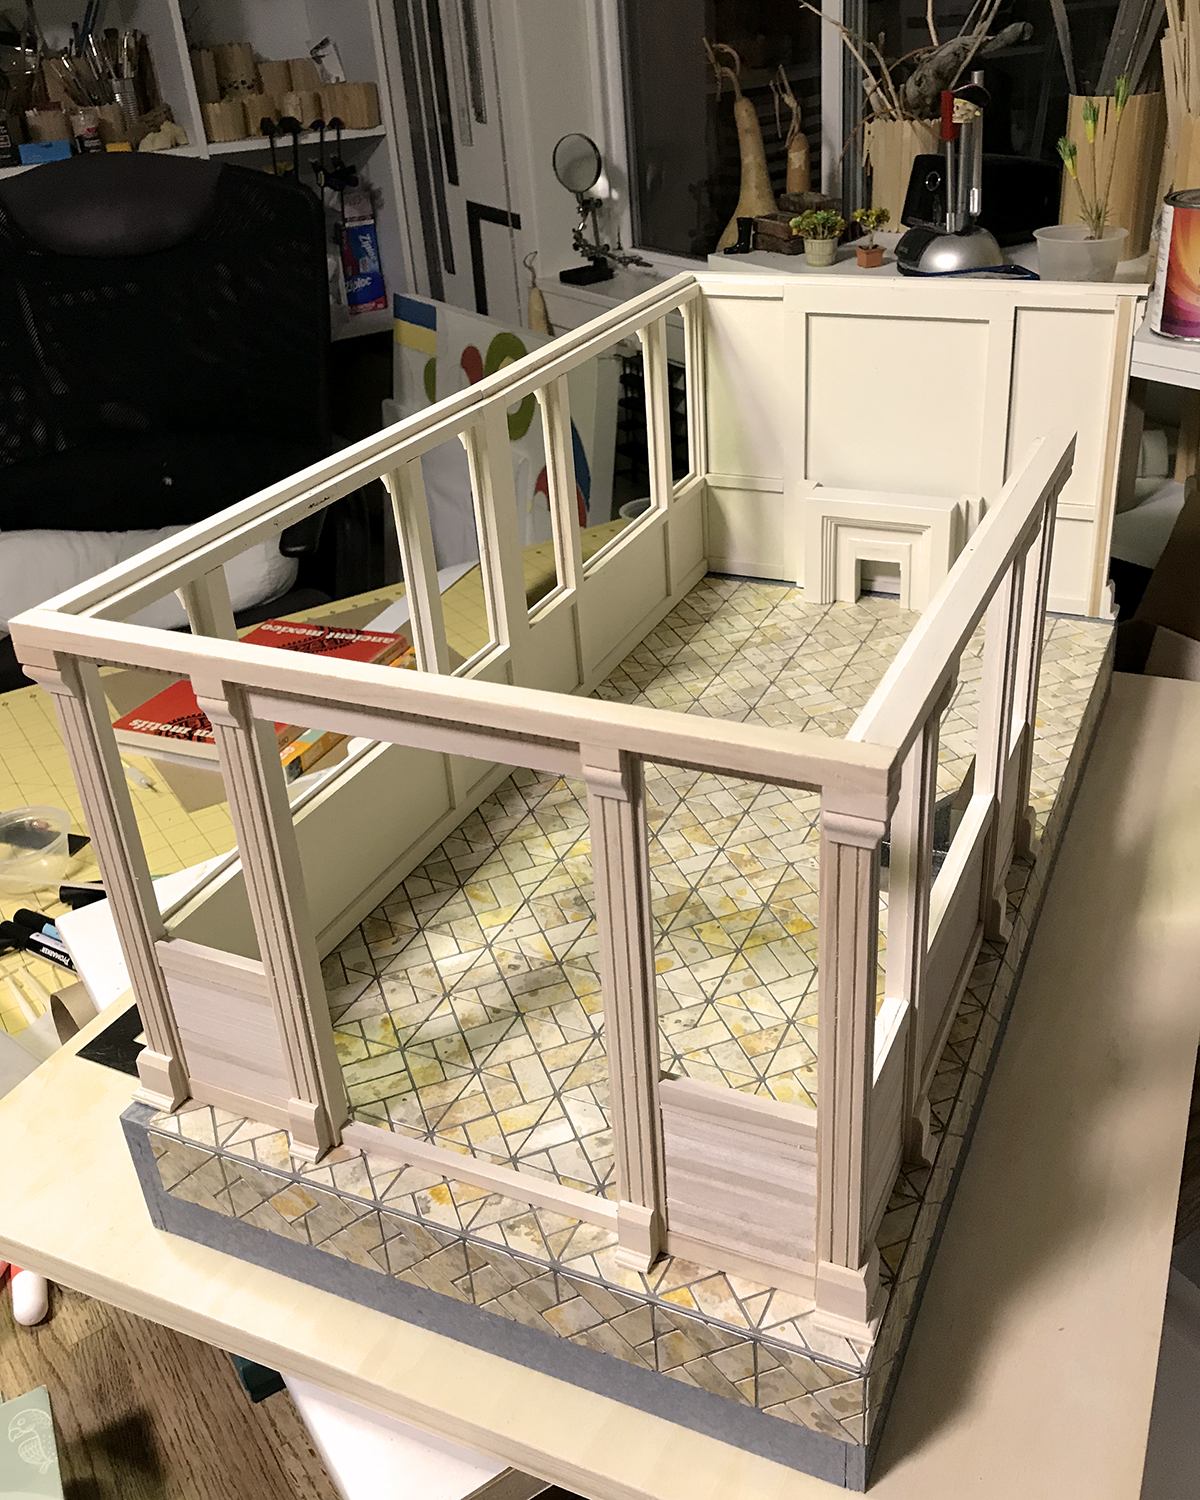
A last peek at the conservatory in the night studio, with the standing walls. For now.
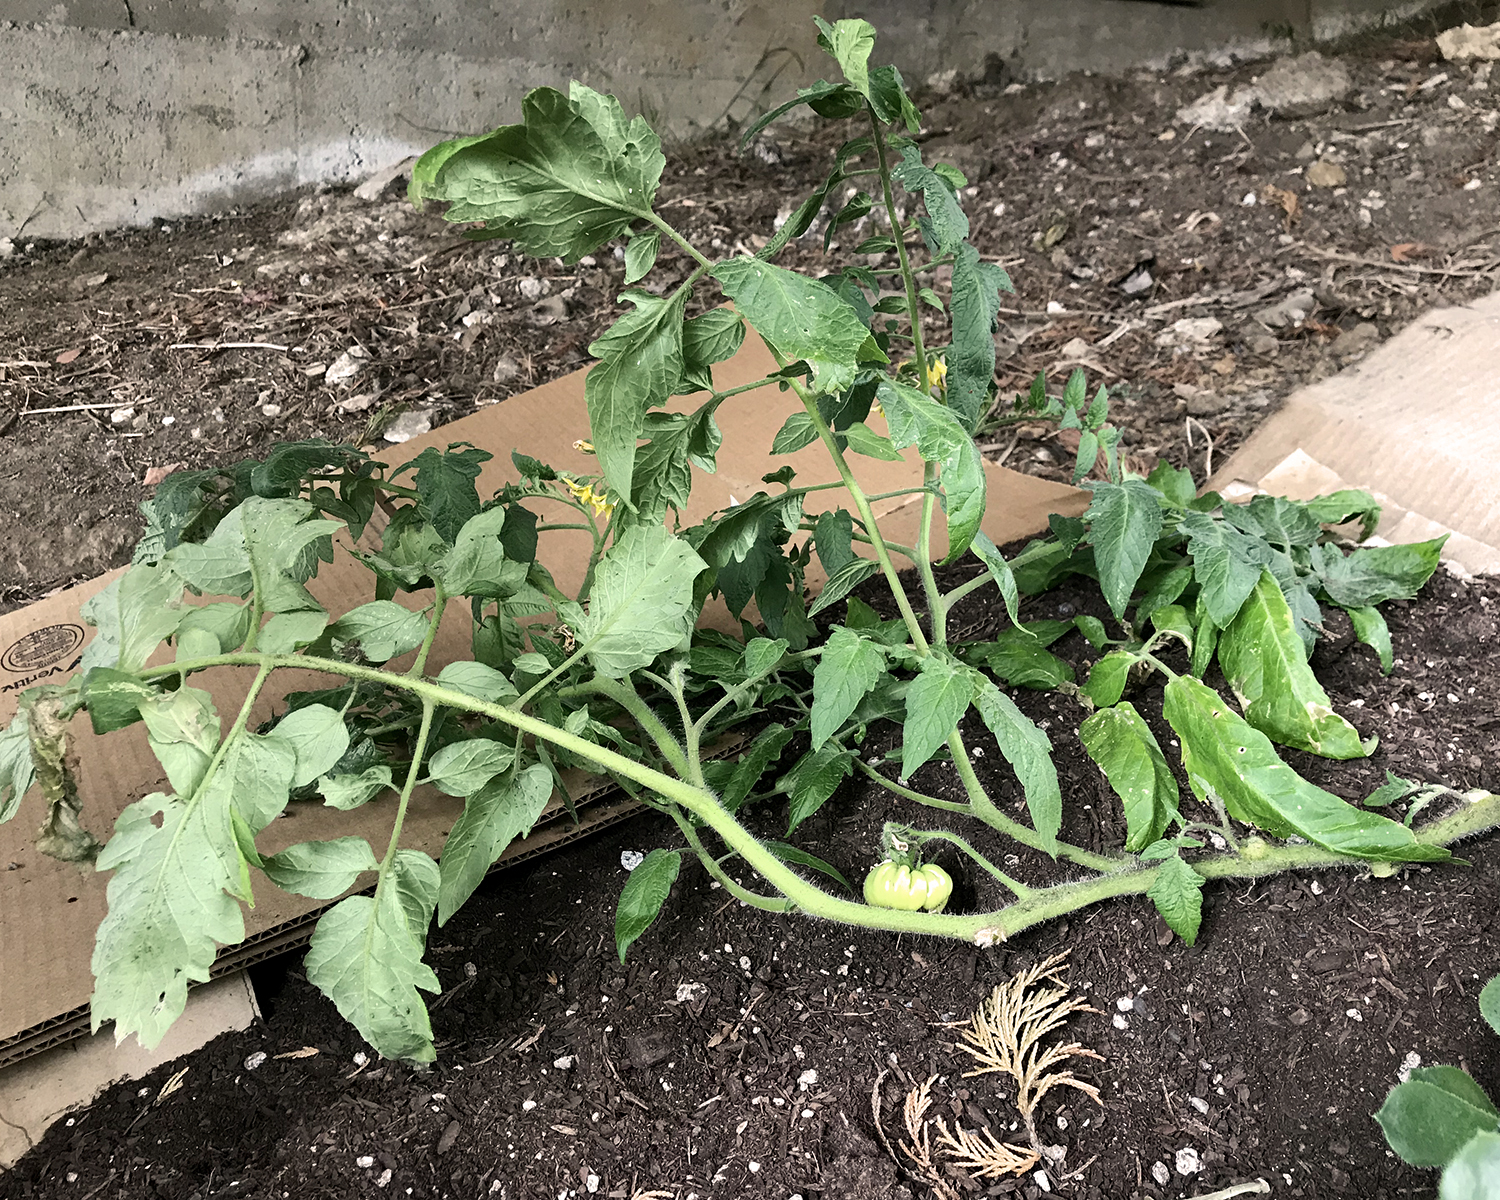
In real life, I’m working on a landscaping project on the side of our hillside house under the sunroom add-on. The soil is compacted and full of rubble, and I’m putting down flattened cardboard to suppress what weeds do grow, and adding top soil, compost and worm castings. There’s next to no direct sun, so I’m transplanting hardier succulent cuttings to see what will survive. They get a little leggy reaching for the light, but they’re doing all right. In September I noticed what looked like a young tomato plant growing at the back of the area, evidently self-started from the compost. When it put out flowers I was charmed; what hope and vigor this plant has! And then the other day I noticed it had made a tomato! A single, multi-lobed heirloom. In December! It’s like a miracle :)
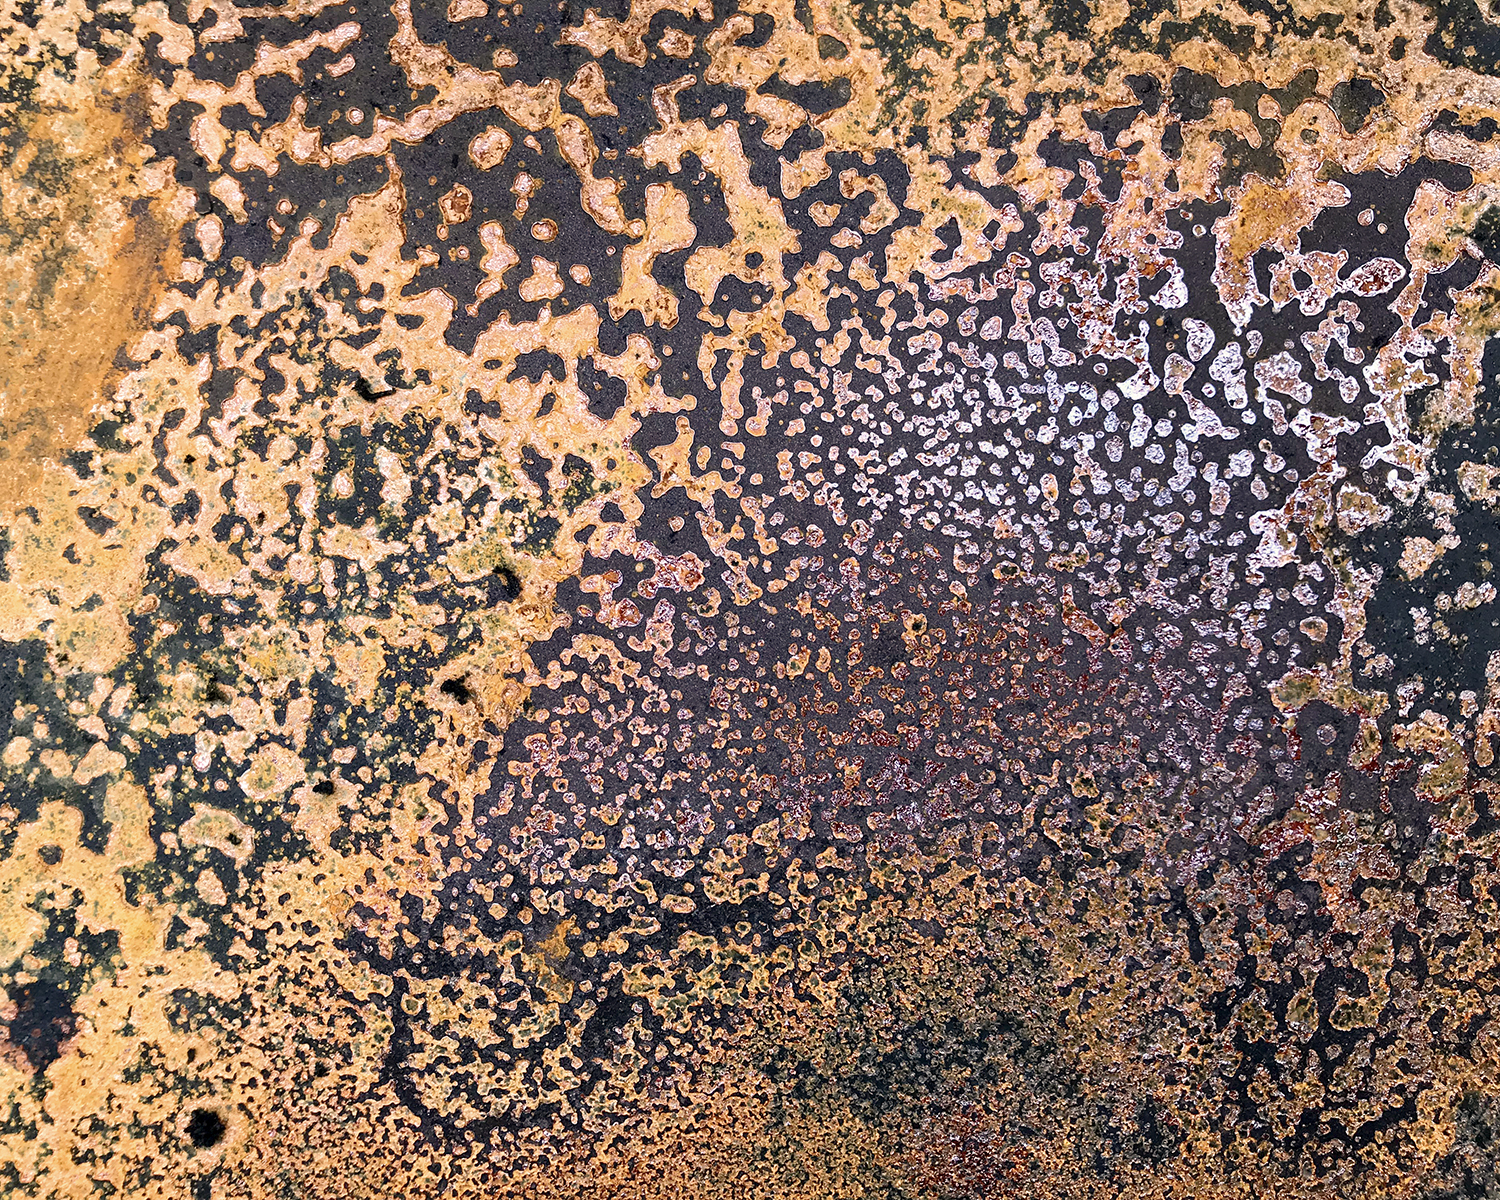
And finally, here’s one for your reference files. Look at the beautiful rust pattern and colors on this cast iron plancha, sadly left out in the rain next to the BBQ. (Left behind when our neighbors moved, it was already warped, but was still serviceable for outdoor cooking.) We’ll see if I can bear to scour it clean, or if it joins the Things That Are Rusting collection.
Doesn’t everyone have one of those?

Wow! I still can’t get over your colors and how gorgeous they are. It’s so good of the cats to help you along.
The conservatory does have a classic feel to it, so I can see a Greek influence there.
So glad you like the colors, Sheila. Albie even walked across a painted watercolor sheet with wet muddy feet, so dedicated is he. Surprisingly, after I dried it off with a paper towel, you couldn’t even tell!
I’m all over the place with what style of decorative motifs I want to use, so it’s a good thing the tiling is taking so long… lots of time to think :)
Your tile floor looks AWESOME!
Thanks, Elizabeth! It’s been an enjoyable process.
I don’t know that I’d ever tire of those tiles. They are gorgeous and since they are all different, they invite the viewer to let the eye wander, rather than blur into sameness.
Thank you so much for sharing that terracota vessel! I do hope the center is the sun, as the origin of the seas and the life they bring…if that makes sense.
I’m pleased you like the tiles. The rest of the foundation will be made of carton and air dry clay “stone” painted to look like the granite the tiles were cut from. We’ll see how that works out.
The sun is certainly going to be featured in the leaded glass window designs to come. Still musing on what to make from the clay vessel. Maybe an “artifact” to hang above the fireplace? So many possibilities…
Your floor tiles look so realistic any tile store would probably stock and sell them at a high price. You made me chuckle when you mentioned the 80’s sponge painting technique. I remember when I used to watch a tv show with a male designer who used that technique on the show. When I occasionally see it now in my doctor ‘s office or other places I think it looks so dated and 80’s.
Thanks, Bennie!
I confess I sponged a “feature wall” in my kitchen in the 1990s — I think it was gray with yellow and maybe one other color. It took a long time and was tedious to do, and when it was done I realized I hated it and painted over it with solid warm white. So much better.
This little base was quick and fun to do, and even more gratifying to cover up with tile :)
I am a novice in the doll house world and have been wondering how to do a add on? Can’t do anything until after Christmas cleaned up!
Merry Christmas and a Happy New Year!
Merry Christmas and Happy New Year to you, Luci. I am no building expert, but I think you just have to have an idea of what you want, measure carefully (twice), and be bold. Wood filler and trim and paint work wonders, and can cover a multitude of oopsies.