deck extension cladding

www.nancyland.com

I found a circular form with a similar radius to the deck extension curve. I soaked the quarter-inch stock in a thermos of water, then pressed it around the form, securing it with wide rubber bands and tape.

www.nancyland.com

The wall is three inches tall, so that’s 12 lengths of quarter-inch stock.

www.nancyland.com

Here are the first four courses.

www.nancyland.com

And the subsequent ones. One of the boards cracked at the curve, so I need to soak and form the final course… tomorrow. The rest of the wall is a great opportunity to utilize the many lengths of quarter-inch siding I have piling up on my table.

I wonder if an actual woodworker cringes at the imprecision of my efforts as much as I as do, say, when encountering bad typography.

Sea House Warming Hut Roof

www.nancyland.com

The rafter trim is glued on (although you cannot see it in this photo) and clamped to dry in preparation for the roof. Smartly, I also traced them onto cardboard to use as patterns for the living roof sides :)

With the addition of the back opening trim, an eighth-inch gap is created along the roof support, so I cut a piece of basswood to fit and glued that in place.

www.nancyland.com

I painted it to match the trim and walls. I like how it frames the opening, and since the back is like the fourth wall in theater, a subtle window is created, inviting us to look in. In a non-creepy way.

The roof now aligns with the trim and roof support all the way across the back. I used the temporary brace provided with the kit, and glued and nailed the roof on.

www.nancyland.com

And here’s a look in. Some gaps to fill and paint, and with the addition of the painted bins I notice that the lower shelf on the right is not level?! I’ll have to fix that when I feel like breaking something intentionally.

Bins

www.nancyland.com

Wanted some bins for under the shelves to hold stuff, and opted for a slatted crate style. I used 1 x 1/16-inch basswood for the ends and base, 3/16-inch for the slats, and 1/8-inch square for the feet. Here you can see my paper- and wood-dedicated pair of curved embroidery scissors. Very handy for trimming any whiskers from the cut ends before sanding.

www.nancyland.com

I glue the ends to the base, and then use the upper and lower slats to square it up.

www.nancyland.com

The rest of the slats are spaced in between.

www.nancyland.com

I check to make sure they fit the space, with room to pull them out easily. Tiny casters would be preferable, but hey, budget. On the upper shelves are some metal canisters with lids I got from HBS/miniatures.com. It’s nice to find simple, well-proportioned things not all gobbed up with flowers and out-of-scale bad lettering.

www.nancyland.com

And here they are with two coats of paint — the same California poppy color as the outdoor furniture — and waiting to dry before finish sanding, a light coat of satin varnish and soft buffing.

Cladding, Painting, Sanding, Waiting

www.nancyland.com

Here’s a mess of things in progress at once:

First coat of paint on version 4 of Kris Compas’s cone fireplace, from her wonderful tutorial this month. My initial color thought was classic minimalist matte black, but then I noticed it looks like a giant tiny Darth Vader’s helmet, and once you see that, there’s no unseeing it. Current thought is the same green as the rafters, but based on my experience with the Chrysnbon stove, who knows what the final outcome will be?

Also installed the front wall cladding. I bundle up the quarter-inch stock with tape, measure and cut with a chop saw. Lots of not-quite-long-enough offcuts for the scraps box. I’m using the blue-gray Derwent watercolor pencil after the stain dries to add variation and depth to the warm gray color. Subtle, but effective. I’ll show some examples when there’s better light. Plus it’s fun to intentionally scribble all over your project :)

in_progress_042615

Biggest decision was the color for the outdoor furniture. Last night I was thinking a deep, rich yellow, but then arrived at this orange, somewhere between California poppies and the Golden Gate Bridge. This is just the first coat, and I might temper it a bit more towards poppies, but I have to wait until light of day. I also want to finish painting the rocks and adding some of the greenery. The living roof with growing poppies will tie it all together.

I want the deck furniture to really stand out from the weathered gray wood and rocks of the cliffs, to welcome walkers to sit and enjoy the vista.

The inside seating will be upholstered arm chairs circling the stove, for those days when inside is best. I found an engaging peacock blue linen that I plan on using for those. With the sweeping views of the ocean and the sky, they’ll be less of a contrast in the otherwise light room.

beginner mind

www.nancyland.com

I keep company with a two-year-old — though not as often as I’d like — and this worksheet was in her cubby when I picked her up from preschool the other day.

Where to begin on how awesome this is?

Blue is her favorite color, so I expect she started her response with that. Observe the variety of her expression, especially the very distinct, staccato marks in the lower right. Those typically come with a lot of force and flair. The rhythm and dynamic articulation, begun in the second and culminating in the fourth form, are both exploratory and concise at once.

With the introspective addition of a bonny spring kelly green, the counterpoint line work defines a new dominion, again both expansive and self-contained.

I could go on, but that would just be silly :)

The point is, someone is telling you, with bold straight lines and dotted guides: this is your name, and how it is “written”.

How will you respond?

Warming Hut Decking

www.nancyland.com

For the low wall around the deck extension, I used 3/16-inch foam board and cut kerfs to enable a smooth curve.

www.nancyland.com

Very bendy!

www.nancyland.com

I attached it to the edge of the base, flush with the side wall. The exterior siding will extend along and around the deck wall.

www.nancyland.com

For the deck proper I used the same 3/4-inch rustic planking as the interior floor, though the deck is to be stained gray. (The glass of wine — a nice 2013 Husch Mendocino Sauvignon Blanc — is to show scale :)

www.nancyland.com

The inside of the deck extension is clad in vertical 1/4-inch basswood, which is narrow enough to go ‘round the inside curve nicely.

www.nancyland.com

Decking done! Almost. I’ll stain it tomorrow.

www.nancyland.com

Lastly, I brushed wood glue into the kerfs to fortify the curve and make the foam board more sturdy. When that’s dry, the deck will be able to withstand the gusty winds of the coast.

Warming Hut: Watching logs dry

Recently, HBS/miniatures.com wondered

So, again, we ask … How many of y’all use sketches to “concept” your mini projects? We’re wondering if this is the exception or the norm?

Here are some sketchbook notes from January, when I started the build:

www.nancyland.com

It’s a pretty clear — and typical — reveal of both my initial ideas and process: sketches, doodles and notes. Working with approximate dimensions helps keep things feasible. I have to sketch out furniture and cabinets and make cut lists.

I keep a paper folder of ideas, swatches and snippets of possible “things” as well as digital files for research and reference.

What’s unusual about these sketches and this build is how little I’ve diverged from my original concept thus far.

I made the front shelves and the wood storage under the back windows from inch wide x 1/16-inch basswood, and painted them the same Simply White as the rest of the trim.

Today I took a pleasant meander around my yard looking for the right branches to make the logs. I chose a woody bottlebrush shrub (Callistemon) and pruned out several offshoots. These I cut into 1.25-inch logs and stacked into the wood holder with glue to fix them in place.

Then I sat with a glass of sparkling water, the lemony scent of the wood and the invigorating fragrance of eucalyptus mingling on the afternoon breeze.

www.nancyland.com

I See Rocks

www.nancyland.com

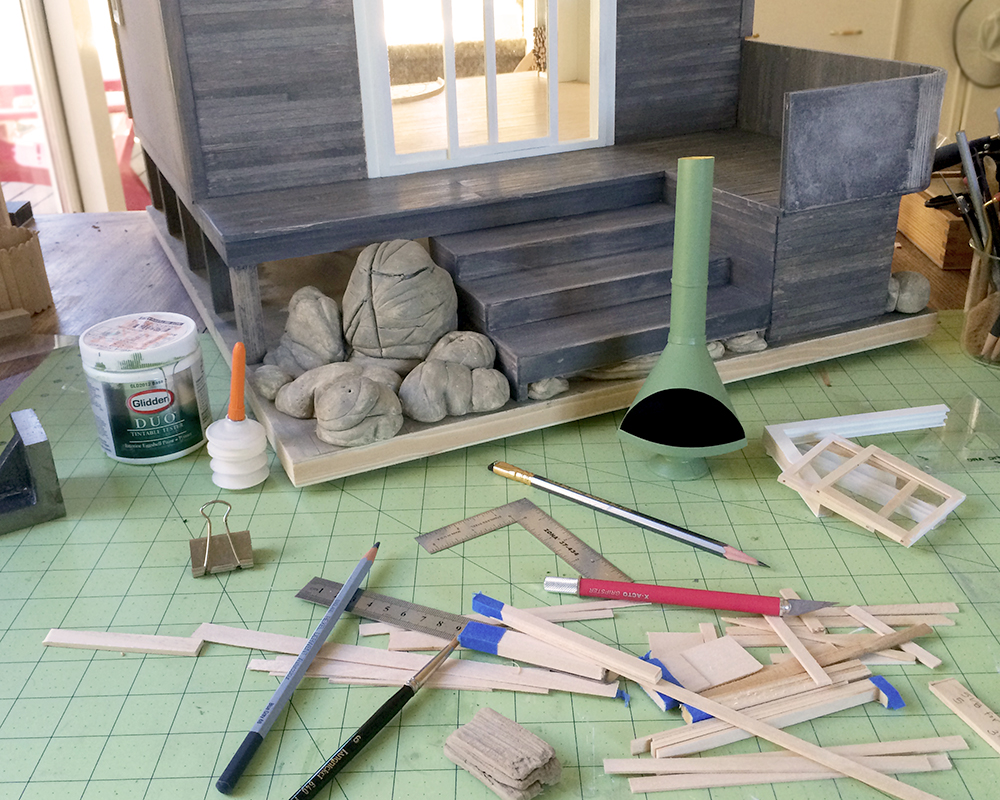
The first batch of the Sea House Warming Hut air-dry clay boulders are nice and dry. Mid-week, I saw that a crack had developed in the largest one, and got the idea to fill it with a quartz vein. I have this lovely pearl white acrylic, and if I mix it with some wood glue and load it in a syringe, I think it will behave convincingly. I’ll wait until I model, paint and salt all the boulders, though.

www.nancyland.com

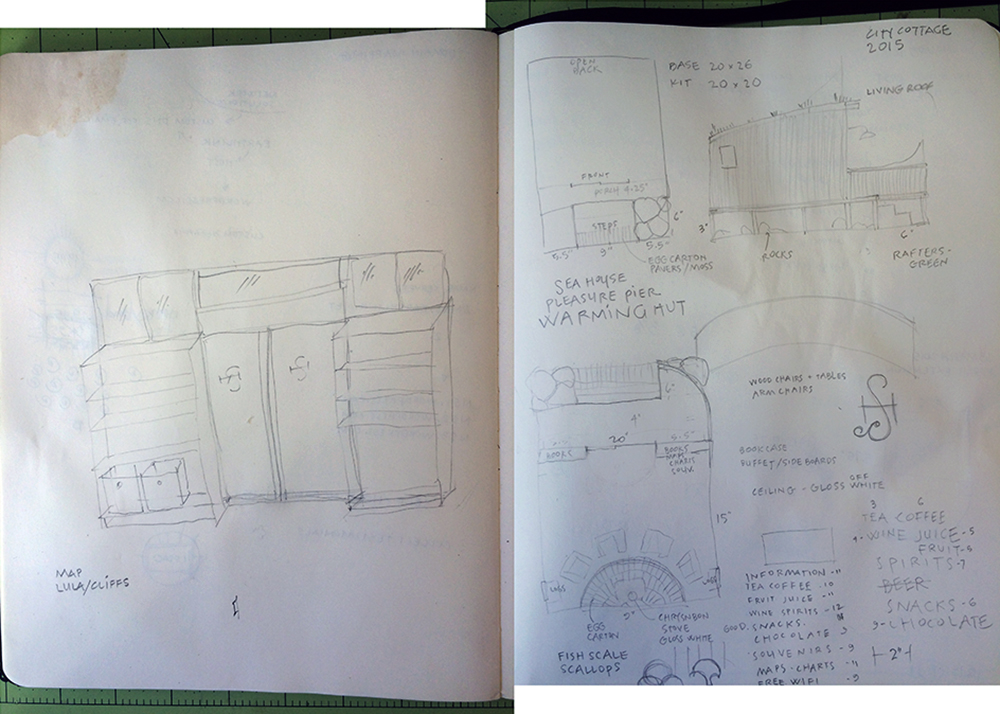
I know I’m not the only one to buy something because of the packaging. In this case, I had wanted to make domed skylights, and this container — of organic gala apples, no less — at the local big box store was ideal. Although the original project was sidelined, the cut-apart plastic is now making excellent bases for individual rocks. My landscape modeling compound of choice is Crayola Model Magic, and making the boulders hollow  saves a lot of cost.

The apples were very good, too.

www.nancyland.com

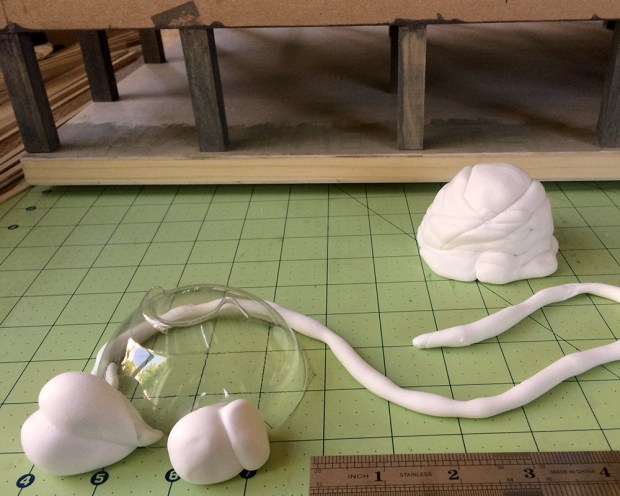
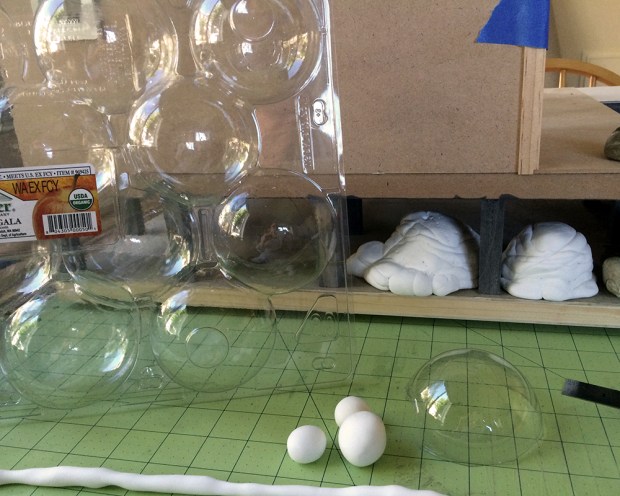
Here is an action shot of a boulder in the making, and my dual purpose small metal ruler.

www.nancyland.com

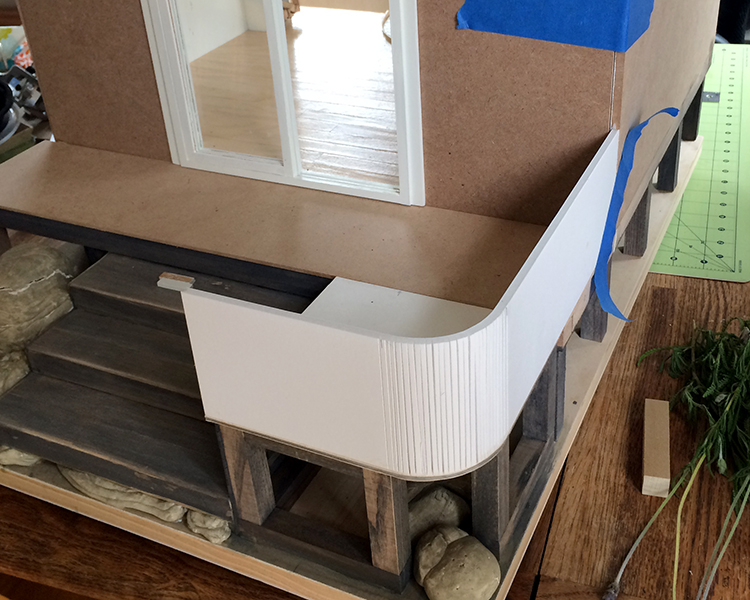
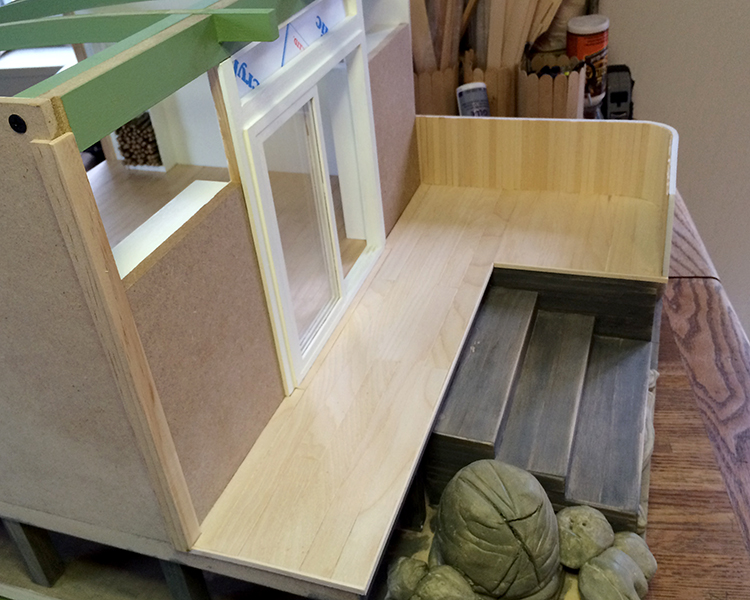
This is 8 ounces (226 g) worth of boulders and rocks — enough to populate the left side of the build. (You can also see my second-favorite multipurpose modeling tool: a silicone wine stopper.) I’ll let these guys dry for a day, then paint a first coat with the same taupe wash. I want to do the additional glazing and salt crystal sprinkling to all of the rock foundation at the same time. If all goes well this week, I’ll see time to continue my elemental play.

In other news, Christina, the winner of the Denise’s City Cottage kit provided by HBS/miniatures.com giveaway, contacted me and it’s on the way to her. Hopefully she’ll post about her build, too. I’m really enjoying seeing so many approaches, and as always, learning tonnes.

PS: I was FaceTiming with my two-year-old granddaughter, showing her the rocks I made from clay and the rest of the build-in-progress. She was listening and studying the screen very intently, then announced, “I want to go there.” Best appreciation ever.

There Can Be Only One

www.nancyland.com

The winner of my extra Denise’s Cottage kit, the limited edition starting point for the 2015 Creatin’ Contest sponsored by HBS/miniatures.com is Christina. Thank you to all who expressed interest and/or encouragement. I wish I had kits for all of you. (HBS/miniatures.com still does :)

Christina, please contact me by 07 April with your zip/postal code, and I can provide a shipping cost estimate. Congratulations! The contest deadline is 16 December this year, so there’s still plenty of time to get your build on.