
For the low wall around the deck extension, I used 3/16-inch foam board and cut kerfs to enable a smooth curve.

Very bendy!
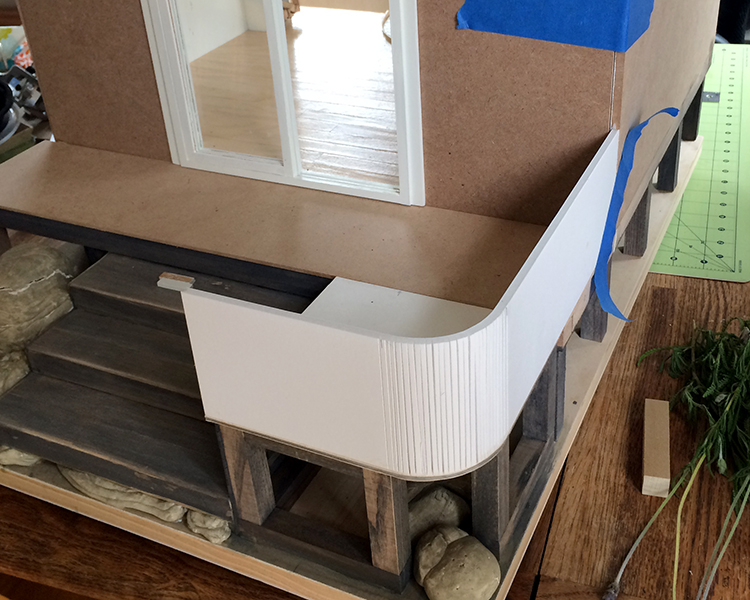
I attached it to the edge of the base, flush with the side wall. The exterior siding will extend along and around the deck wall.

For the deck proper I used the same 3/4-inch rustic planking as the interior floor, though the deck is to be stained gray. (The glass of wine — a nice 2013 Husch Mendocino Sauvignon Blanc — is to show scale :)

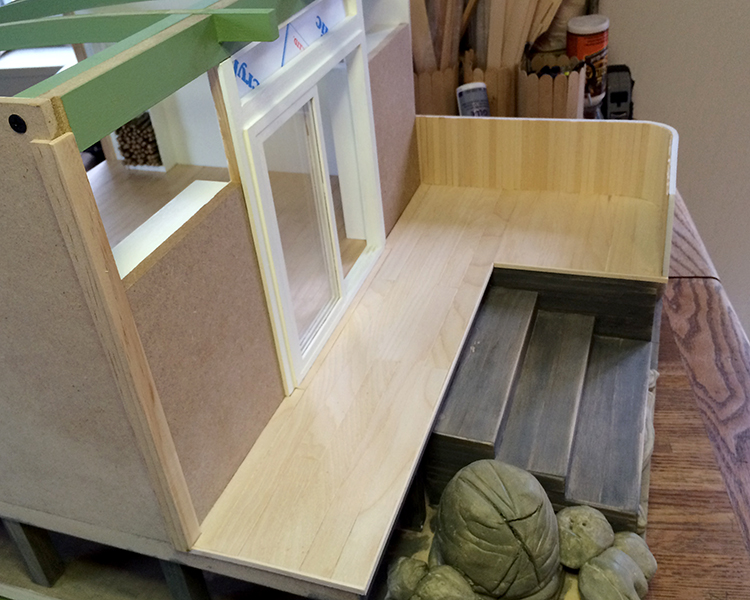
The inside of the deck extension is clad in vertical 1/4-inch basswood, which is narrow enough to go ‘round the inside curve nicely.
Decking done! Almost. I’ll stain it tomorrow.

Lastly, I brushed wood glue into the kerfs to fortify the curve and make the foam board more sturdy. When that’s dry, the deck will be able to withstand the gusty winds of the coast.

The deck is looking beautiful. I love the nice wide planks. It really is becoming the perfect deck for consuming copious amounts of wine!
Thanks, Kat. I’m learning that a lot of my build choices are based on creating spaces that I’d like to hang out in. I think you know where I’m going with this :)
I love it. And thank you for showing us how to do that!!
So glad, Penelope! I learned about kerf cuts when I worked in a cabinet shop (doing stained glass) many years ago. It’s a useful technique.
It all looks really good. I like that the deck is curved. Just one question, is that a dust-blower-awayer in the fifth photo? =0)
Haha, Pepper. I had to count down the photos to see what you were talking about… and was puzzled until I spied the *glue bottle*. (But I’m guessing you knew that.) I like this little one because it scrunches up in my hand and helps me — a chronic over-gluer — to apply the right amount. For dust-blowing-awaying, I usually close my eyes and puff :D
Very creative and inventive way to get that curve. It looks awesome!
Bennie, thank you! As I mentioned above, cutting kerfs is a standard woodworking technique that functions very well in scale miniature form, too.