The rafter trim is glued on (although you cannot see it in this photo) and clamped to dry in preparation for the roof. Smartly, I also traced them onto cardboard to use as patterns for the living roof sides :)
With the addition of the back opening trim, an eighth-inch gap is created along the roof support, so I cut a piece of basswood to fit and glued that in place.

I painted it to match the trim and walls. I like how it frames the opening, and since the back is like the fourth wall in theater, a subtle window is created, inviting us to look in. In a non-creepy way.
The roof now aligns with the trim and roof support all the way across the back. I used the temporary brace provided with the kit, and glued and nailed the roof on.

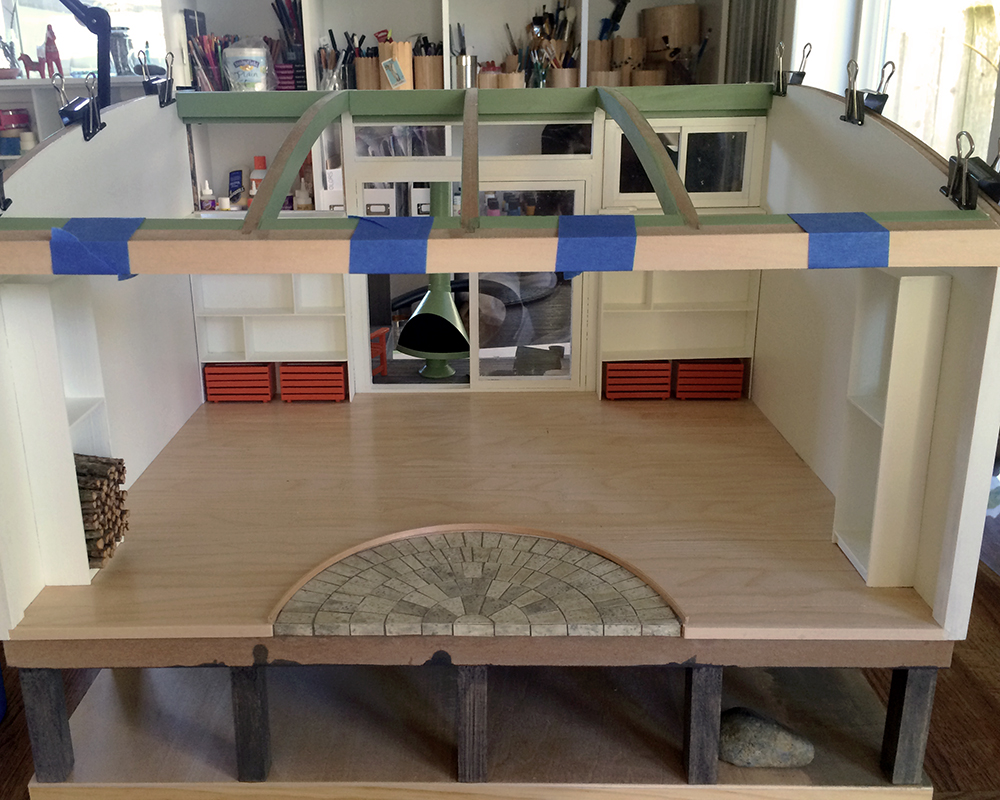
And here’s a look in. Some gaps to fill and paint, and with the addition of the painted bins I notice that the lower shelf on the right is not level?! I’ll have to fix that when I feel like breaking something intentionally.

Looking good….Living roof? It sounds intriguing!
Thank you! Yes, I’m smitten with living roofs. There are many examples here in the temperate west, both commercial and residential. This is one of my local favorites: http://www.calacademy.org/about-us
One of the things I like the most is their ability to blend buildings into a natural and functional habitat, which is what I’m going for with the Warming Hut :)
Here’s a more specific link
http://www.calacademy.org/exhibits/living-roof
It’s all coming along so beautifully.
I am somewhat awestruck at how quickly you work!
Thanks, Barbara. But remember, I’ve been working on this since January, mostly nights and weekends. And the most work — and discovery — is yet to come, with the interior and landscaping. Actually the parts I enjoy the most.
It’s looking great, I love the idea of the living roof. Will it be real or just look real?
I think for this build I’ll use preserved moss, grasses and the paper poppies. I also plan to try the preserving trick on lavender foliage. It is a good scale for the rock plants. We’ll see how that goes!
So I guess technically it’s really more of an undead roof :)