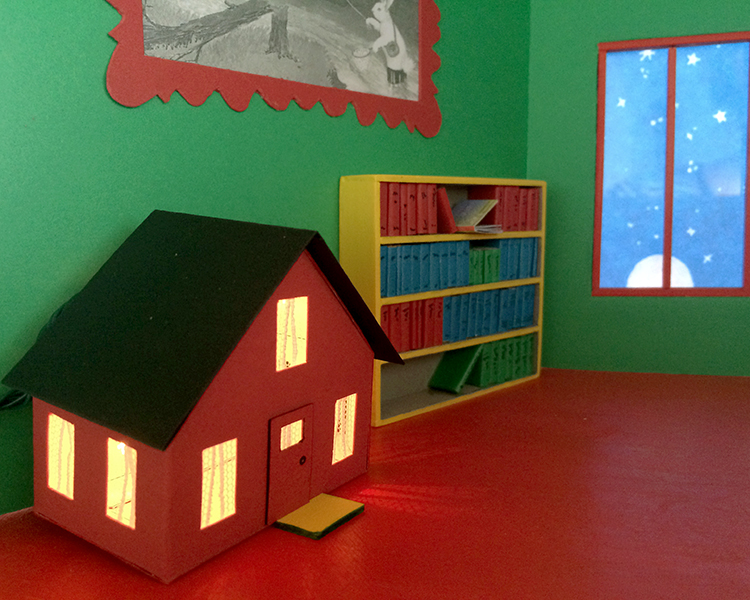
In the great green room is a tiger skin rug, but it is not said goodnight to. Discuss.
The tiger skin rug has deviled me from the start. First of all, the whole idea makes me very sad. Then there is the truncated illustration, and as always, ineffable questions of interpretation and medium.
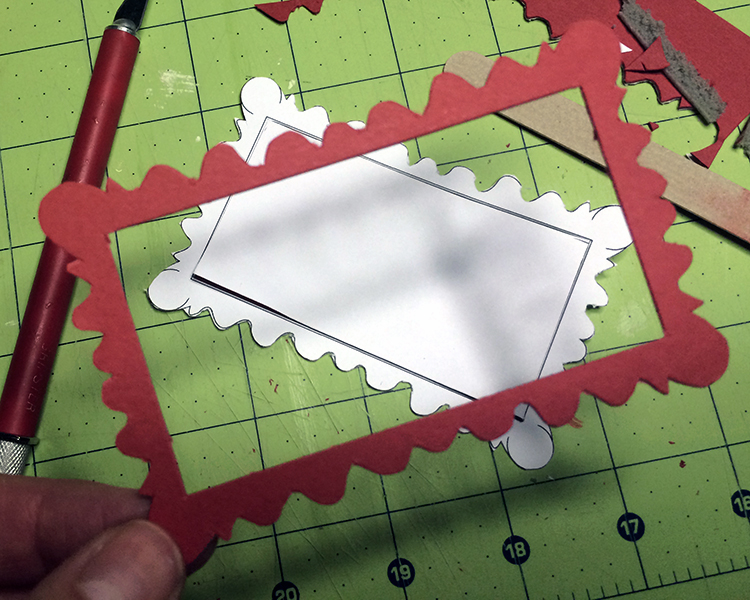
My first solution is literal; my task is but to replicate. As with the fishing bunny picture frame, I fiddled with tracing it in Illustrator and Photoshop, but determined that a freehand interpretation was truer to the spirit of the great green room, and WCHWD.
I hated it. It’s black Sharpie on a yellow microfiber cleaning cloth. It may be too soon to depose it, before I’ve got the rest of the bedside pieces made, but when I look at it, I flinch. I put it on the backburner of things to consider.
Time is running short of the mid-March completion date. I thought, perhaps go literal a different way, and I bought a quarter-yard of a tiger skin print fabric.

Printed tiger skin?
I didn’t even have the heart to cut it out and ponder edge treatment.
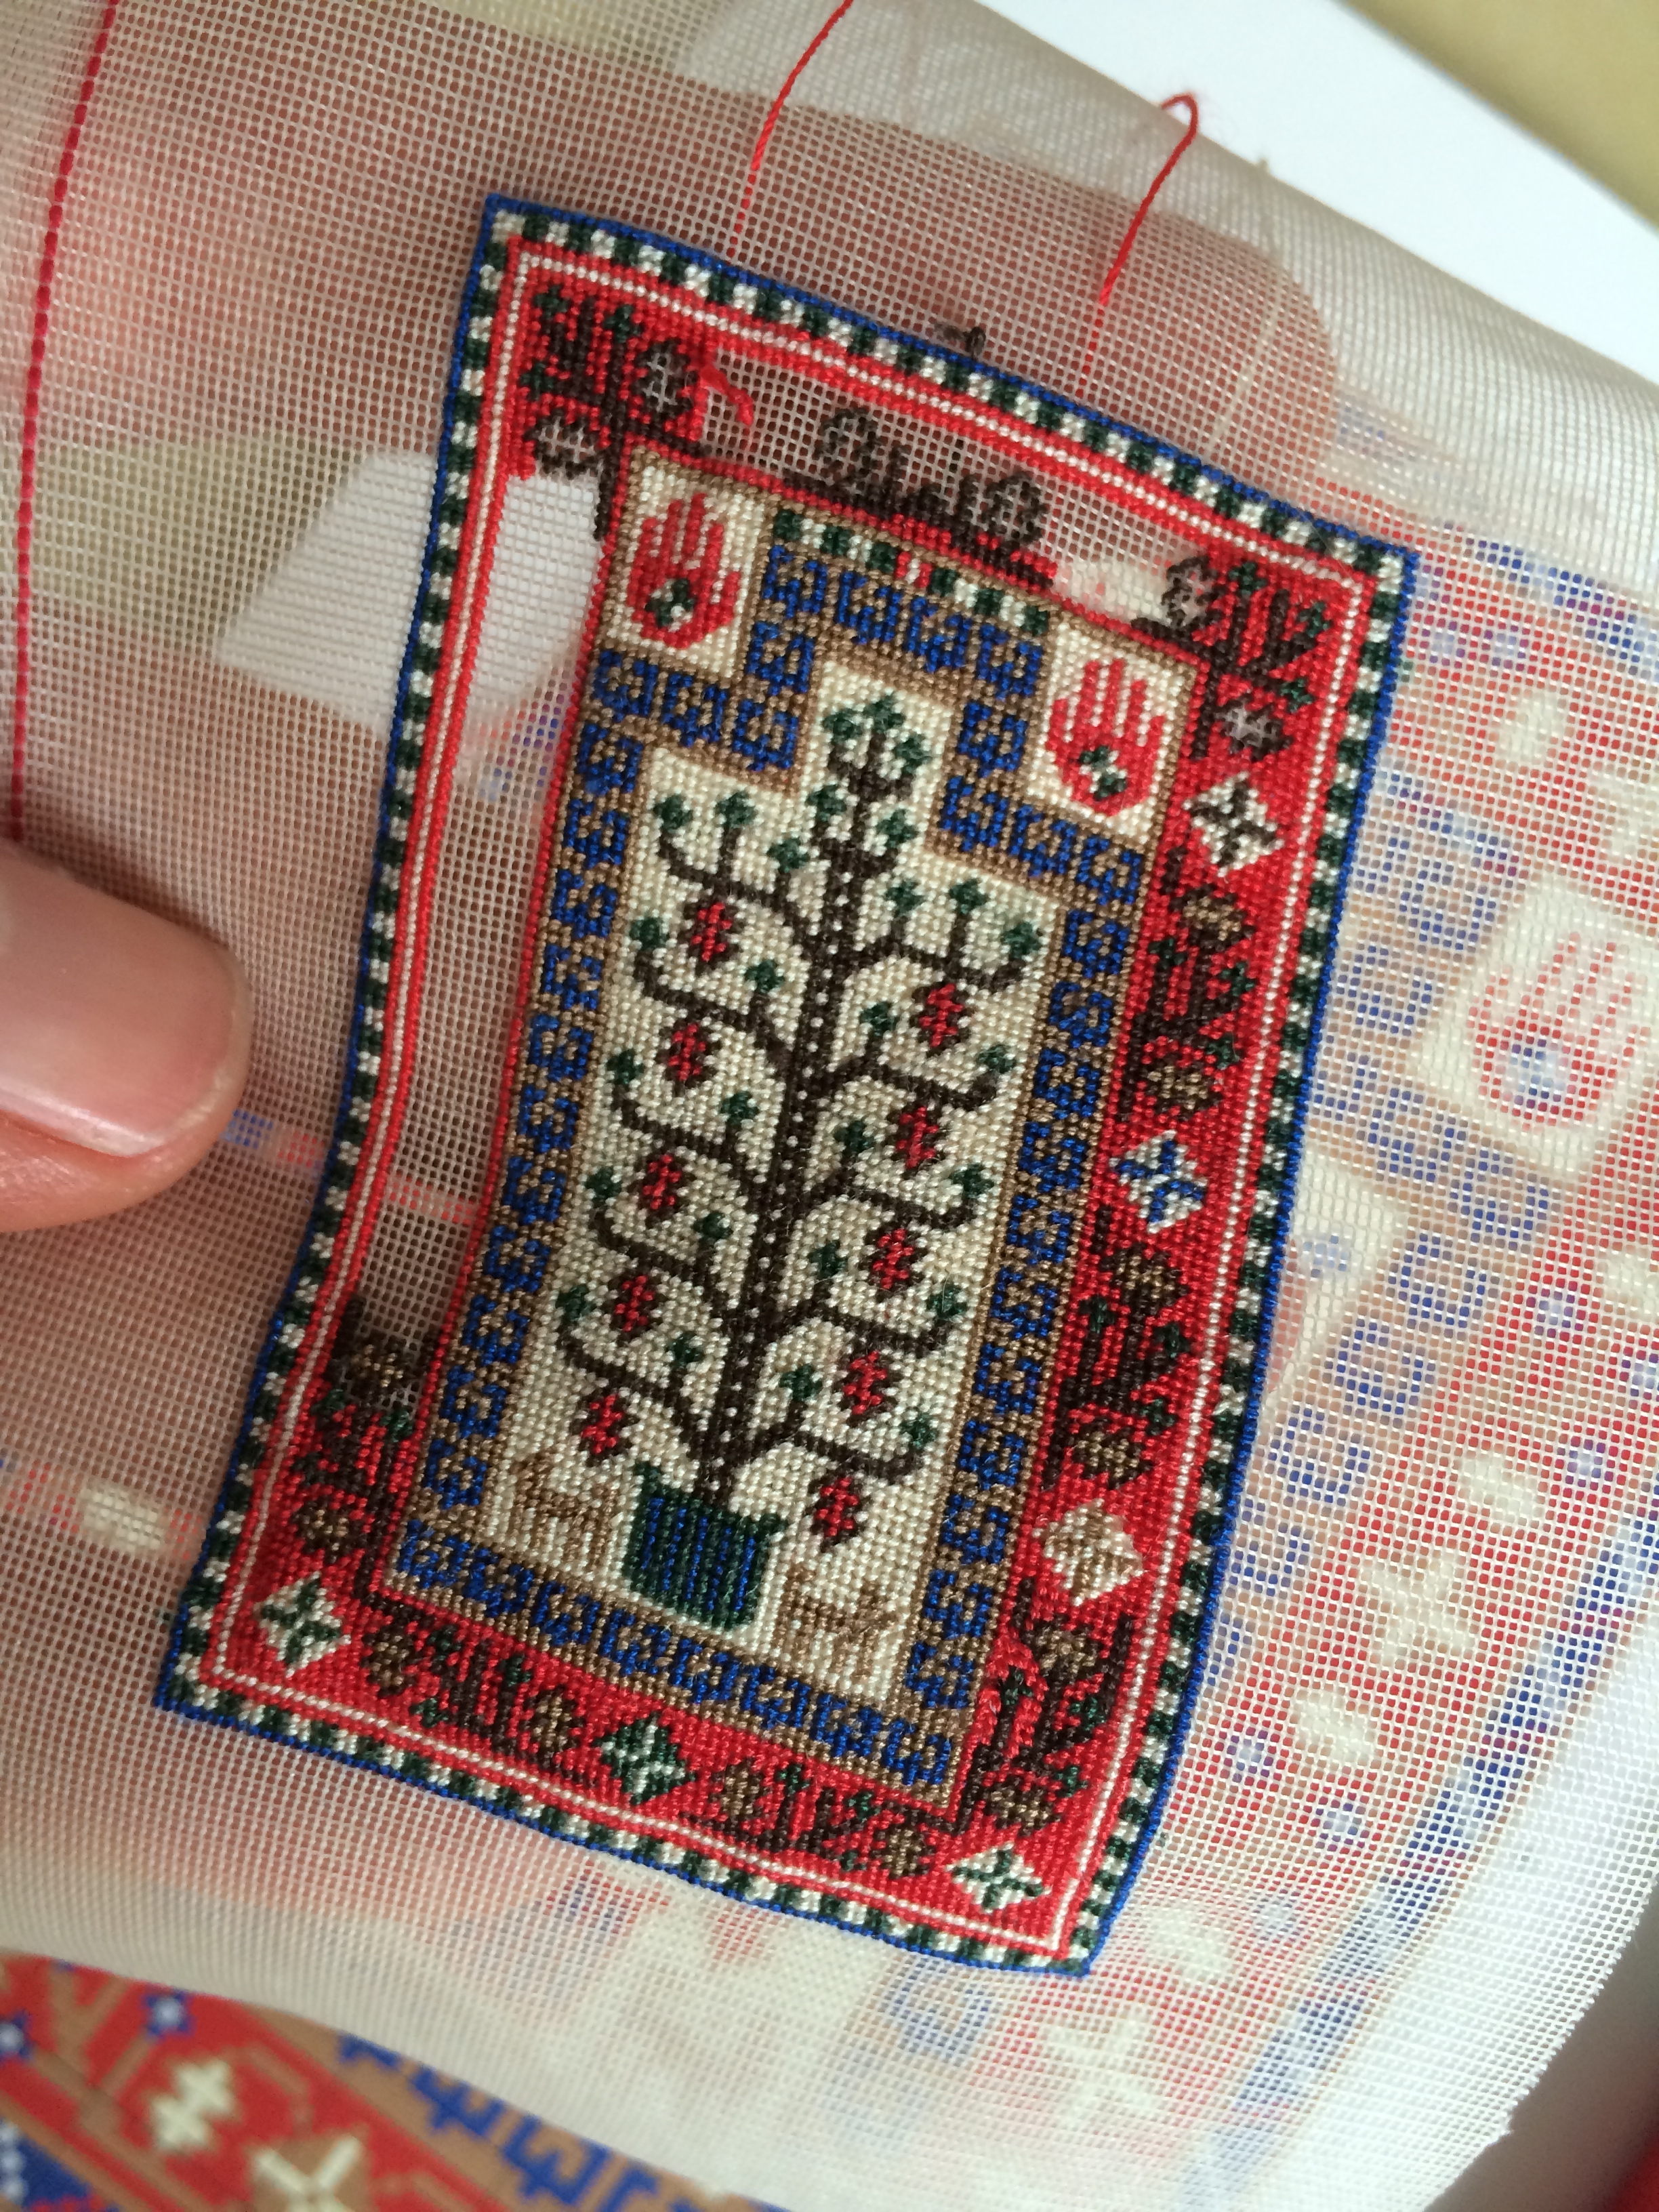
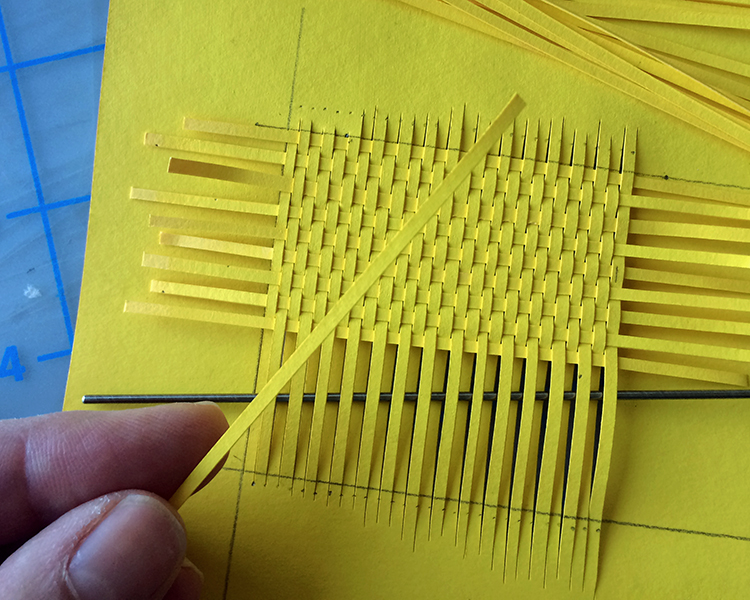
I had always considered doing a needlepoint version of the rug because, hey, I love needlepoint, but I am also keenly aware of the time constraints. And also, WWCHD? There are a few miniature tiger skin rug charts out there, but when I happened across Susan McBaine’s Miniature Needlepoint Rugs for Dollhouses, something went, um, something inside.

The design has an integrity seemingly missing from other charts I have seen. And if I’m going to depart from pure re-creation of Mr. Hurd’s illustration, there has to be a compelling — or whimsical — reason.
Trouble is, the charts are drawn by hand and smudgily printed in black-and-white (the book was published in 1976, a simpler time), and reading them is harder than stitching on the 49-count silk gauze I will use. My solution: photocopy and enlarge it, then color in with Prismacolor pencils. Very 8-bit :)
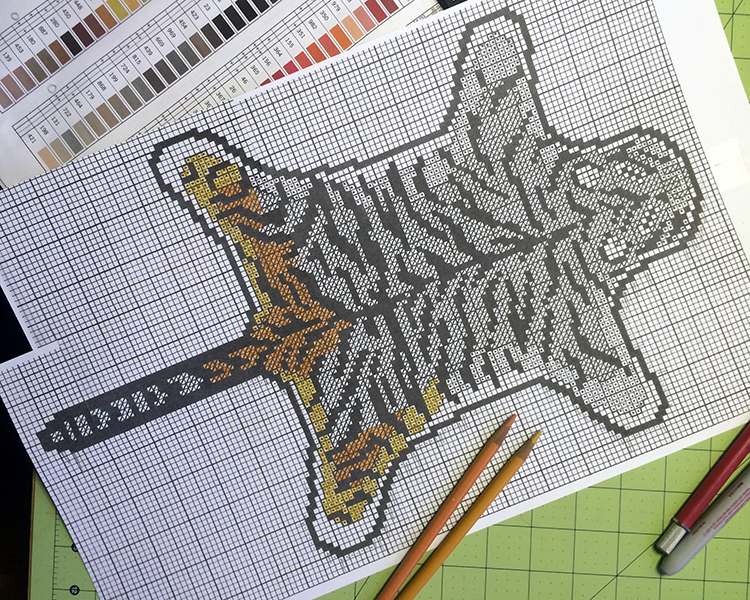
Bigger and more colorful!
I think I’ll have an easier time stitching from this chart. It’s 150 stitches wide, which translates to 1.5 inches (38 mm) on 49-count, which is a bit wee. I need to order the two tiger-colored threads (I have the black and ecru) from Red Rock. What to do, what to do?