Lime Spice, Liners, Soon, Stretch

lime_spice

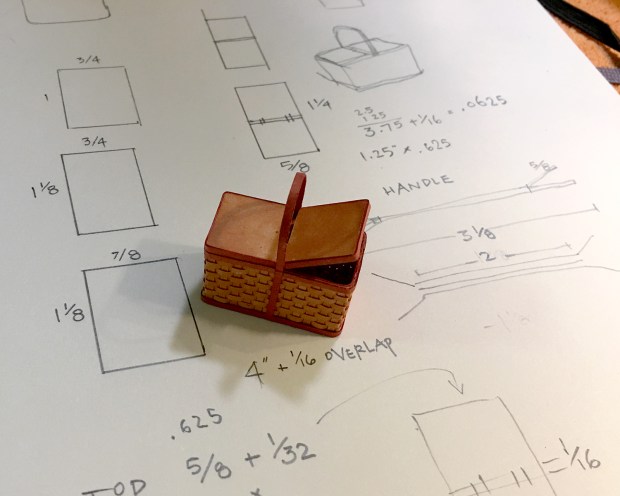
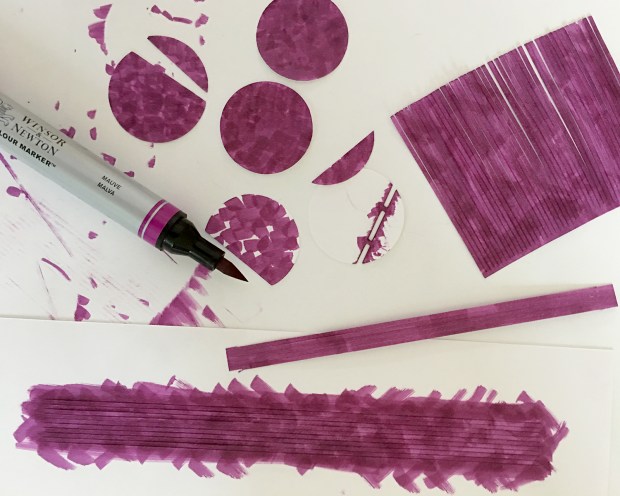
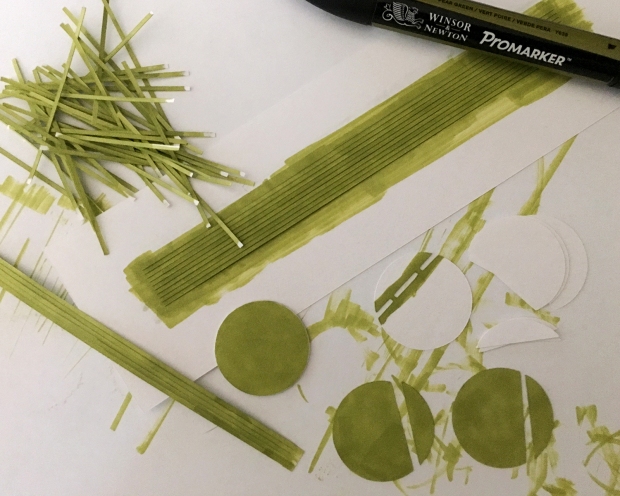
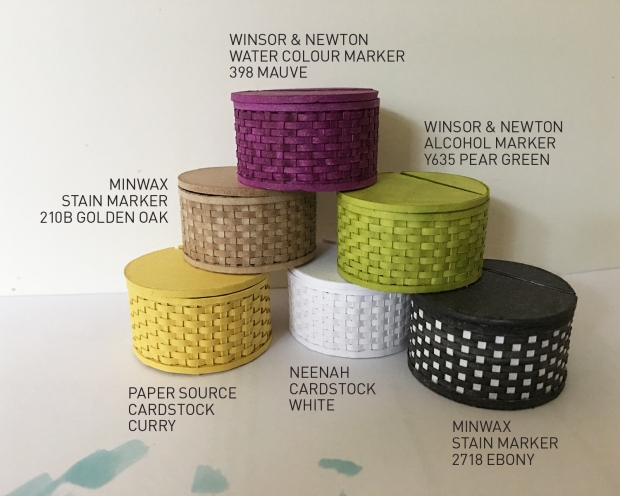
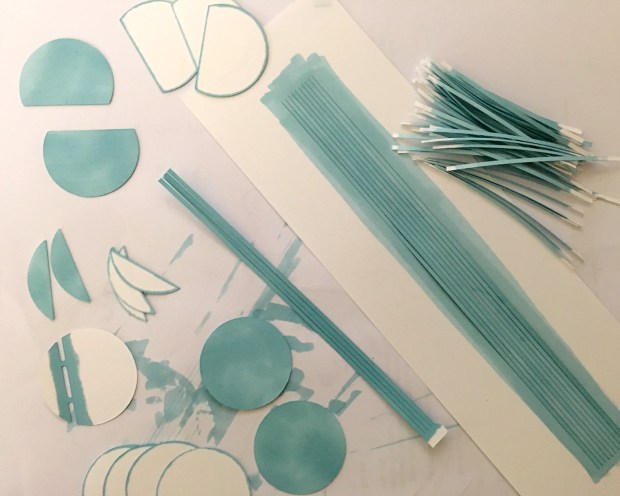
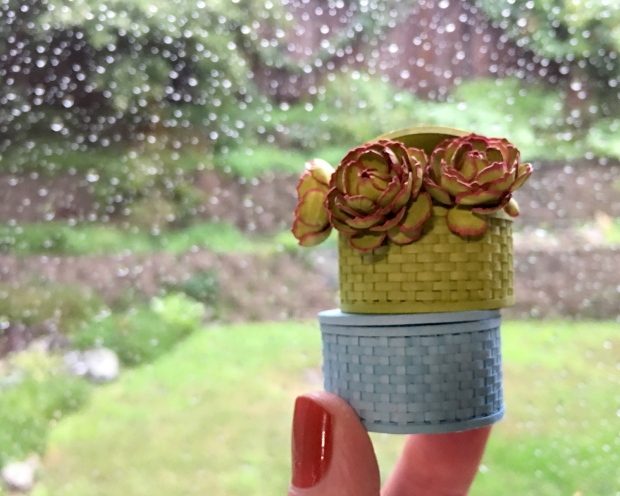
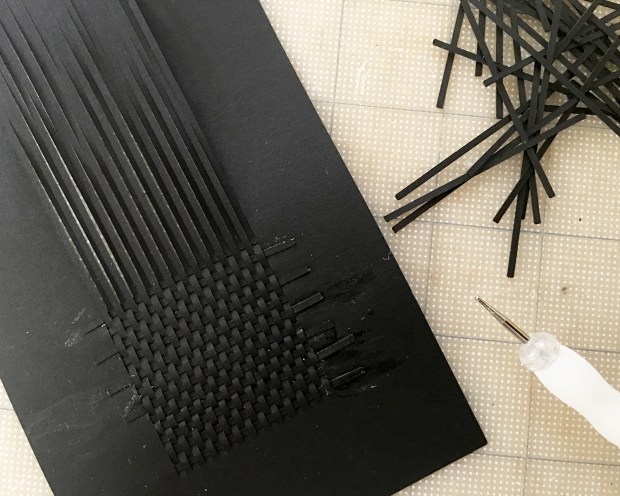
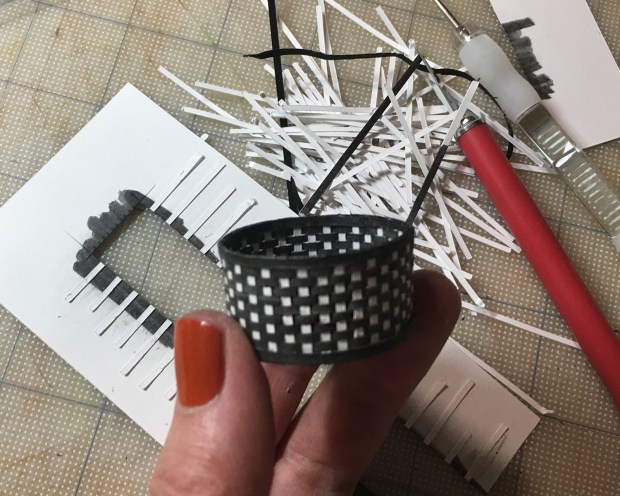
Last night, I thought this color combination was a really good idea. Note my test markers in the lower right corner… I rejected better colors for the jolt of lime. Tsk. But all is not wasted. I refined the Toto basket handle assembly, and experimented with interior/exterior color differences.

wrapping_paper.jpg

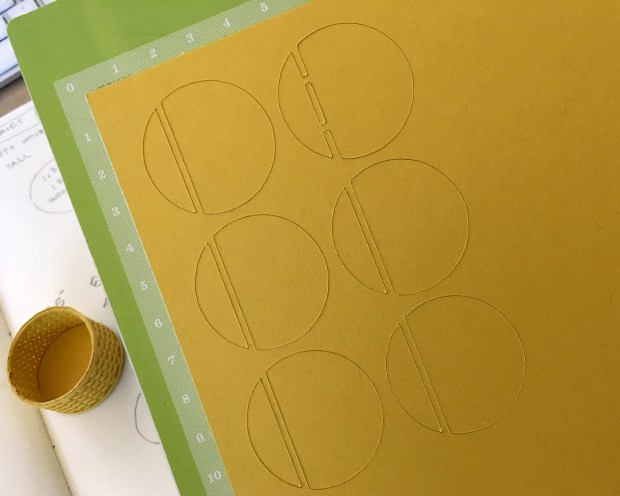
Which led me to this, this morning. I’ve been holding onto this fabulous piece of wrapping paper for some years, creases, tape and all. With the sticky mats of the Cricut machine, I sacrificed precision of placement for precision of cutting.

wrapping_circles

Perfectionist me was disappointed, but do it me did something.

basket_liners

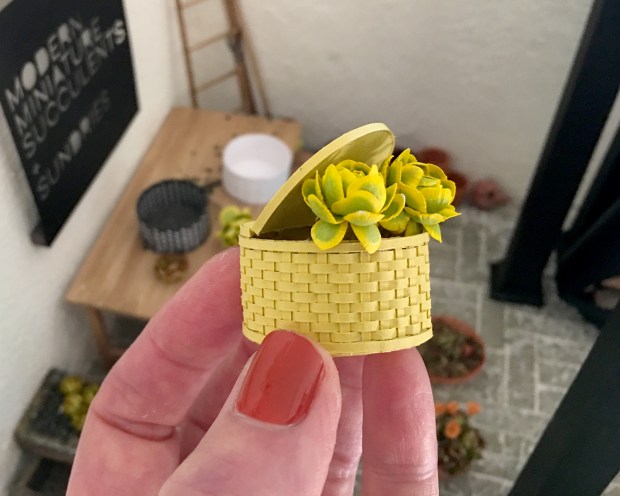
Basket liners! I don’t know why I thought the wrapping paper offcut would make a good photo background, but here you can mostly see three of the round lidded baskets, stained golden oak, dark walnut and cherry, with their new bling liners. I quite like the contrast between understated exterior and patterned inside. And, as a technique! I encourage you to explore.

pkg_preview.jpg

The new basket kits require larger packaging, which necessitates a different form for the instructions and mailer. Here is a ’neak preview of the thing. The weather forecast is for clear skies tomorrow, so I’m hoping to finish the instructions photography then. And then, then, actually list them in the shop!

stretch_011417

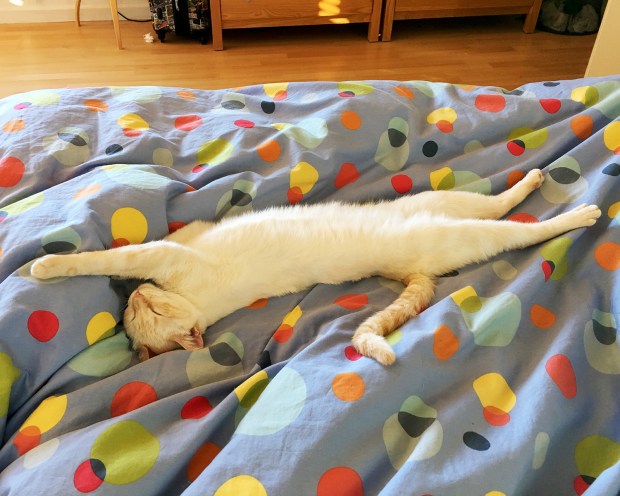
Finally, of course, Scarlett. I’ve shown remarkable restraint in not posting multi-daily photos of her adorableness. At almost seven months old, she’s approaching cat teenhood. The best thing to have happened to the harmony of our multi-species family is her access to the great outdoors. She still torments the two older cat boys relentlessly, but a lot of her alpha ways are absorbed in bug-and-other hunting and exploration. And she’s still got that crazy striped lemur tail.

Cutting 1/16-inch, New Basket, Erosion

new_base

After trying several different 1/16-inch materials — illustration board, mat board, chipboard — I finally found a cardboard I can get the Cricut machine to cut all the way through (on the 2mm thick leather setting, five passes with a deep cut blade). Unfortunately, it’s from my cardboard stash pile, and I’ve no idea what it is :\ These circles will make an easier base to work with on the soon-to-be released round basket kit.

sneak_011217

Here’s a peek at a new rectangular woven paper basket. Too bad the light is so poor; the two colors of this prototype are “Spice” accented with “Burnt Orange” and are very appealing. Still very early stages. Now that I can command shapes… ideas may expand.

manor_beach_trail_011217

Keeping things real, here in Northern California (in Pacifica, at least) we’re enjoying some drying out time, after a series of very wet, damaging storms. This is the remains of the already sketchy trail that leads to the sometimes-beach below the bluffs at the bottom of the hill. It’s the last super-low King tide, and a beautiful view stretching to the Marin headlands. Gratitude, thankfulness, appreciation.

Prototyping Complete

purple

Feeling confident about the rightness of the basket kit patterns, I move on to test-coloring the white base cardstock. My charming husband gifted me a set of Winsor & Newton water colour markers, and I’ve been eager to use them. This is, um, not exactly — nor even close to — fine art, but watercolor tints differently than either stain or alcohol markers. I used an intentional kind of crosshatch to fill the larger pieces. Gorgeous color/colour, yeah? W&N Mauve 398.

pear

I built the purple mauve watercolor basket, and moved on to an alcohol marker. These bleed and blend much more readily into the cardstock. W&N Pear Green Y635.

most

Here are our happy fellows to date. In this picture you can see the difference between the heavier-weight yellow basket, and the slightly lighter-weight, tinted and white cardstock ones.

duck_egg_blue.jpg

I realized that tinting the outer edges of the lid pieces (even though they are eventually covered) helps mask any gluing misalignment, so had to test-make one more basket. This is W&N alcohol marker Duck Egg.

green_blue_rain

And here are the last two basket prototypes, with some hen succulents, held up to the last of our stormy, freaky light. I noticed a similarity between the terracing of our wee hillside backyard, and the woven fabric of the baskets. Huh.

Basket Kit Progress, Bobo Fun

working_010517

This was my desk, late last night, working away on the paper basket kits. After many pattern iterations, file conversion aberrations and test cuts, I had the basket itself fairly well worked out. I was thinking about basket lids — if, how and why — when I had an idea. I was too tired to implement it, but scrawled some notes.

lid_idea

This morning I drew the pattern and did a test cut.

lid_first_cut

lid_proto1

And yay! It works swell! (Also, chilly in the studio this morning! My poor fingers.)

lid_proto1_top

It’s a simple construction, very open to customization.

lid_proto1_shop

I’m thinking about handles now. But enough! I want to get these kits out.

cfm_logo_01

For those who saw the item in the January newsletter referencing my delight with the typeface Bobo — designed by Jean-Baptiste Morizot in 2016 and published by Indian Type Foundry — I put together this logo. Each character in the all-caps font has at least three variations. So fun, even as an example of expanding your notions of what makes a thing a thing. (And it’s available from Fontshop right now for half price.) Check it out!

Machine Love, Sundry Basket

basic_setup_010117

I first learned weaving paper strips to make perfect miniature baskets from Jane Harrop. I’ve used her technique quite a bit for all manner of woven containers. I’m no stranger to precise measuring and cutting of things, but the Cricut machine is ideal for streamlining and automating the process, namely the precise measuring and cutting. I draw the lines in Illustrator, and export as a SVG. Here you see a 1/16-inch (1.6 mm) layout of base and weavers. Perfectly cut by a happy machine.

weaving_start_010117

Beginning weaving. This is for a finished height of 1.5 inches (38 mm) which translates to 18 inches (46 cm), a substantial-sized basket. On a 1.5-inch (38 cm) base, that’s a lot of weaving of black paper, late at night, on the first day of the new year.

weaving_010117

Slow progress, though I enjoy the process. This height (or width) of basket requires tacking down the weavers every three or so, to maintain integrity. It gets gluey.

new_start_010217.jpg

Come next morning, I’ve rethought my premise. All black is challenging to work with in the best of light. Also, black cardstock as a medium is very monochrome and flat as a believable basket. And the starting height requires *far* too much time weaving for a prototype or proof of concept. So I redrew the base to half the height, and cut a new pattern from white cardstock. I used an ebony Minwax touchup marker to stain the base, which lends a more organic color to the paper. I was about to stain the weavers, when, hey! that looks cool!

bw_proto_010217.jpg

I’ve once again lost the light, but I think you can see how appealing this black-and-white woven tub is! More importantly, having the tedious measuring and cutting work reduced in producing such a thing — whether round, oblong, square or oval, handled or no — in whatever color suits your purpose, because *you* decide… might this be a thing for you? I’m going to put a basic kit in the shop which will accommodate up to a 1.25-inch round bottom, a 1/16-inch weaving base and more than adequate weavers. I’ll gladly draw to your specifications, as well. It will take me a few more days, but check it out and let me know!