New +Sundries

ff_godzilla2

We’ve been engrossed in producing things around here, and the studio is a mess. Piles of papers and things on every surface. The answer is miniature file folders, in many colors, including classic manila.

ff_colors

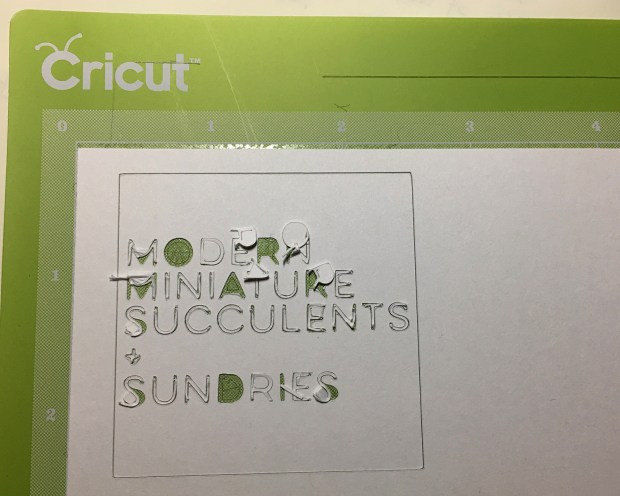
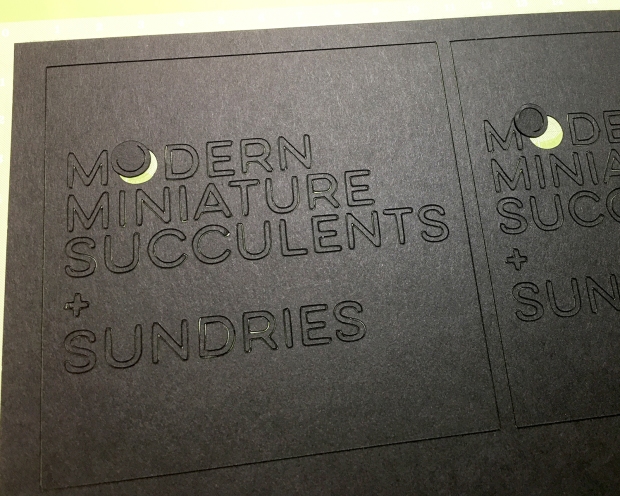
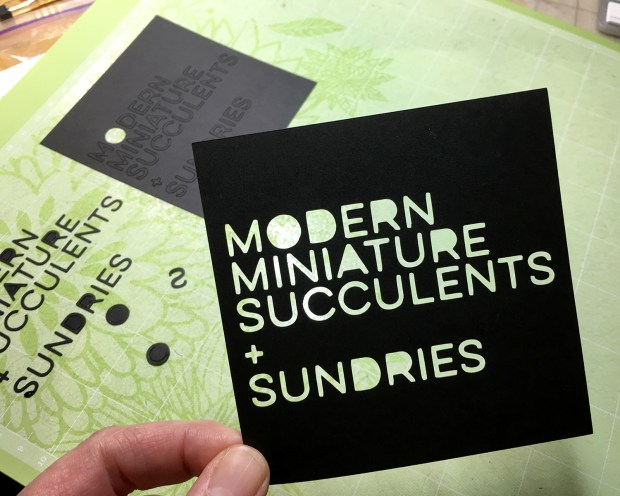
They’re available now over at MMS+S, part of a new line of miniature office supplies.

ff_box_

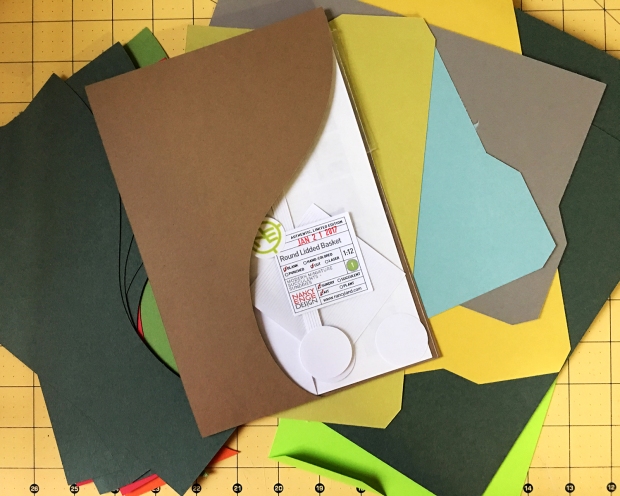
The precut folders are packaged in a “kit” of a dozen 13 — all you do is fold on the score line :) They will also be available packaged in a custom box, (which will also also be available as a kit) along with some other boxes and sundries. Because good studios and offices need them, to be tidy studios and offices.

ffbox_sketch

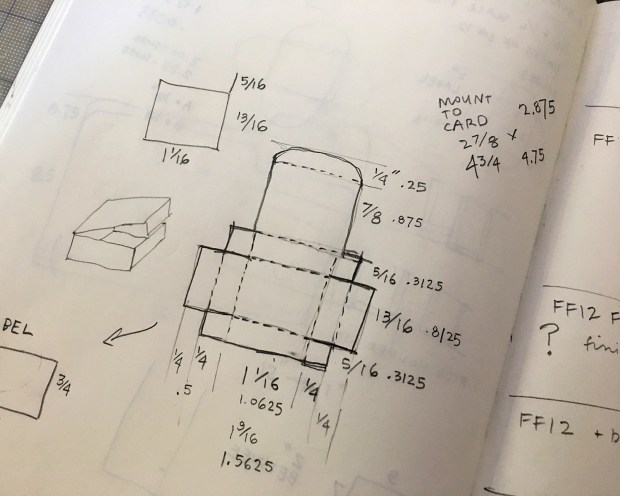
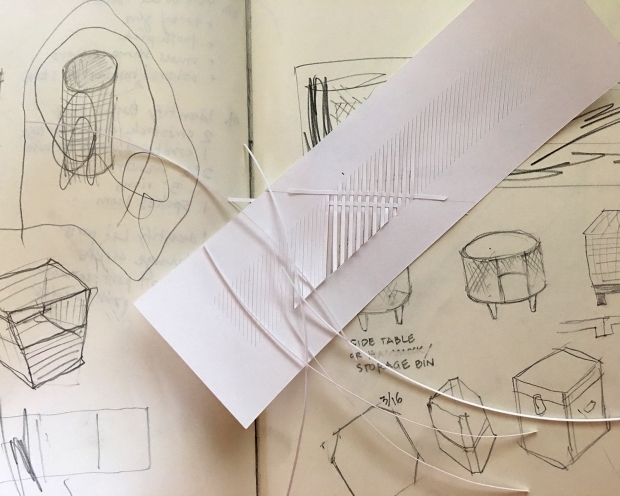
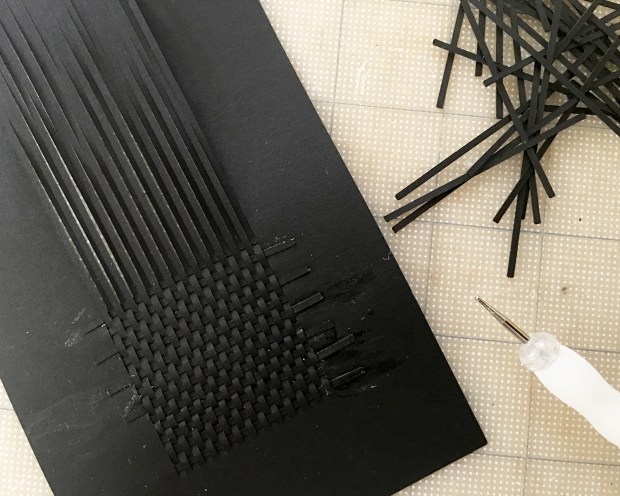
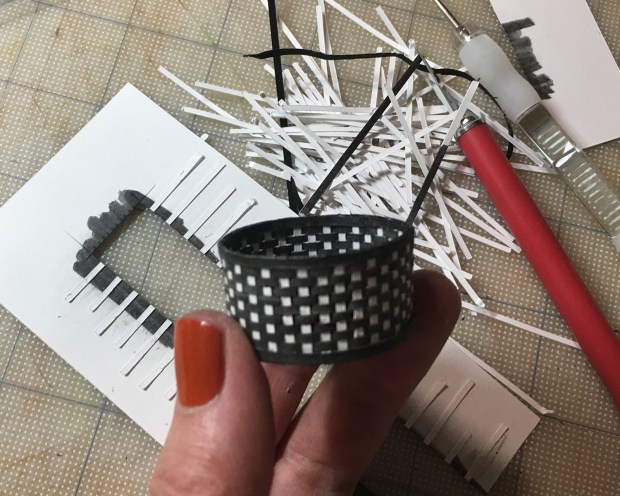
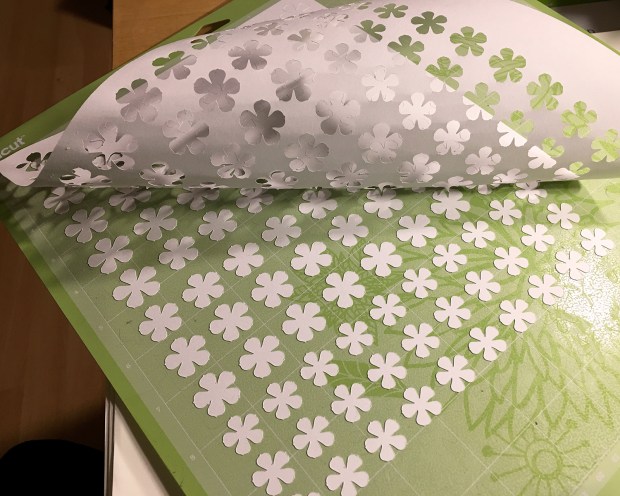
Figuring out box design dimensions, assembly, and cut and score lines. Getting more proficient at drawing in ways that translate well to SVG. Really appreciate the scoring tool feature of the Cricut machine.

ff_all_colors

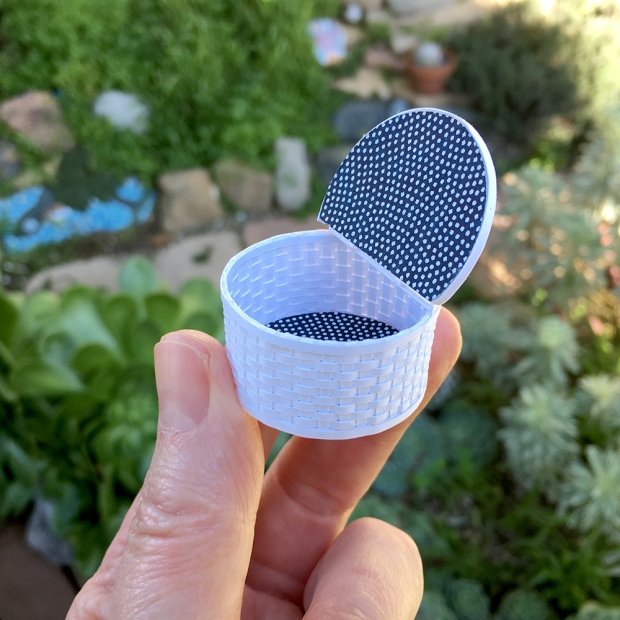
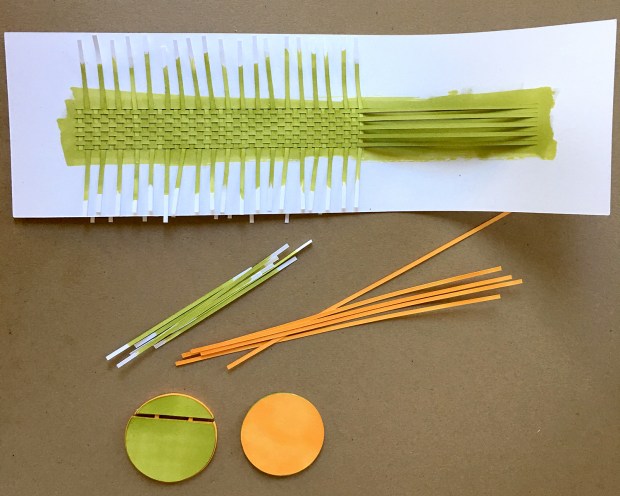
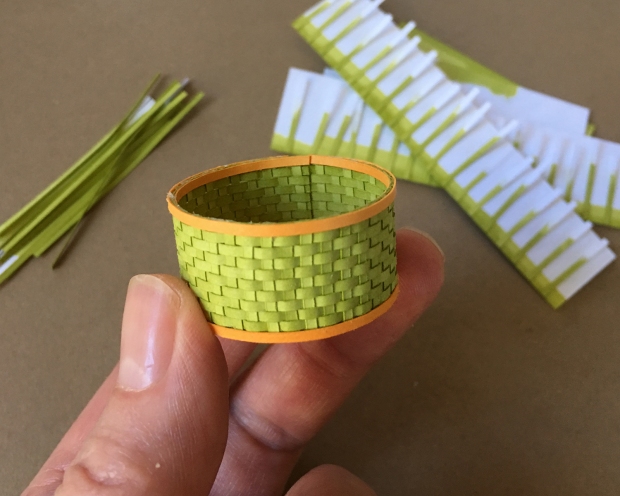
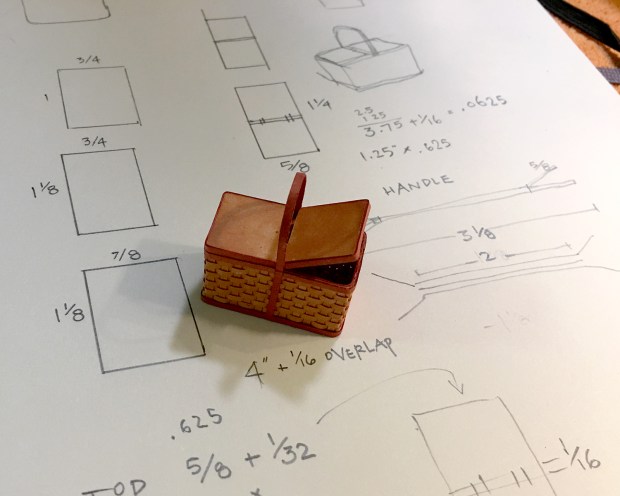
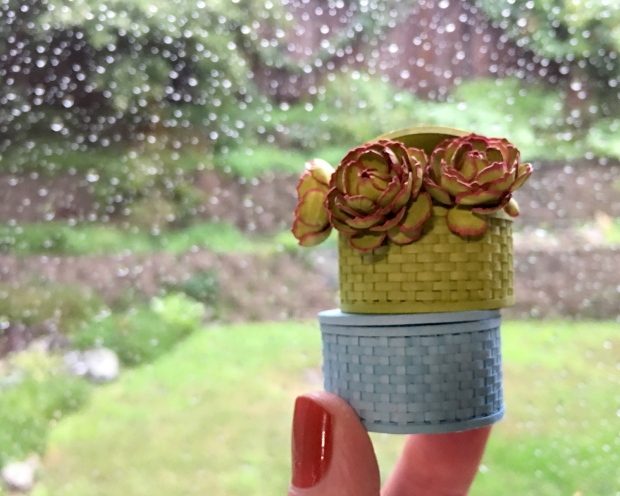
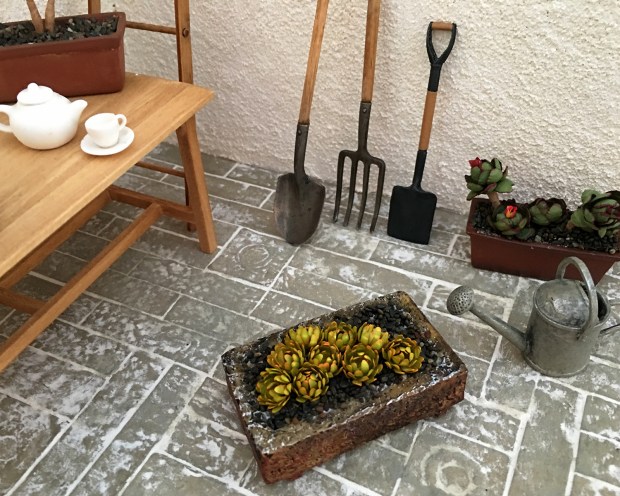
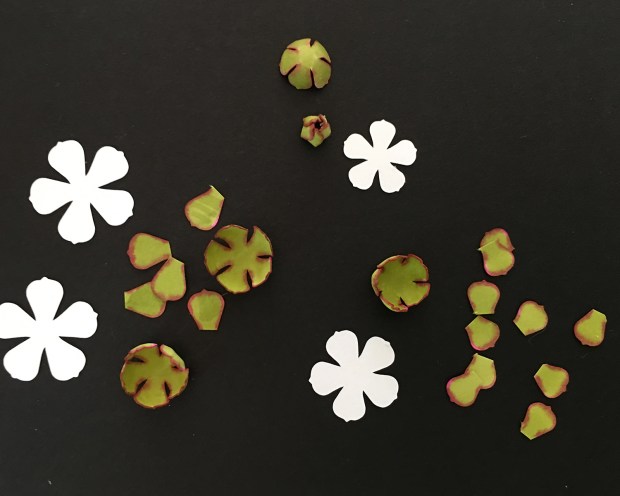
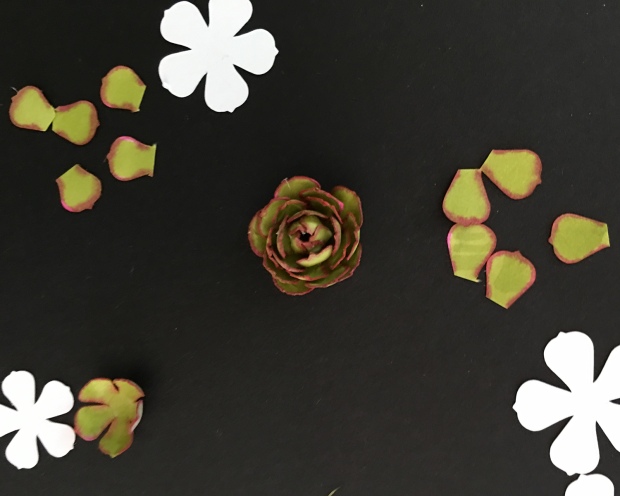
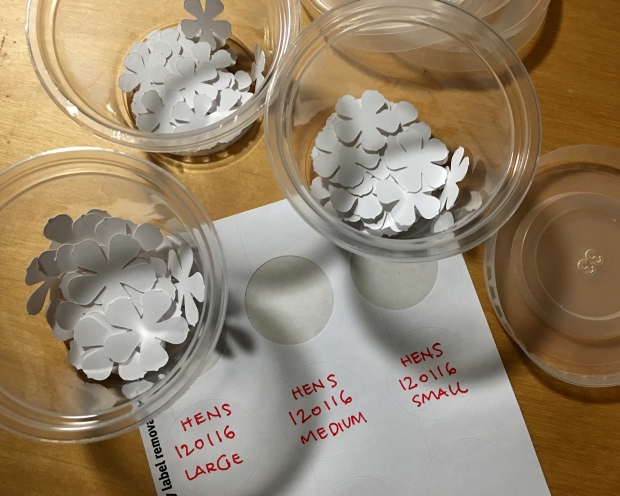
Model building, instruction writing, label design, photography and kitting are all in various stages of completion. (For the Toto basket, too! And delightful hen-and-chicks succulents.) I am closing my eyes and tapping my heels together three times. And thinking to myself …

Success, Failure, Success

I took the coast road down to Santa Cruz on Wednesday. There was a mad gale blowing, and pouring down rain, and I just didn’t feel like hydroplaning on the Peninsula freeways. Mid-week, the coast road — in addition to being spectacularly beautiful — is a good place to think, and I needed some thinking time. The weather was intense, especially on the open coastal bluffs; the road oddly deserted, and I felt alive and free, so happy to be on the way to seeing my baby girls (the little mama, Maddie, and the bun in the oven :)

bummed_012017

I had this great idea to do diagonal weaving that occupied much of my drive, with the first project being an open-sided ottoman on stylish legs. After our joyful reunion at preschool, and snacks, Maddie and I sat side by side on the couch, she absorbed in an animal show on the iPad (special treat!) while I sketched out my ideas. Above you see some of the sketches, along with Maddie’s later commentary. And the next day’s failed attempts to devise a workable diagonal paper loom.

But no. I tried a few variations, redid my measurements, cut different spoke looms, wove this way and that, but it’s just too hard to do in paper, and not fun at all. Feh.

notebook_011917

However, my notebook has been enriched with an almost-4-year-old’s visions. This is one of my favorites. So much going on!

mailers

Today, after happily spending the morning kitting and filling MMS+S orders, I noticed the supply of old presentation materials I have been hacking and re-purposing for shipping was dwindling. (Seriously, they are like 20 years old? And I’ve held on to them all this time? = paper hoarder.) I determined to craft new ones. Some trial-and-error, but I learned how to use the Cricut scoring tool (super useful!) and cut up bunches of cardstock that is too heavy for weaving (thrifty!) to make colorful new shipping inserts.

Heartfelt thanks to Brae and Keli for writing about the basket kits. Your esteem and influence is plain to see, and I am so very glad that you like them. In our tiny community, you set a standard of generosity that is priceless.

Basket Kit Listed

close_up

The first woven paper basket kit is up on Modern Miniature Succulents + Sundries! Starting with a pre-cut kit takes all the tedium out of miniature basket weaving.

(Vocabulary enrichment moment: When looking for a nicer word than ‘tedium’, I encountered longueur, and this reflection by Francine Prose:
I find myself using this word more often than I probably should, to describe those boring stretches of a novel or play during which your attention drifts … I would probably use it even more frequently were it not so difficult to spell. What I like is how the sound of it suggests a combination of languor and length — the languor produced by something that is unduly long — though I have learned that its derivation has to do with length rather than lassitude.”)

I stuck with tedium. Anyway, some outtakes from the instructions:

basket_componets

Just color, weave and glue :)

all_rims

Voilà!

Lime Spice, Liners, Soon, Stretch

lime_spice

Last night, I thought this color combination was a really good idea. Note my test markers in the lower right corner… I rejected better colors for the jolt of lime. Tsk. But all is not wasted. I refined the Toto basket handle assembly, and experimented with interior/exterior color differences.

wrapping_paper.jpg

Which led me to this, this morning. I’ve been holding onto this fabulous piece of wrapping paper for some years, creases, tape and all. With the sticky mats of the Cricut machine, I sacrificed precision of placement for precision of cutting.

wrapping_circles

Perfectionist me was disappointed, but do it me did something.

basket_liners

Basket liners! I don’t know why I thought the wrapping paper offcut would make a good photo background, but here you can mostly see three of the round lidded baskets, stained golden oak, dark walnut and cherry, with their new bling liners. I quite like the contrast between understated exterior and patterned inside. And, as a technique! I encourage you to explore.

pkg_preview.jpg

The new basket kits require larger packaging, which necessitates a different form for the instructions and mailer. Here is a ’neak preview of the thing. The weather forecast is for clear skies tomorrow, so I’m hoping to finish the instructions photography then. And then, then, actually list them in the shop!

stretch_011417

Finally, of course, Scarlett. I’ve shown remarkable restraint in not posting multi-daily photos of her adorableness. At almost seven months old, she’s approaching cat teenhood. The best thing to have happened to the harmony of our multi-species family is her access to the great outdoors. She still torments the two older cat boys relentlessly, but a lot of her alpha ways are absorbed in bug-and-other hunting and exploration. And she’s still got that crazy striped lemur tail.

Cutting 1/16-inch, New Basket, Erosion

new_base

After trying several different 1/16-inch materials — illustration board, mat board, chipboard — I finally found a cardboard I can get the Cricut machine to cut all the way through (on the 2mm thick leather setting, five passes with a deep cut blade). Unfortunately, it’s from my cardboard stash pile, and I’ve no idea what it is :\ These circles will make an easier base to work with on the soon-to-be released round basket kit.

sneak_011217

Here’s a peek at a new rectangular woven paper basket. Too bad the light is so poor; the two colors of this prototype are “Spice” accented with “Burnt Orange” and are very appealing. Still very early stages. Now that I can command shapes… ideas may expand.

manor_beach_trail_011217

Keeping things real, here in Northern California (in Pacifica, at least) we’re enjoying some drying out time, after a series of very wet, damaging storms. This is the remains of the already sketchy trail that leads to the sometimes-beach below the bluffs at the bottom of the hill. It’s the last super-low King tide, and a beautiful view stretching to the Marin headlands. Gratitude, thankfulness, appreciation.

Prototyping Complete

purple

Feeling confident about the rightness of the basket kit patterns, I move on to test-coloring the white base cardstock. My charming husband gifted me a set of Winsor & Newton water colour markers, and I’ve been eager to use them. This is, um, not exactly — nor even close to — fine art, but watercolor tints differently than either stain or alcohol markers. I used an intentional kind of crosshatch to fill the larger pieces. Gorgeous color/colour, yeah? W&N Mauve 398.

pear

I built the purple mauve watercolor basket, and moved on to an alcohol marker. These bleed and blend much more readily into the cardstock. W&N Pear Green Y635.

most

Here are our happy fellows to date. In this picture you can see the difference between the heavier-weight yellow basket, and the slightly lighter-weight, tinted and white cardstock ones.

duck_egg_blue.jpg

I realized that tinting the outer edges of the lid pieces (even though they are eventually covered) helps mask any gluing misalignment, so had to test-make one more basket. This is W&N alcohol marker Duck Egg.

green_blue_rain

And here are the last two basket prototypes, with some hen succulents, held up to the last of our stormy, freaky light. I noticed a similarity between the terracing of our wee hillside backyard, and the woven fabric of the baskets. Huh.

Machine Love, Sundry Basket

basic_setup_010117

I first learned weaving paper strips to make perfect miniature baskets from Jane Harrop. I’ve used her technique quite a bit for all manner of woven containers. I’m no stranger to precise measuring and cutting of things, but the Cricut machine is ideal for streamlining and automating the process, namely the precise measuring and cutting. I draw the lines in Illustrator, and export as a SVG. Here you see a 1/16-inch (1.6 mm) layout of base and weavers. Perfectly cut by a happy machine.

weaving_start_010117

Beginning weaving. This is for a finished height of 1.5 inches (38 mm) which translates to 18 inches (46 cm), a substantial-sized basket. On a 1.5-inch (38 cm) base, that’s a lot of weaving of black paper, late at night, on the first day of the new year.

weaving_010117

Slow progress, though I enjoy the process. This height (or width) of basket requires tacking down the weavers every three or so, to maintain integrity. It gets gluey.

new_start_010217.jpg

Come next morning, I’ve rethought my premise. All black is challenging to work with in the best of light. Also, black cardstock as a medium is very monochrome and flat as a believable basket. And the starting height requires *far* too much time weaving for a prototype or proof of concept. So I redrew the base to half the height, and cut a new pattern from white cardstock. I used an ebony Minwax touchup marker to stain the base, which lends a more organic color to the paper. I was about to stain the weavers, when, hey! that looks cool!

bw_proto_010217.jpg

I’ve once again lost the light, but I think you can see how appealing this black-and-white woven tub is! More importantly, having the tedious measuring and cutting work reduced in producing such a thing — whether round, oblong, square or oval, handled or no — in whatever color suits your purpose, because *you* decide… might this be a thing for you? I’m going to put a basic kit in the shop which will accommodate up to a 1.25-inch round bottom, a 1/16-inch weaving base and more than adequate weavers. I’ll gladly draw to your specifications, as well. It will take me a few more days, but check it out and let me know!

MMS+S Signage

sign_fail_4x5

I continue to explore what works and what does not on the Cricut Explore Air 2. I’ve not yet moved beyond cardstock. I wanted to make signage for the courtyard set. This is my first attempt at cutting a sign 2.25 inches (5.7 cm) square. Lessons learned.

better_cut_4x5

I scaled up to almost four inches, and it cut beautifully.

released_4x5

Here is the sign, 23 picas square, released from the sticky mat. I glued a nice piece of translucent plastic salvaged from Japanese rice cracker packaging to the back, and cut lengths of 1/4-inch basswood for the top and bottom.

hung_4x5

The finished sign. At least for now.

New Echeveria Kit, Esplanade, Scarlett

ec01_done5_4x5

There’s a new kit available over at Modern Miniature Succulents + Sundries. It’s a more delicate echeveria variety, based on an eight-leaved shape. Each plant is about 3/8-inch (9.5 mm) in diameter; the kit makes nine.

ec01_done4_4x5

esplanade_121616

In other news, natural beach erosion opened up two large sinkholes in the switchback path leading down to Esplanade beach, as well as taking out more of the cliffs under the remaining apartments (vacant since January). It was so windy this afternoon on the bluffs I could scarcely keep my camera still.

b_scarlett_121716

Scarlett is almost six months old. Her extravagant affections continue to grow, and because she goes outside now, her depredations have eased *somewhat*.

Happy winter solstice, all.

hens test

hens_holes

Hen and chicks are one of the first succulents I fell in love with, so this design is dear to my heart. And I felt like a right genius because I figured out how to get the machine to cut a hole in each center. It is not an automatic process and involves what Cricut calls “attaching” layers. (The above holes are three points in diameter; I’ve since upped it to four.)

hens_fun_part

This is the fun part. Removing the waste from the sticky mat makes a musical plinking sound that is very satisfying. And as I soon learned and as Nora suggested, it’s far easier to remove the cut shapes after the mat has been “de-sticked” a bit — which seems to happen with use.

hens_shaping

Color test and shaping. The little point on the end of each leaf adds such sweet realism. My inspiration:

live

These guys are in a bit more shade now in my early winter backyard, so they’ve lost most of their edge-leaf color.

hens_proto

Prototype hen. Next up is to draft a smaller-leaved pattern set for the chicks, so we can build happy succulent families. This one is about 5/8-inch (16 mm) across.

hens_storage

And this is how I’m keeping all the very many parts organized and identified. I’ve long kept a stash of these useful little containers from takeout food, but ran out quickly. Dollar store to the rescue! Ten cups with lids/$1. I should probably cost them out in greater quantities :(