Prototyping Complete

purple

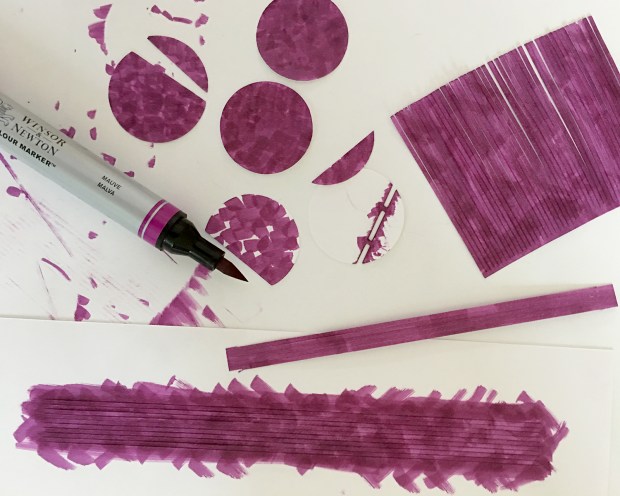
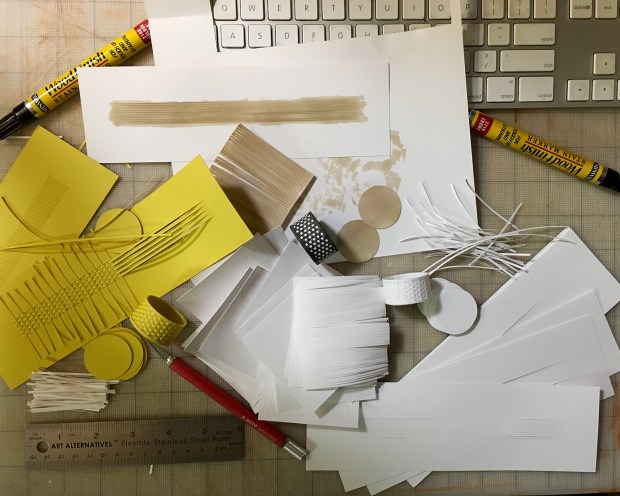
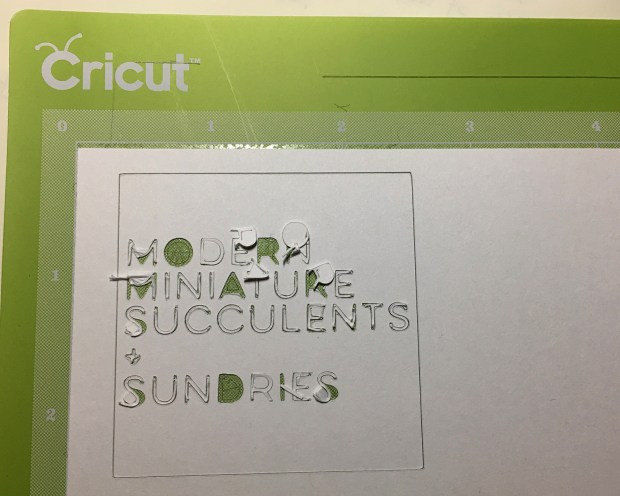
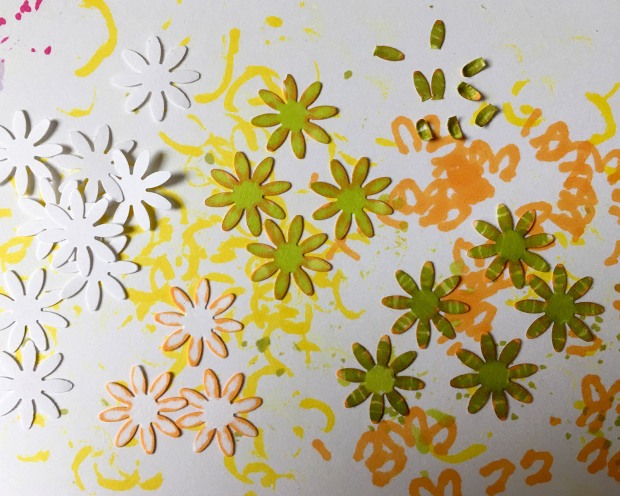
Feeling confident about the rightness of the basket kit patterns, I move on to test-coloring the white base cardstock. My charming husband gifted me a set of Winsor & Newton water colour markers, and I’ve been eager to use them. This is, um, not exactly — nor even close to — fine art, but watercolor tints differently than either stain or alcohol markers. I used an intentional kind of crosshatch to fill the larger pieces. Gorgeous color/colour, yeah? W&N Mauve 398.

pear

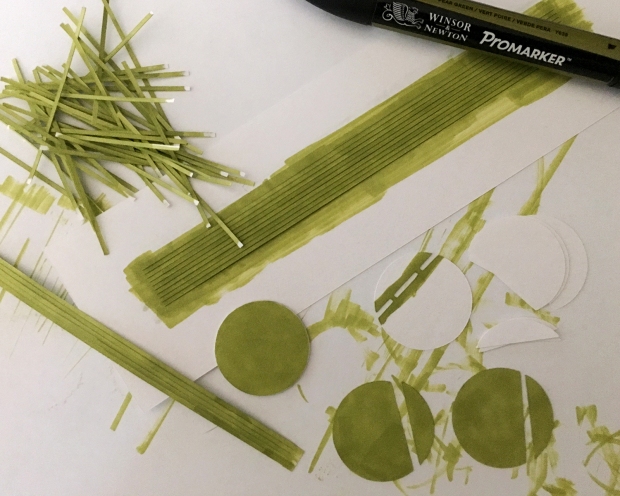
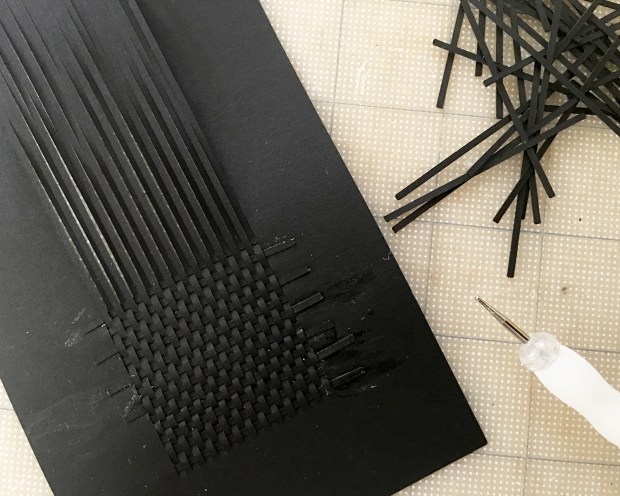
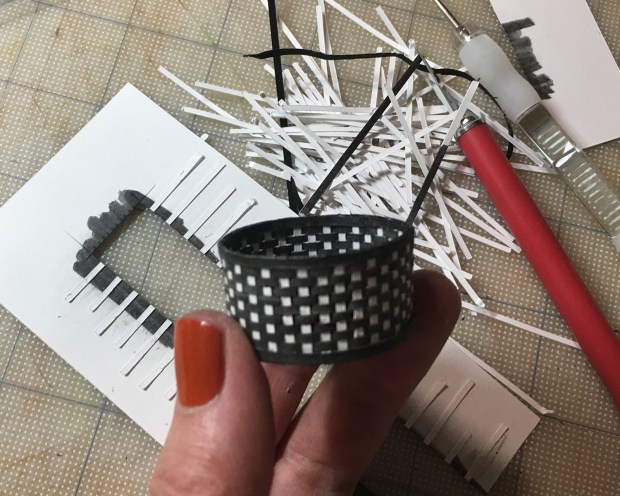
I built the purple mauve watercolor basket, and moved on to an alcohol marker. These bleed and blend much more readily into the cardstock. W&N Pear Green Y635.

most

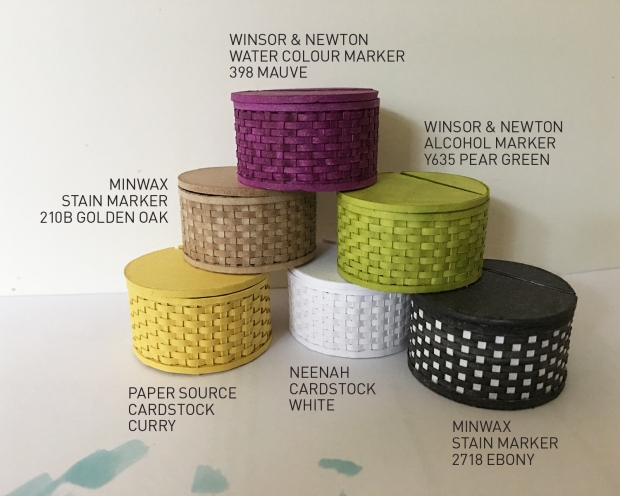
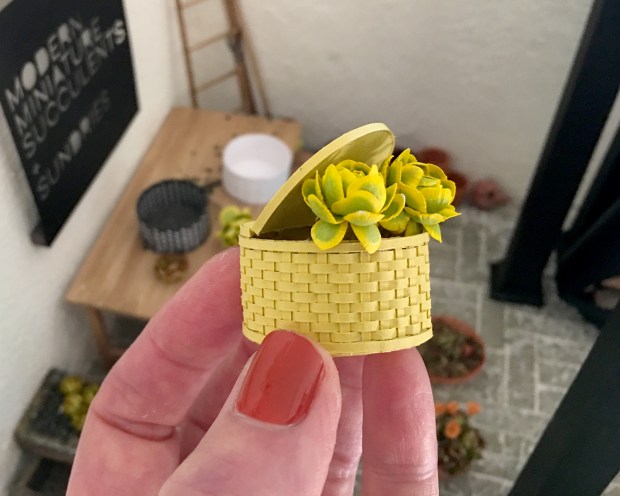
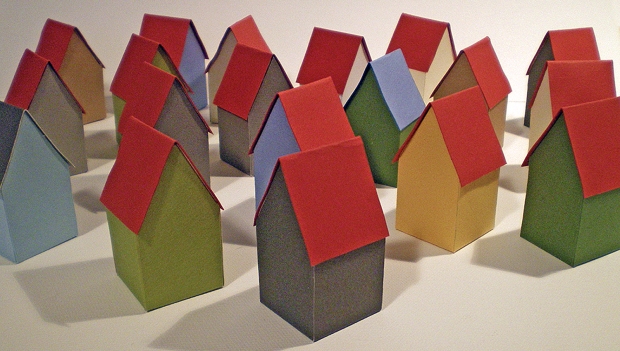
Here are our happy fellows to date. In this picture you can see the difference between the heavier-weight yellow basket, and the slightly lighter-weight, tinted and white cardstock ones.

duck_egg_blue.jpg

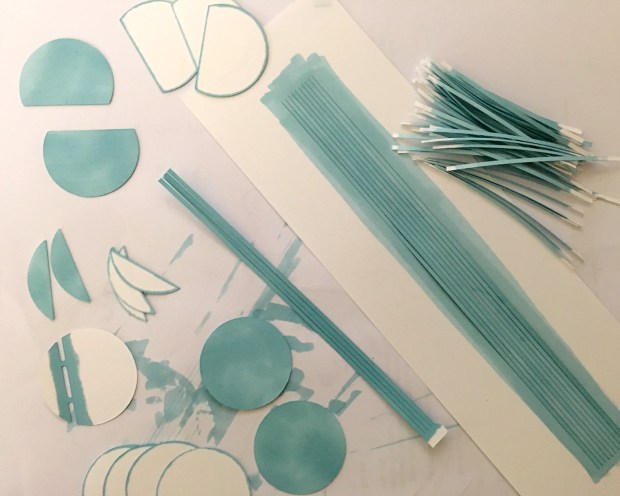
I realized that tinting the outer edges of the lid pieces (even though they are eventually covered) helps mask any gluing misalignment, so had to test-make one more basket. This is W&N alcohol marker Duck Egg.

green_blue_rain

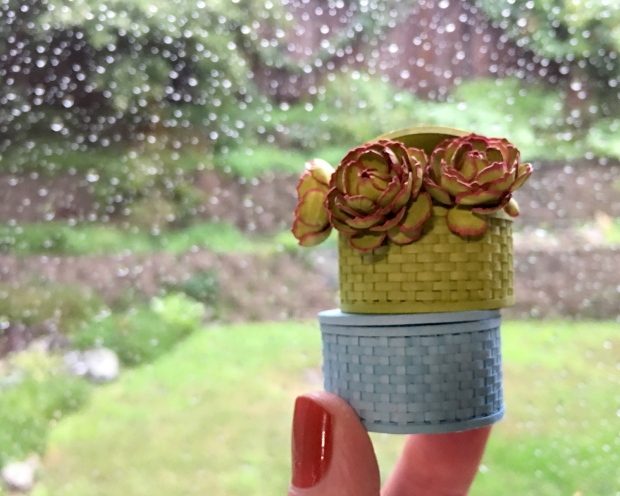
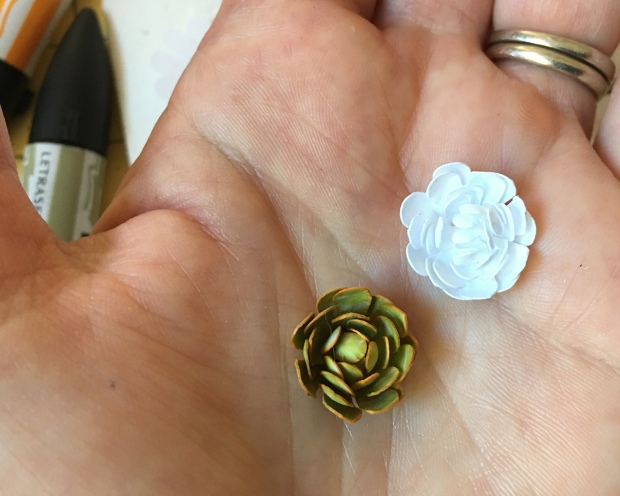
And here are the last two basket prototypes, with some hen succulents, held up to the last of our stormy, freaky light. I noticed a similarity between the terracing of our wee hillside backyard, and the woven fabric of the baskets. Huh.

Basket Kit Progress, Bobo Fun

working_010517

This was my desk, late last night, working away on the paper basket kits. After many pattern iterations, file conversion aberrations and test cuts, I had the basket itself fairly well worked out. I was thinking about basket lids — if, how and why — when I had an idea. I was too tired to implement it, but scrawled some notes.

lid_idea

This morning I drew the pattern and did a test cut.

lid_first_cut

lid_proto1

And yay! It works swell! (Also, chilly in the studio this morning! My poor fingers.)

lid_proto1_top

It’s a simple construction, very open to customization.

lid_proto1_shop

I’m thinking about handles now. But enough! I want to get these kits out.

cfm_logo_01

For those who saw the item in the January newsletter referencing my delight with the typeface Bobo — designed by Jean-Baptiste Morizot in 2016 and published by Indian Type Foundry — I put together this logo. Each character in the all-caps font has at least three variations. So fun, even as an example of expanding your notions of what makes a thing a thing. (And it’s available from Fontshop right now for half price.) Check it out!

Machine Love, Sundry Basket

basic_setup_010117

I first learned weaving paper strips to make perfect miniature baskets from Jane Harrop. I’ve used her technique quite a bit for all manner of woven containers. I’m no stranger to precise measuring and cutting of things, but the Cricut machine is ideal for streamlining and automating the process, namely the precise measuring and cutting. I draw the lines in Illustrator, and export as a SVG. Here you see a 1/16-inch (1.6 mm) layout of base and weavers. Perfectly cut by a happy machine.

weaving_start_010117

Beginning weaving. This is for a finished height of 1.5 inches (38 mm) which translates to 18 inches (46 cm), a substantial-sized basket. On a 1.5-inch (38 cm) base, that’s a lot of weaving of black paper, late at night, on the first day of the new year.

weaving_010117

Slow progress, though I enjoy the process. This height (or width) of basket requires tacking down the weavers every three or so, to maintain integrity. It gets gluey.

new_start_010217.jpg

Come next morning, I’ve rethought my premise. All black is challenging to work with in the best of light. Also, black cardstock as a medium is very monochrome and flat as a believable basket. And the starting height requires *far* too much time weaving for a prototype or proof of concept. So I redrew the base to half the height, and cut a new pattern from white cardstock. I used an ebony Minwax touchup marker to stain the base, which lends a more organic color to the paper. I was about to stain the weavers, when, hey! that looks cool!

bw_proto_010217.jpg

I’ve once again lost the light, but I think you can see how appealing this black-and-white woven tub is! More importantly, having the tedious measuring and cutting work reduced in producing such a thing — whether round, oblong, square or oval, handled or no — in whatever color suits your purpose, because *you* decide… might this be a thing for you? I’m going to put a basic kit in the shop which will accommodate up to a 1.25-inch round bottom, a 1/16-inch weaving base and more than adequate weavers. I’ll gladly draw to your specifications, as well. It will take me a few more days, but check it out and let me know!

MMS+S Signage

sign_fail_4x5

I continue to explore what works and what does not on the Cricut Explore Air 2. I’ve not yet moved beyond cardstock. I wanted to make signage for the courtyard set. This is my first attempt at cutting a sign 2.25 inches (5.7 cm) square. Lessons learned.

better_cut_4x5

I scaled up to almost four inches, and it cut beautifully.

released_4x5

Here is the sign, 23 picas square, released from the sticky mat. I glued a nice piece of translucent plastic salvaged from Japanese rice cracker packaging to the back, and cut lengths of 1/4-inch basswood for the top and bottom.

hung_4x5

The finished sign. At least for now.

Courtyard Set

floor

I wanted to build a courtyard set in which to photograph the miniature succulents, and I didn’t want to spend a lot of time doing it. I mulled it over conceptually for a few days, then remembered I had this egg carton paved floor from a few years ago. It had been sealed, so I grouted it with DAP spackle.

end_wall

I spent about half a day going through all my MDF scrap, windows, doors and gates, dry-fitting various combinations to fit the floor. And getting frustrated when they inevitably collapsed, as all dry-fits do. All the while sighing with that sinking feeling of I really don’t want to do all the work of cutting, patching, painting, sanding. Then I remembered I didn’t have to, and settled on a peaked end panel from a garage kit, and a length of half-inch foamboard for the long back wall. I mixed up a stucco slurry from some fine texture medium, thinned acrylic paint and a little tacky glue. It was a very enjoyable application :)

drying

After gluing the pieces together, I put it on the floor in front of my wee-yet-powerful Dyson heater to dry overnight.

done

Today I added a few pieces of wood trim — a cross beam and some posts — all stained leftovers from Argo Wool Works, and called it done. Actually, tomorrow I’ll drill some holes and add small nails and dowels for increased stability. Also I’m currently incubating designs for building anchor stars to cut on the Cricut and a few implementations of MMS+S signage :)

deco_vase

Here are some vases that will be available real soon over at Modern Miniature Succulents + Sundries. (These are just my prototype succulents; the actually plants have thinner stems.) Above is a turquoise-glazed porcelain Art Deco vase, about an inch tall.

seahorse_vase

This is a glazed porcelain vase sculpted with cavorting sea horses.

lady_face_vase

And one of my freaky favorites, a reproduction of an ancient 15th–13th century vase marked Chypre (Cyprus). Fierce! Nasty!

cyrpus_vessel

Update: Original vessel is in The British Museum, whose website is impossibly slow, but I found this image on a Pinterest board. “Glazed composition vessel in form of woman’s head. Ancient Cyprus in the British Museum”.

cyprus_zoltar

For you, Pepper.

hens test

hens_holes

Hen and chicks are one of the first succulents I fell in love with, so this design is dear to my heart. And I felt like a right genius because I figured out how to get the machine to cut a hole in each center. It is not an automatic process and involves what Cricut calls “attaching” layers. (The above holes are three points in diameter; I’ve since upped it to four.)

hens_fun_part

This is the fun part. Removing the waste from the sticky mat makes a musical plinking sound that is very satisfying. And as I soon learned and as Nora suggested, it’s far easier to remove the cut shapes after the mat has been “de-sticked” a bit — which seems to happen with use.

hens_shaping

Color test and shaping. The little point on the end of each leaf adds such sweet realism. My inspiration:

live

These guys are in a bit more shade now in my early winter backyard, so they’ve lost most of their edge-leaf color.

hens_proto

Prototype hen. Next up is to draft a smaller-leaved pattern set for the chicks, so we can build happy succulent families. This one is about 5/8-inch (16 mm) across.

hens_storage

And this is how I’m keeping all the very many parts organized and identified. I’ve long kept a stash of these useful little containers from takeout food, but ran out quickly. Dollar store to the rescue! Ten cups with lids/$1. I should probably cost them out in greater quantities :(


Testing

first_test_cut_120116

I drew some succulent patterns in Illustrator and exported them as SVG. The Cricut Design Space, the app the cutter uses, is fairly straight forward and easy to navigate. First cuts! The sticky cutting mat smells like a toxic headache, though.

more_120116

Here’s the first batch. The software arranges the cuts for best use of the material.

shapes_120116

By far the most difficult and tedious task is removing my many, many small shapes from the cutting mat.

stack_120116

A proposed stack. As it turns out, the two 11-leaved pieces don’t work well at all for miniature succulents.

prototype_120116

Here’s a first model and prototype. I’ll need to make some several before I work out the best construction techniques.

12x12_120116

After revising the patterns, I cut a 12 x 12-inch sheet of colored stock. That’s a lot of prying off to do. Best tool I’ve used thus far is a thin, flexible wedge-shaped palette knife. The next thing I want to determine is if the pen can have a broader tip, and can outline the cut line, and hold registration with the cutter. Learning!

New Echeveria Kit in Development

ec01_color_113016
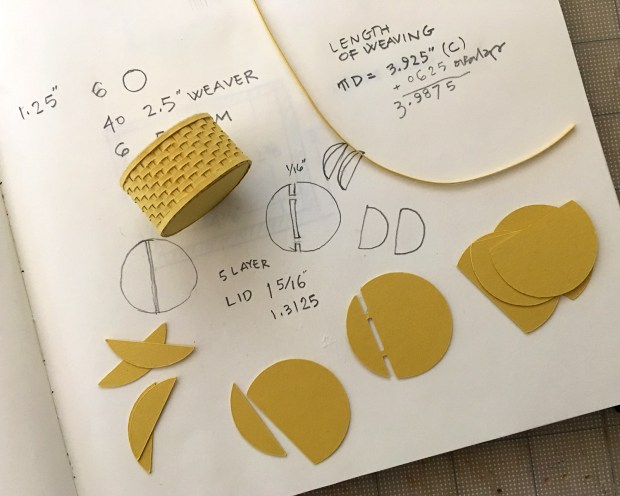
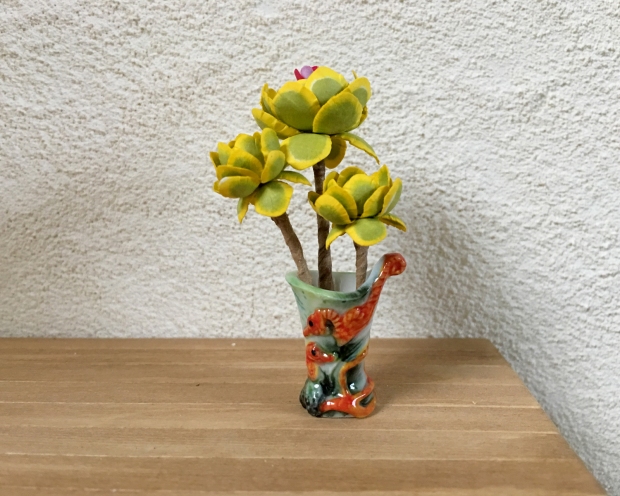
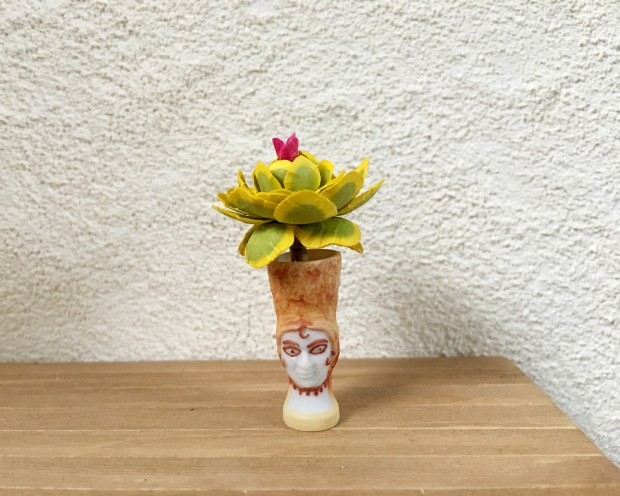
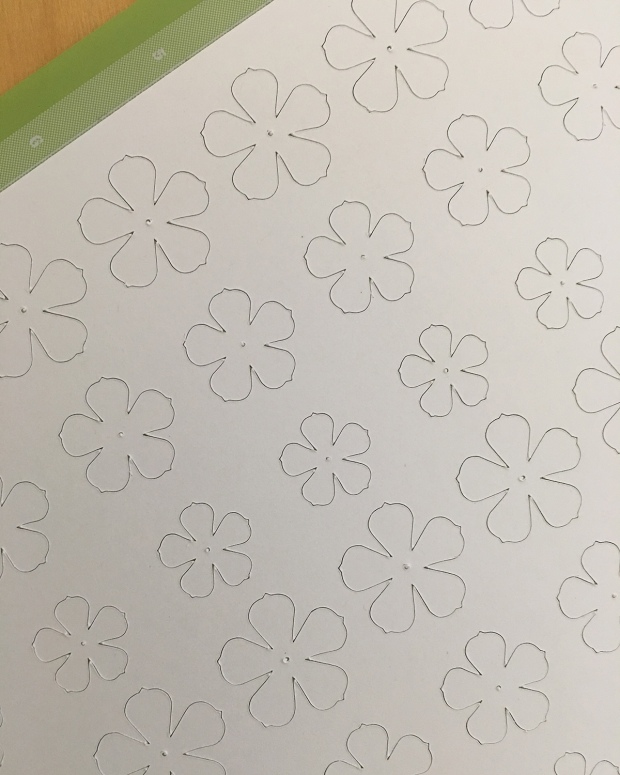
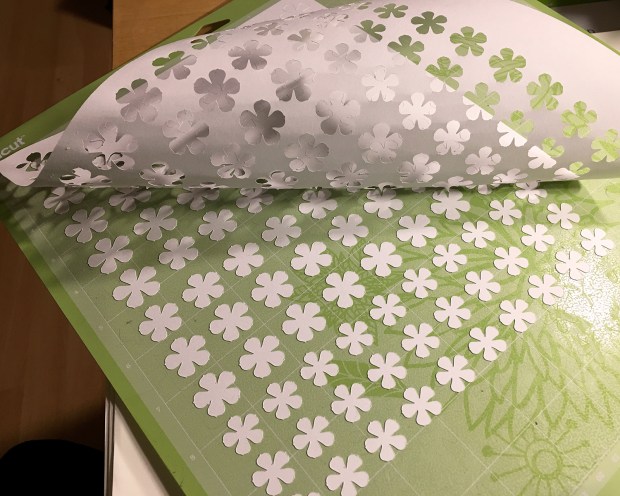
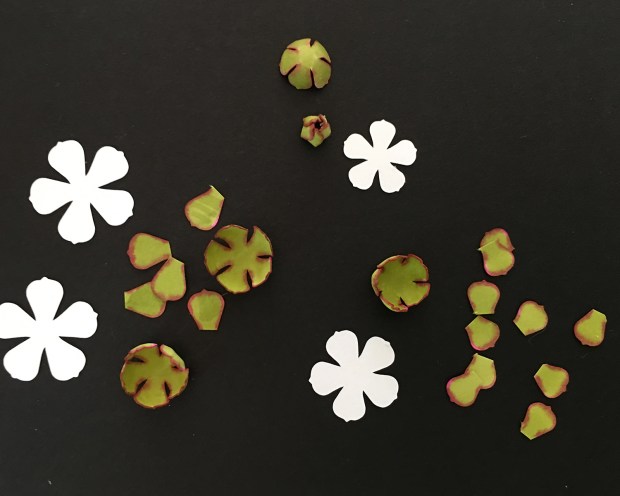
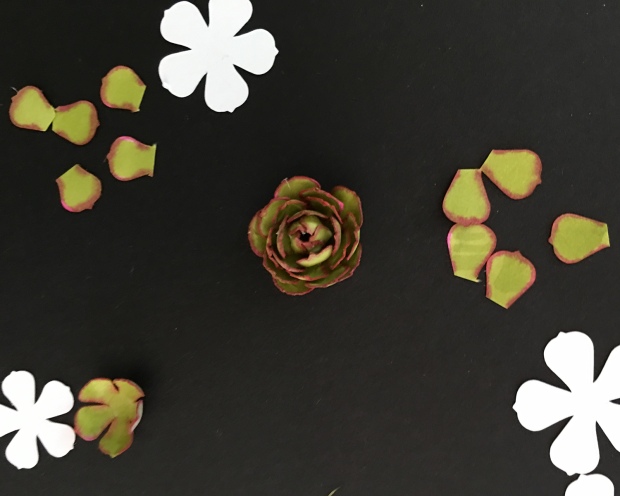
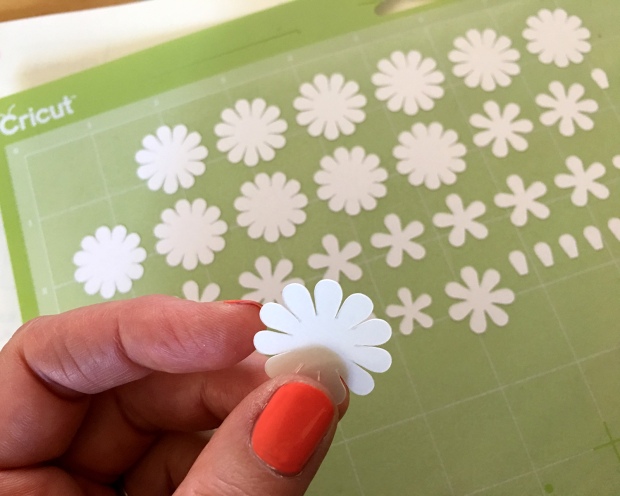
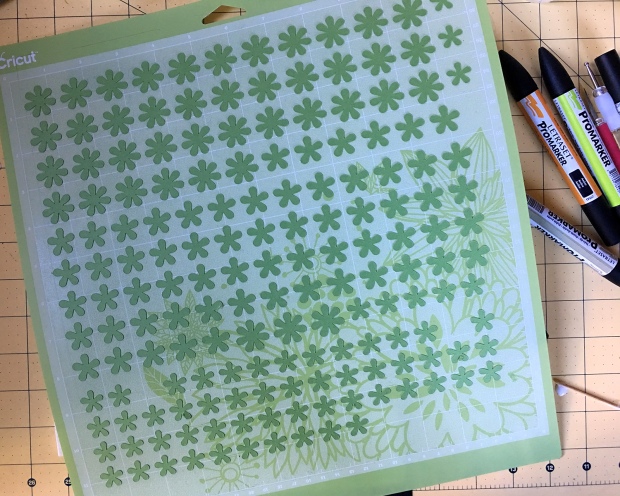
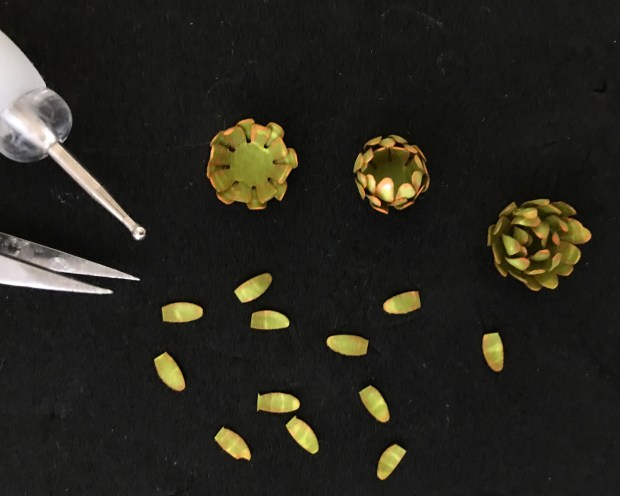
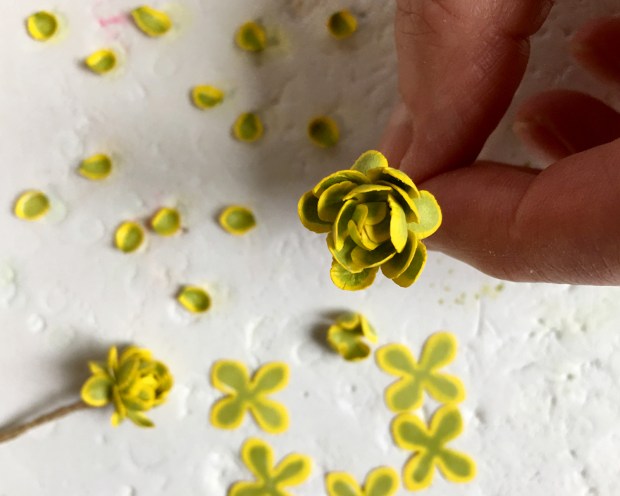
Experimenting with color for a new echeveria kit for
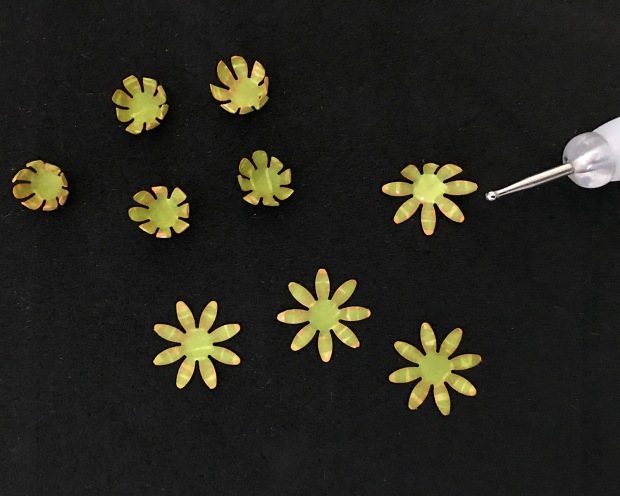
 the shop. This is two shades of green and an orange on white stock.

ec01_shaping_113016

Shaping with a fine point stylus.

ec01_building_13016

Trying out construction techniques and build sequences. This succulent is wonderfully small, just a half-inch (13 mm) in diameter.

houses_blog

The first issue of my newsletter, Cut, Fold + Make, goes out tonight! Look for it in your inbox on the first of each month. Included is a free pattern to make these iconic, and very versatile little paper houses.

arrived_113016

And possibly most exciting of all the things: this just arrived. Let’s get started.


First Listing

sv01_spray

So pleased to announce the first kit is available over at MMS+S. I expect I’ll be making editing tweaks for a while, in between assembling and listing new kits. Potted specimen succulents and sundries coming real soon. Heartfelt thank yous to all who showed interest. Happy making!

Just Kitting

sv01_kitbag_112216

First article! Well almost. I’m waiting on the brown kraft paper to arrive, and, having just finished re-re-shooting the instruction photos, to get those printed.

sv01_kit_contents

What’s in this kit? There are options for white, cream or sage green stock, as well as for me to color the leaves (US$5 extra; I may live to regret it :) One kit makes seven stems, with extra leaves to practice on. The example is the yellow-edged green variety, but of course you can paint them as you like. There’s a special hashtag to use if you post on socials, so we can all see what people are coming up with.

sv01_making

sv01_finish2

sv01_finish

mmss_logo

Need to finish writing *all* the stuff for the Etsy listings and blahblah. And then let it go live. Gulp.