Echeveria!

deck_ech_102316

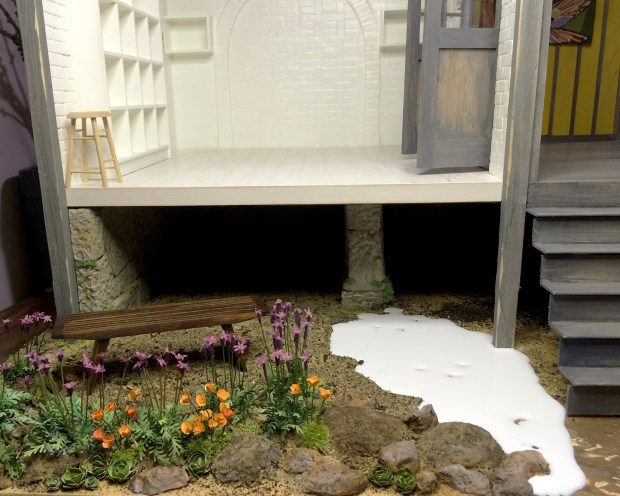
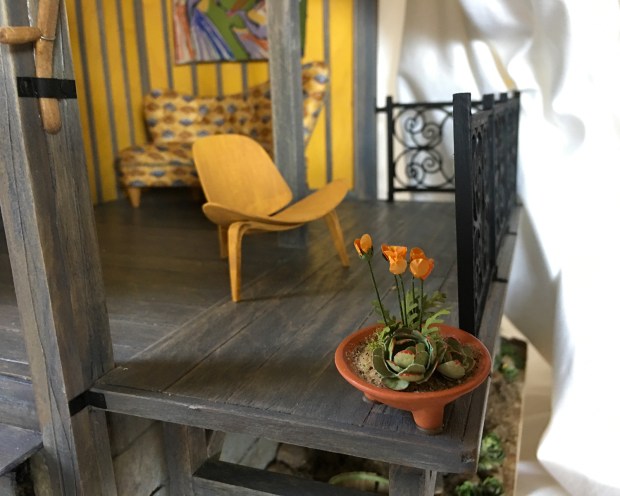
Been making California poppy and echeveria planters for a little while now.

ech_poppies_102316

ech_flat_pots_102316

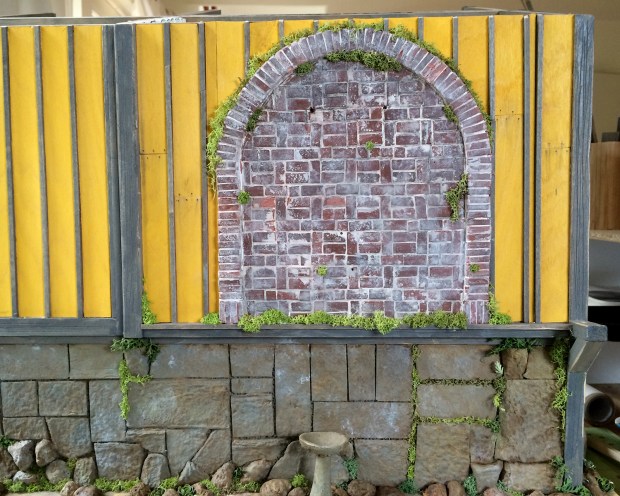
I first learned how to make echeveria from this wonderful tutorial by Annie Christensen of We Love Miniatures. She uses brushed pastels at the end to tint the leaves. All the succulents in the Argo Wool Works foundation plantings were made using her method.

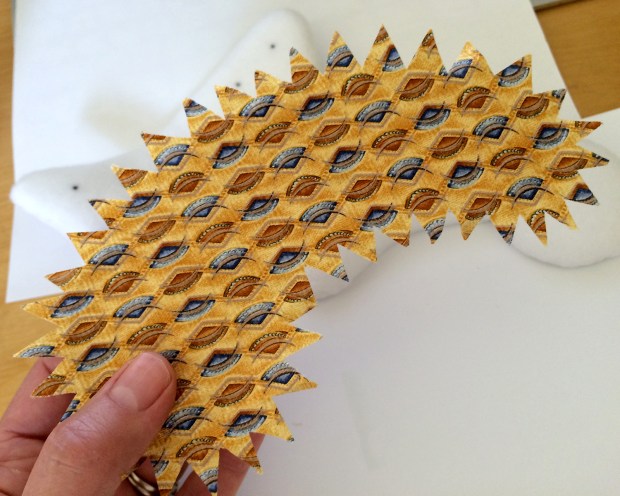
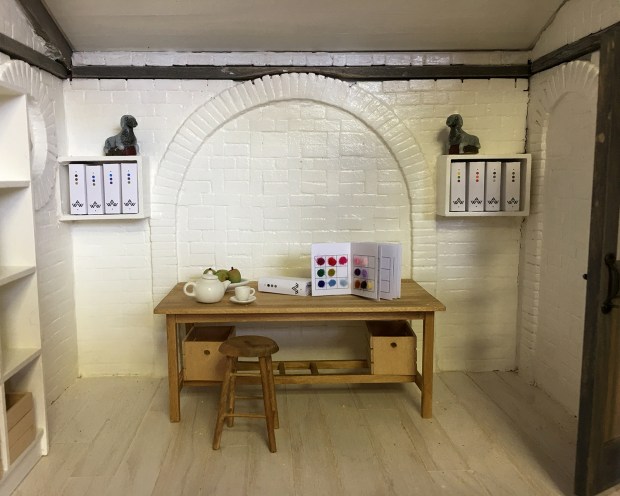
Lately, I’ve taken to using markers to tint and edge the various shapes punched from cardstock painted with acrylic wash, as seen above.

Also, do you see those footed flat clay planters? They’re from Falcon Miniatures, made in Thailand, and seem no longer available. If any of you know a source, I’d be very stoked :)

new_ech_012316.jpg

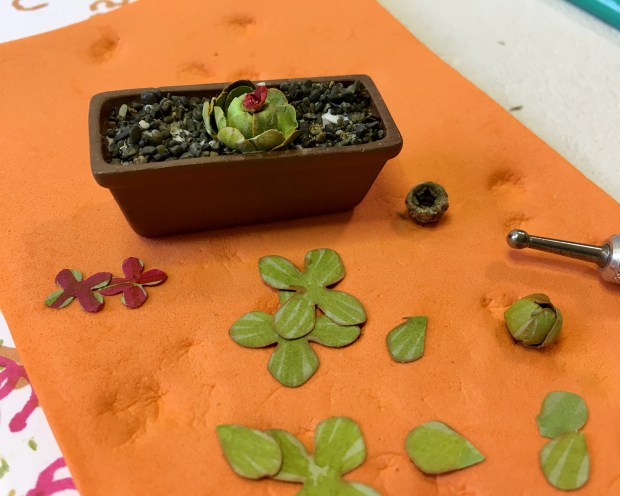
This afternoon I was fooling around, searching for some new shapes from the limited punches I have. I covered a bottle brush seed pod with overlapping petal shapes, and set that in a base of cupped leaves. Then I stuffed an emerging flower shape in the apex hole — I really need to look up the correct botanical terms — and… a new, fairly convincing succulent/cactus hybrid variety was born! I’m quite pleased with its appearance and will post a step-by, after I get a manicure :)

stretch_joy_102316

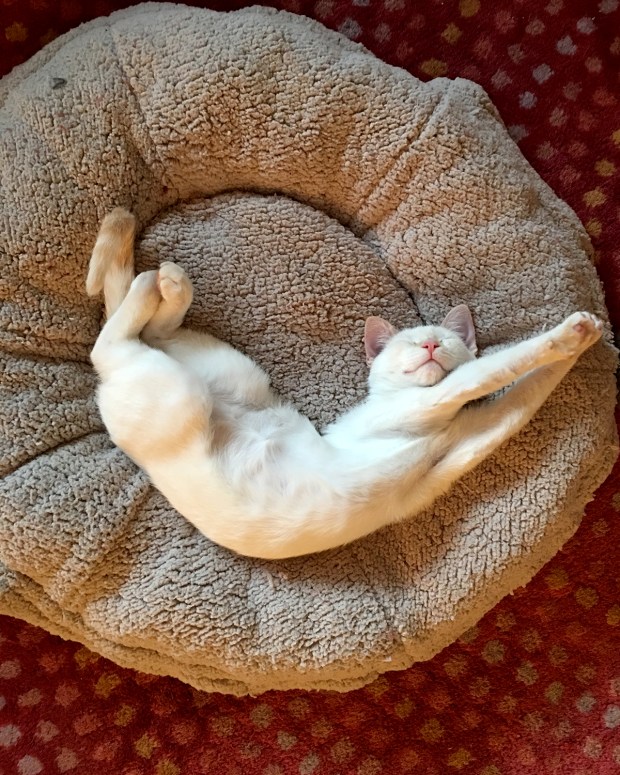
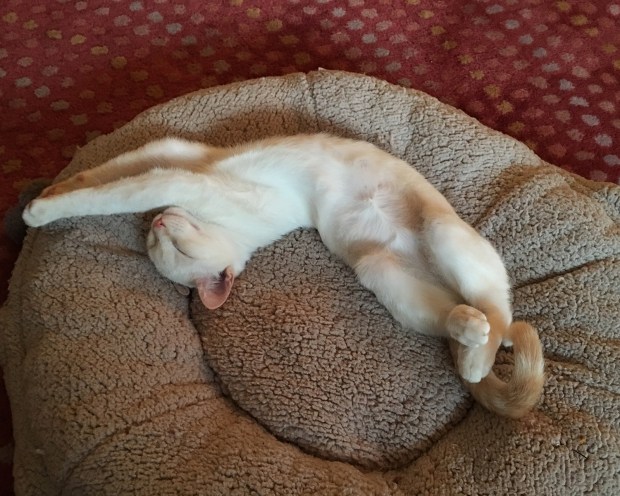
This picture of Scarlett nuzzling into Albie expresses my joy. I expect one day to stop posting so very many cat pictures, but she is so stinking cute and delightful…


AWW Sample Binders

aw_binders_00_101616

A showroom needs sample binders.

aww_binders_01_101616

I have never liked using wood blanks for book pages, even for volumes that will never be taken from a case. It feels like cheating to me. So I made blank binder book blocks to fill the covers.

aww_binders_02_101616

I did not glue the accordion-style pages together. The resulting sproinginess will help expand the binder covers and hold them in the shelves.

aww_binders_03_101616

However. Making all blank pages also felt like cheating, so I made one binder meant to be opened. I drew a simple grid on the pages and punched eighth-inch (3 mm) circles from wool felt, which were then glued to a spread. So expressive and tactile!

aww_binders_04_101616

Arrayed in the cases and on the work table, with another samples binder, glued closed.

Here in Northern California, we’re having our first rainfall in seven months. The light is damp gray and moody. The cats are waiting out the storm in suspended animation, with one notable difference.

3cats_101616

Before the arrival of Scarlett, the two older boy cats never co-slept, although they are buddies. This seems to have changed, as they unite in weary affront to kittenish enthusiasms. Looks to be a cozy winter coming :)

Nope.

s_091916-01

I am not going to meet the HBS bloggers build deadline for September 26, 2016, and I am using cute kitten photos to distract from my mingled sense of failure, regret and self loathing.

s_091916-02

I *have* met all my work and all most of my volunteer deadlines.

s_091916-03

Feel free to judge me, but look at my belly first :)

S_091916-05.jpg

Though I will continue — and finish —  the build, I’m more than a bit scattered and distracted with other projects.

S_091916-04.jpg

Sweet dreams, best beloveds.


Retro Sofa, Fairy Surprise

sofa_061916

The retro sofa made from one of Kris Compas’s excellent kits, and upholstered in silk cut from a gentleperson’s tie, is finished. The legs are painted a medium gold, a tone somewhere between the multiple shades of butter yellow and tan in the fabric.

sofa_piping_061916

For the piping I corded three strands each of a blue and gold DMC floss. I liked the variegated result more than a single color.

I love the design of the sofa, but I’m disappointed in my fabric choice. I now see that a simpler, far less patterned fabric is called for, one that does not compete with the rhythm of the sofa’s luscious curves. Oh well.

In other news, I walked out in the garden this afternoon to find that the fairies had vacated their backyard terrace location, leaving their outdoor furnishings and accessories behind.

moved_061916

A short tour found their dwelling relocated to the front southside terrace, an area I have been working on clearing of its irredeemably overgrown lavender, rosemary and other shrubberies.

moved_front_061916
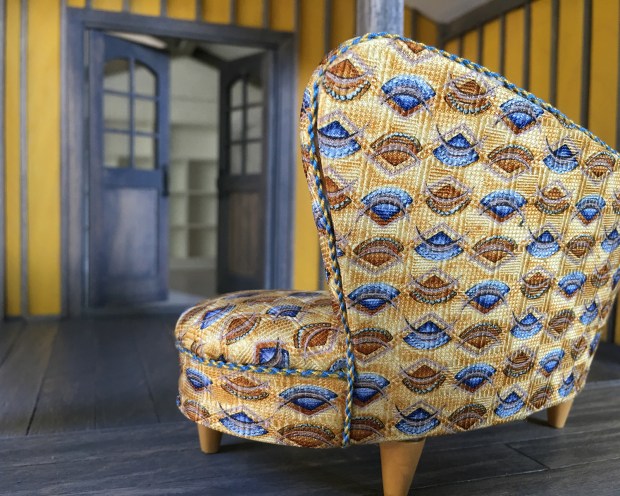
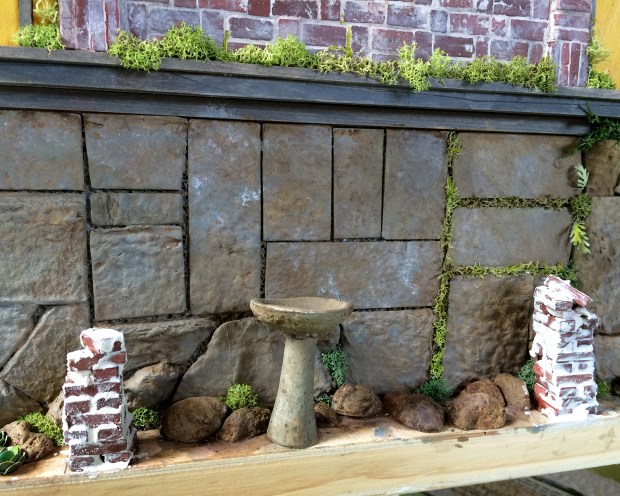
This is a street-facing, far more public location, and I’m frankly surprised. What will the neighborhood make of the new inhabitants?

And finally, a wee acknowledgement. Today is 19 June, or 619, which was my house number in a faraway sojourn, an amazing house in a now enchanted place. The *best* water, phenomenal night skies, and the site of epic revelries. To all of you who enjoyed Plain Meeting House Road, salut!


Retro Sofa Upholstery

sofa_batting_061116

I did as much as I could last night on the retro sofa kit from Kris Compas, before I needed to decide on the fabric. This is the base, seat and back cushions padded out with batting, and the back (being held in place with rubber bands until the glue cures). The dots mark the tufting positions (with a small correction).

bottom_cover_061116

I surprised myself somewhat by going with the gold and blue fans — originally I thought the Paisley. Thank you all for your input. It was fun and interesting to hear what you would choose. This piece is the covering for the bottom of the sofa.

back_061116

Here is the curved back. There is rather a lot of triangular notching to do.

back_on_061116

The back glued on to the seat base. Silk is slippery to cut and glue straight!

sofa_061116

The sofa so far. Next up is tufting and covering the back cushion, making the buttons (with the cute button press supplied with the kit), making the piping or braid, and painting and attaching the legs. Oh, and pillows. More tie silk fabric choices!


Retro Sofa

kit_061016

Kris Compas had two new kits up in her Etsy shop, this sofa and some equally awesome chairs. I chose the sofa kit for the Argo Wool Works showroom porch.

porch_061016

I want to use tie silk for the upholstery. But which one? Thanks to the generosity of friends, I have a curated collection of about 30 ties from which to choose. I’ve narrowed it down to these six:

escher_061016

Blue, gray and black Escher flying fish.

dots_061016

Ivory and black dots, which I used on this bench:

bench_silk_050516

fish_061016

Leaping trout on a burgundy background

paisley_061016

Blue and white Paisley on black

rounded_rectangles_061016

Multicolored truncated ovals on burgundy

pale_yellow_061016

Gold and blue fans on pale yellow

MLR_061016

I feel like my granddaughter, Maddie Lou, making decisions with the happy abundance of choices.

Which one would you pick?


Foundations, Éclairs

backwall_brick

Attempting to integrate the show-through back wall brick arch, I built a few brick foundation ruins.

backwall_brick_frosted

After sealing the bricks, I mortared them with DAP CrackShot.

front_frosted.jpg

They have been since grunged, weathered and eroded, and cast into the background.

More importantly, we celebrated my husband’s birthday with the question, What is your spirit animal éclair?

spirit_eclairs

We received so many heartfelt responses, mostly off the list of the available tiny animal figurines. Sloth, hyena, bunny… nope. Thus far, B has resonated with rhino and lion. I found the tiger encased on its side in delicious dark chocolate this morning; I’ll leave you to draw your own conclusions.


Glue, Sneak Peak

gluing_050916

This is a reality shot of miniature landscaping.

bricks_050916.jpg

And this is a super secret in-process shot of a project unrelated to miniatures… 15 x 20-inch (38.21 x 50.7 cm ) watercolor cold process block pages painted in a matte acrylic wash. Pretty! Also, I’m surprised there are no cats sitting on them, dry or otherwise.

Back Brick Arch

back_brick_arch1_050616

After tipping the build backside up, and using the same pattern as on the inside wall, I glued on the bricks and sealed them with Mod Podge. I favor these bricks by Andi Mini Brick & Stone because they’re a solid color throughout, well-priced, and easy to cut.

back_brick_arch2_050616

Mortared with a palette knife and gloved fingers, using DAP Crack Shot. This and the following shot were photographed at night by ambient light of my Luxo lamp, hence the color variations.

back_brick_arch3_050616

Gruzz brushed on with gray and deep green powdered pastel.

back_brick_arch4

Finishing out the rest of the farmer style board-and-batten siding. Yay for using up offcuts. Fooling around with preserved reindeer moss, mostly roots and mid-structure  (rather than the rounded top mounds) to give a slightly more lichen-y feel.

back_brick_arch5_050716

The finished-for-now back wall. I added some floor board remnants and foundation elements to the existing structure. After carving out a lot of mortar and rounding all the exposed brick corners, I sea-sponged on a thin white wash of white acrylic, then re-scrubbed individual bricks clean. The siding nailheads are made with a soft-leaded pencil tip rotated in place, then wiped downwards with a fingertip to create stain trails. Convincing!

Now I have to do a bit of research on street names and sign styles of 1906 San Francisco. I’m tempted to use my old address, but have to see if the area was even developed then. (It was in the outer Richmond, near the backside of Sutro Park.) Alternately I could cut a very fine stencil of the Argo Wool Works logo

AWW_logo

to paint on the bricked-in arch, which might look something like this:

back_brick_arch_AWW

My final offering is this delightful piece filled with the pure light of truth, by one of my very favorite contemporary writers, Mallory Ortberg of the-toast.net

http://the-toast.net/2016/05/05/everything-thats-wrong-of-raccoons/

It’s satisfying to read aloud.