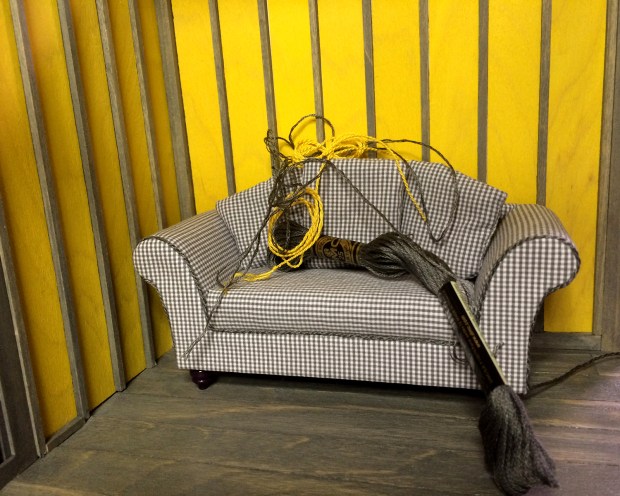
Albie immediately curled up on the rest of the ties, and I set up to make more lavender.
I’m still experimenting with technique, but I try to make a shrubbery’s worth of stems each time, so if they change I can call them varieties or cultivars :) #miniaturejustifications
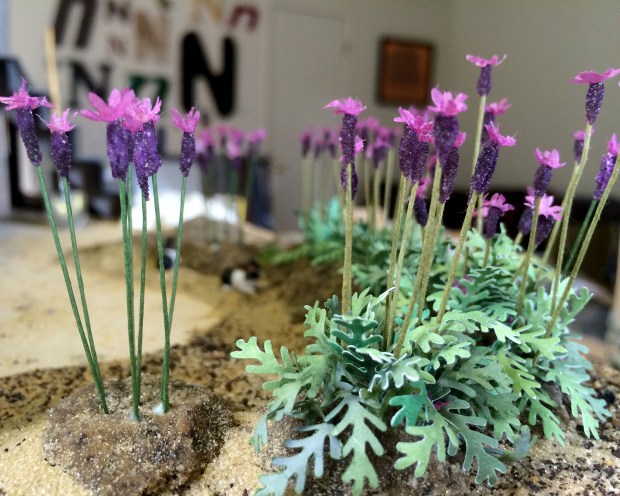
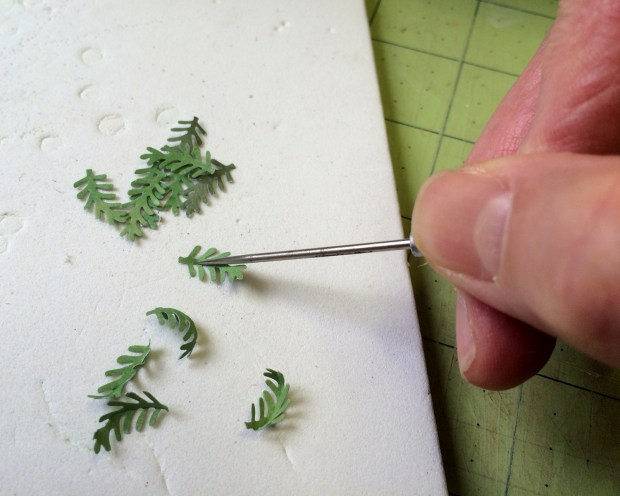
I’m using paper-wrapped stem wire, purple superfine sand (Activa Scenic brand) for the flowers, tissue paper for the petals, tacky glue, and cardstock painted grayish-green for the foliage. Most tutorials call for lycopodium as foliage, but I’ve decided on this well-designed and versatile punch from Punch Bunch.

I got my birthday order from The Miniature Garden, which included some 28-gauge paper covered stem wire, yay! Turns out what I’ve been using is 26-gauge, so voilà, the first (subtle) variety. (The #28 is on the left.)
I cut 1.5-inch (3.8 cm) lengths of stem wire and rolled one end a scant quarter-inch (6mm) in tacky glue.

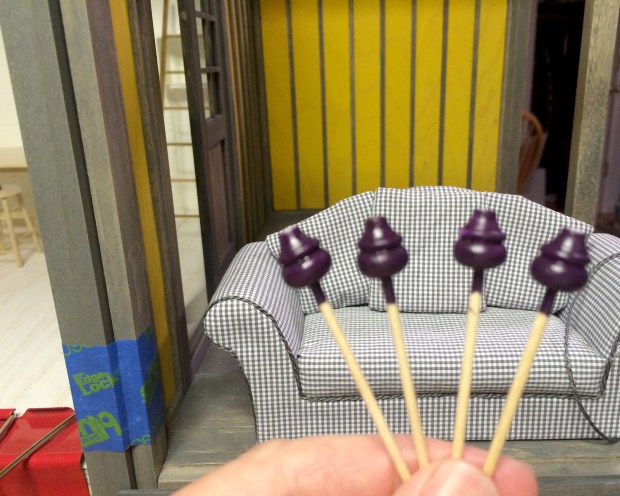
Rather than dip the glued end, I pour the sand repeatedly over the stem wire. This builds up and preserves the shape of the flower.

The sanded stems are placed upright to dry. (The fluffy ones you see on the left are made with Flowersoft, a poofy kind of scatter that I’m considering using.)
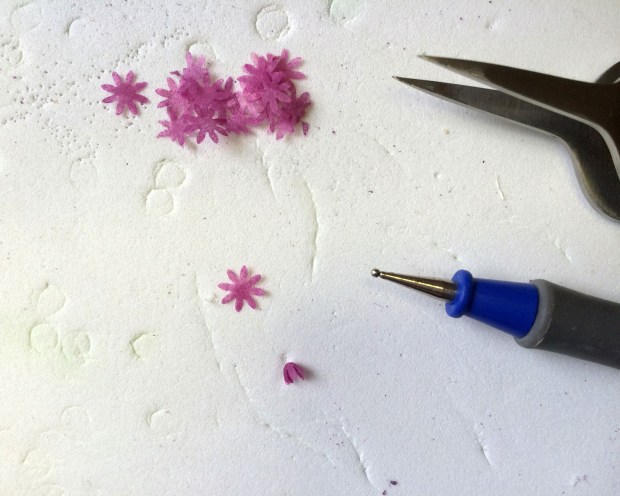
The petals on top are made from tissue paper punched with a small flower shape, cupped with a ball stylus, and glued to the flower.
In the foreground you can see the Flowersoft flowers with petals cut from waxed paper tinted with a marker. Behind those are the sanded flowers with tissue petals.

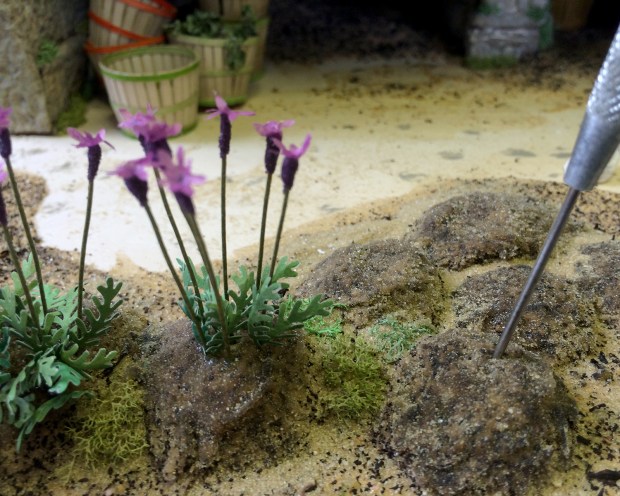
The lavender spikes are planted in the mounds with an awl and glue.
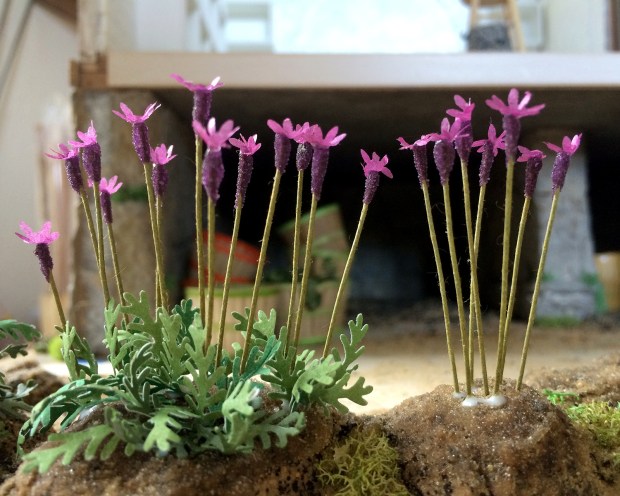
These ones were built on #26 wire stems.
The foliage is shaped with a stylus and glued in around the stems to create a pleasantly convincing, if stylized, base.

Making more echeveria hen and chicks to cluster in around the lavender mounds. If you look closely above, you can see once again the difference between #26 and #28 (on the right) stem wire.
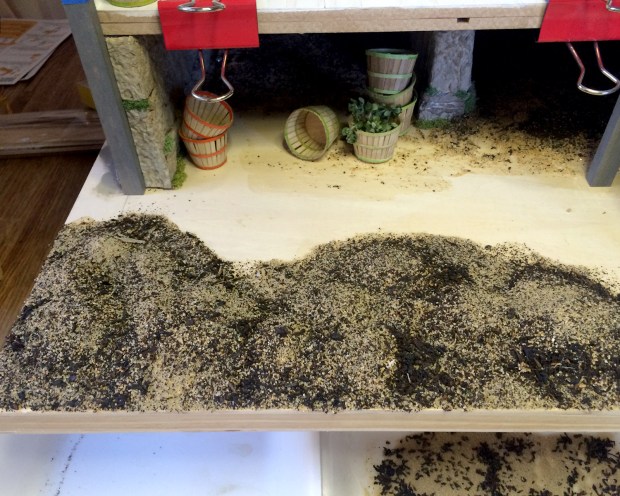
 There’s an entire molds-worth of paperclay rocks dried and awaiting mineralization. These will be nestled and half-buried around the lavender, poppy and succulents bed as an unobtrusive border.
Happy vernal equinox (for those of us in the Northern Hemisphere)!
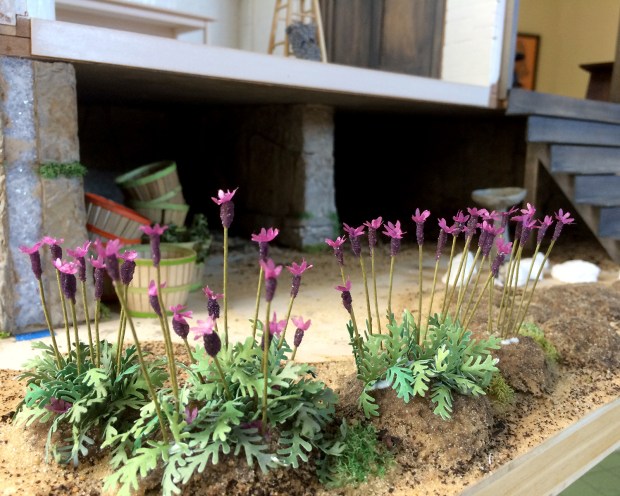 I mentioned that Argo Wool Works also grows lavender. There are a few good approaches to making miniature lavender, and after a thoughtful review, I’ve adopted a hybrid technique. This is always the question in miniatures: how best to convey a feeling, an illusion of the real thing? Absolute adherence to reality, or a simpatico synthesis of appearance? Answers often surprise me, as did this lavender.
 These are the start of the demonstration lavender beds outside the AWW showroom, as planted in the egg styrofoam and sand-covered mounds established earlier. I’ll post a more step-by-step later, when I’ve more available time. I think the method is worthwhile :)
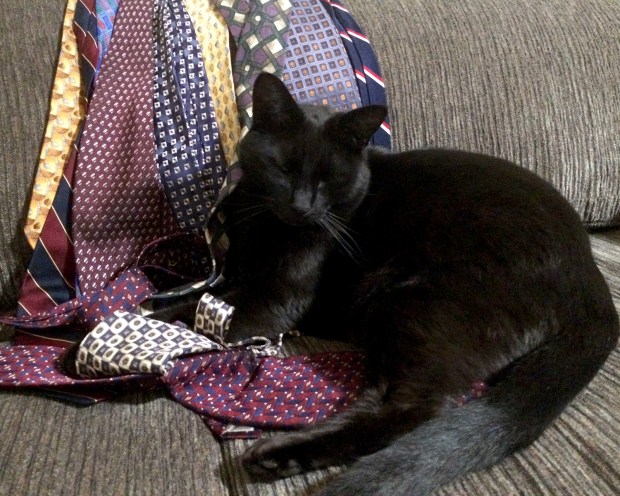
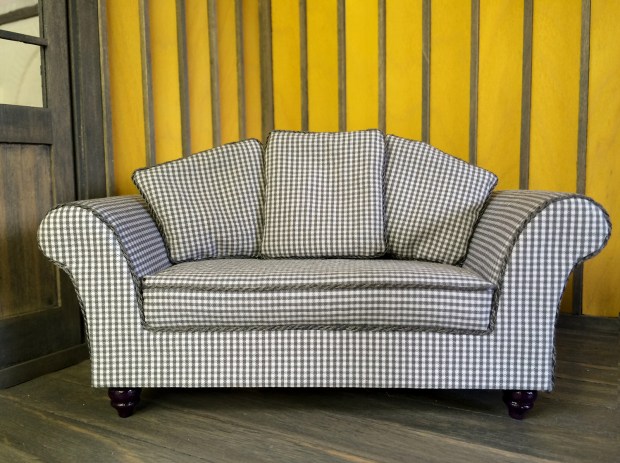
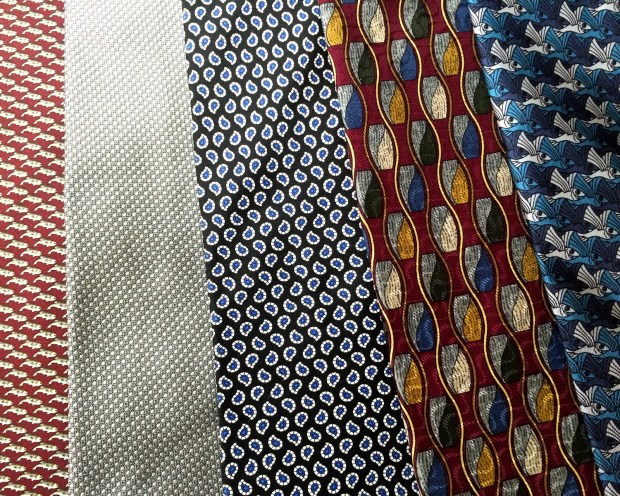 These are the top five I pulled out for the squiggly vintage Chippendale sofa, and/or throw pillows. The far left is out of focus, but is a delightful fish pattern. The next is an exquisite gray/black circular motif… on through a classic understated Paisley, a retro-looking I don’t even know what, and a brilliant Escher tribute.
 So, so beautiful, and interesting! May your cups runneth over with unexpected gifts and bounty to share.


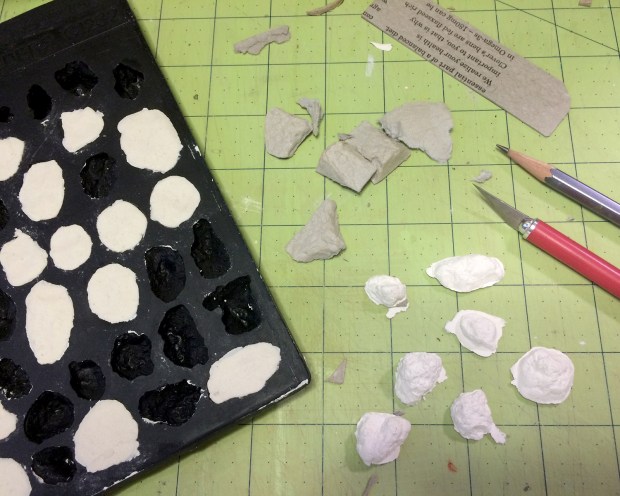
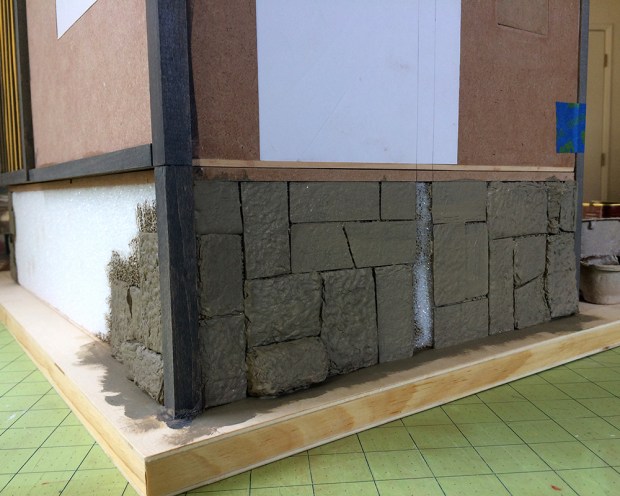
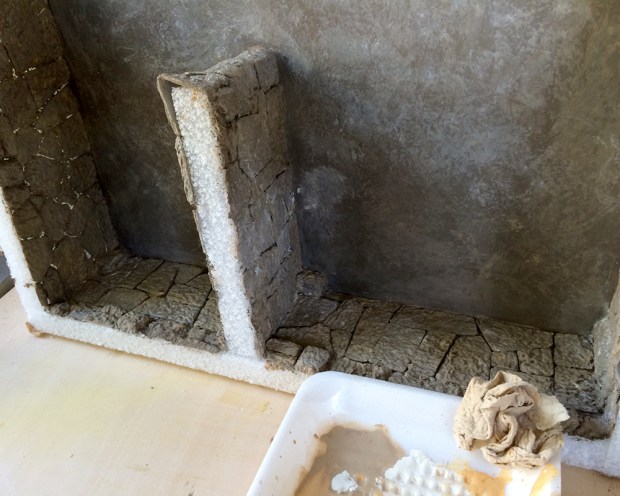
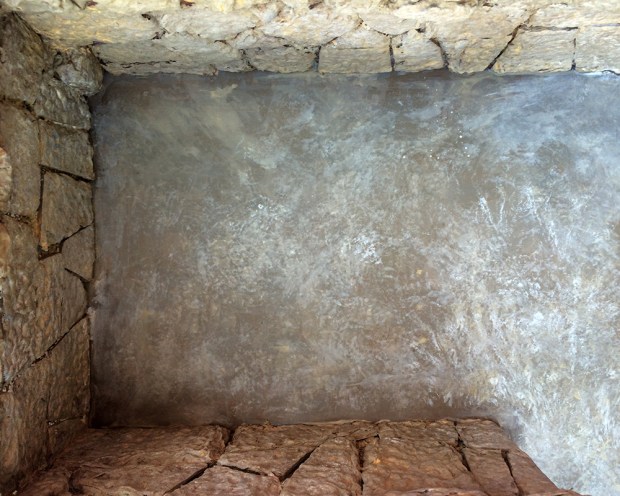
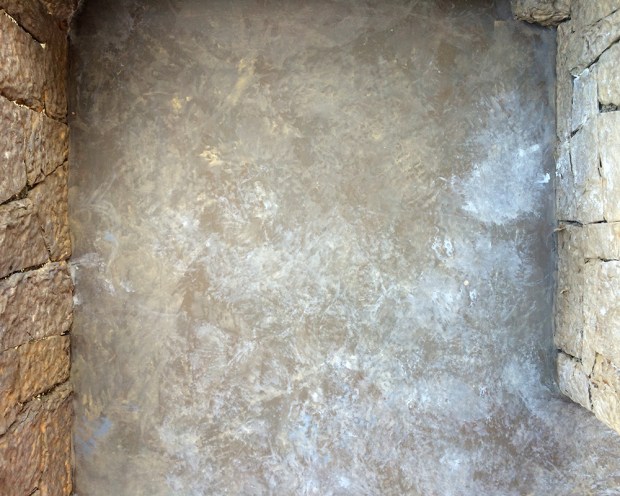
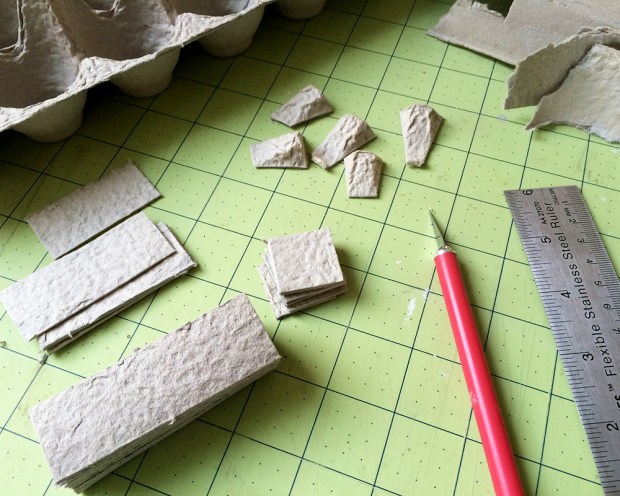
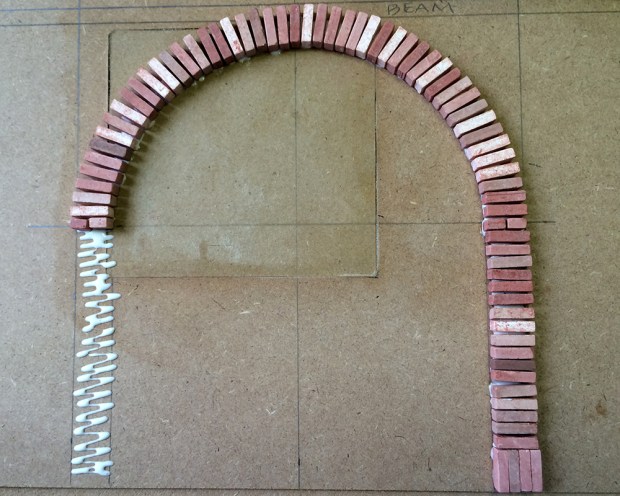
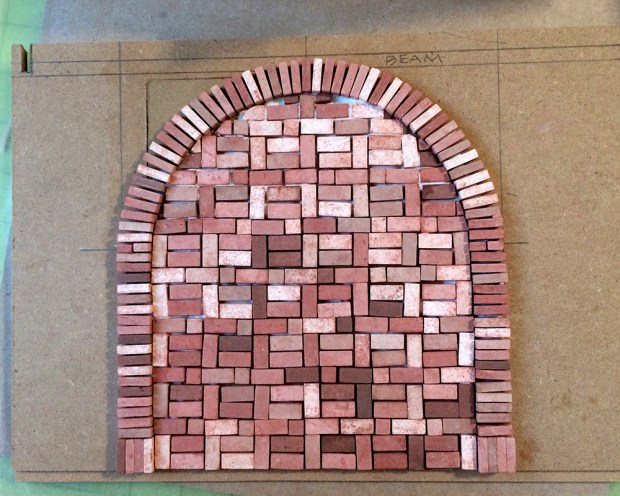
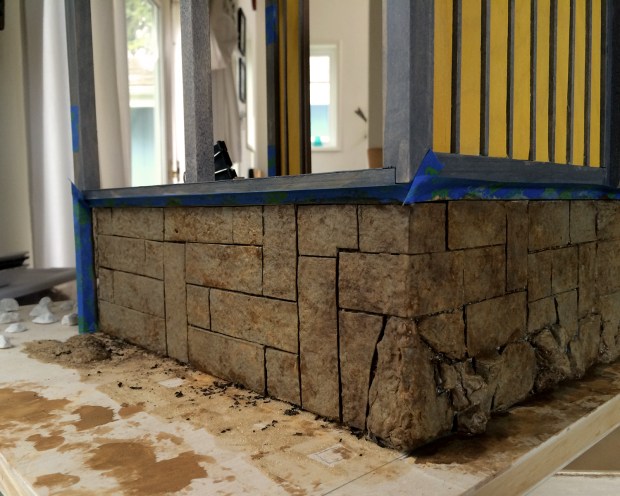
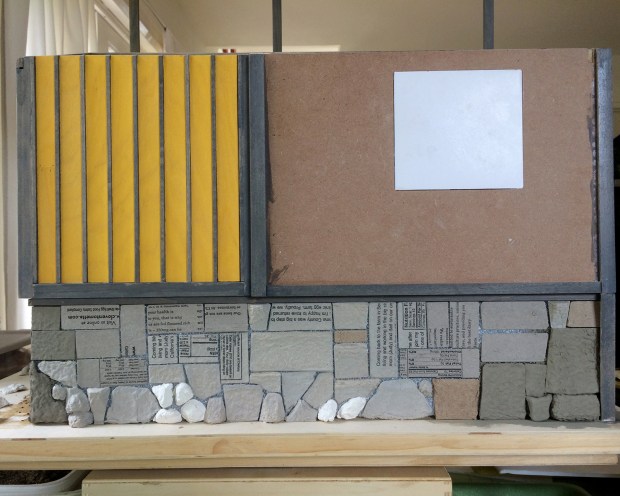 I reloaded the mold with the full set of rocks in paperclay to use around the rest of the foundation, and finished out the back wall with the few that had already dried (those in white), along with egg carton and packaging forms. It seems to take two or three days for the paperclay to dry thoroughly.
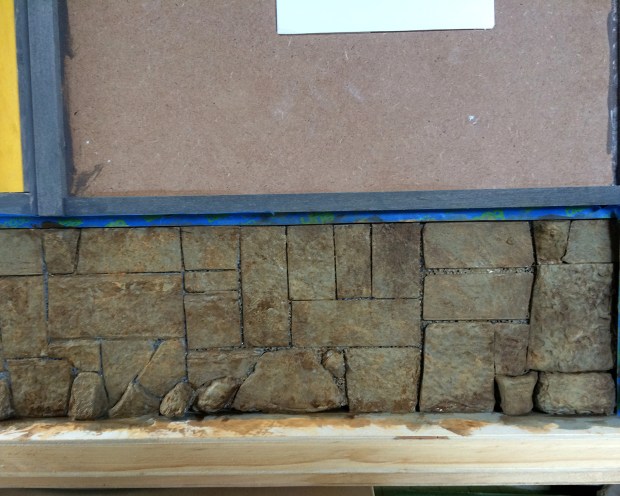


 So happy with the results from the first of