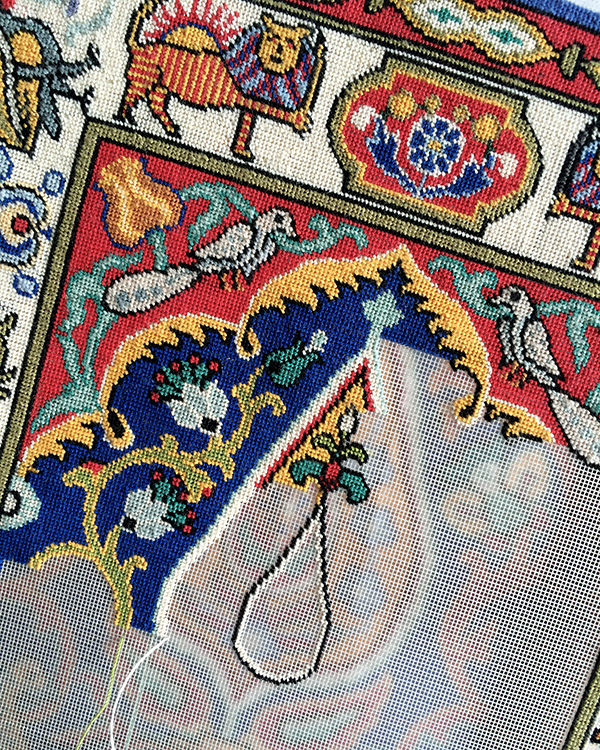
We have turned the third corner!
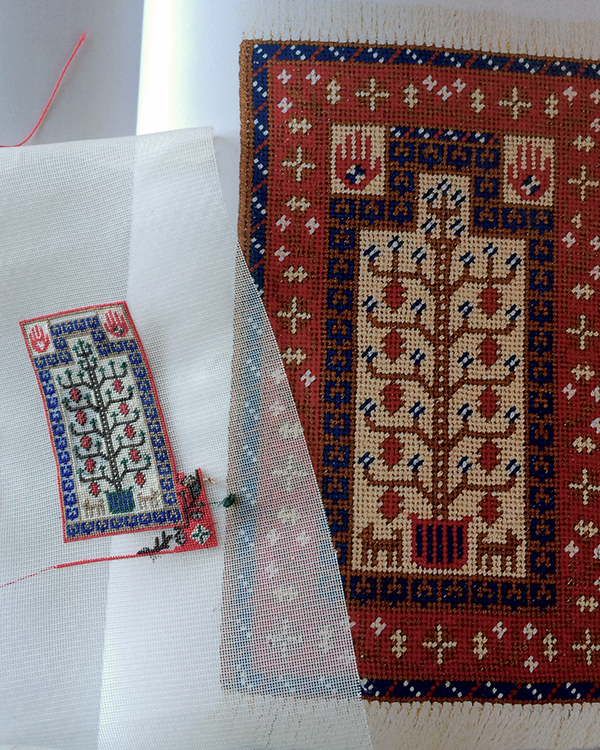
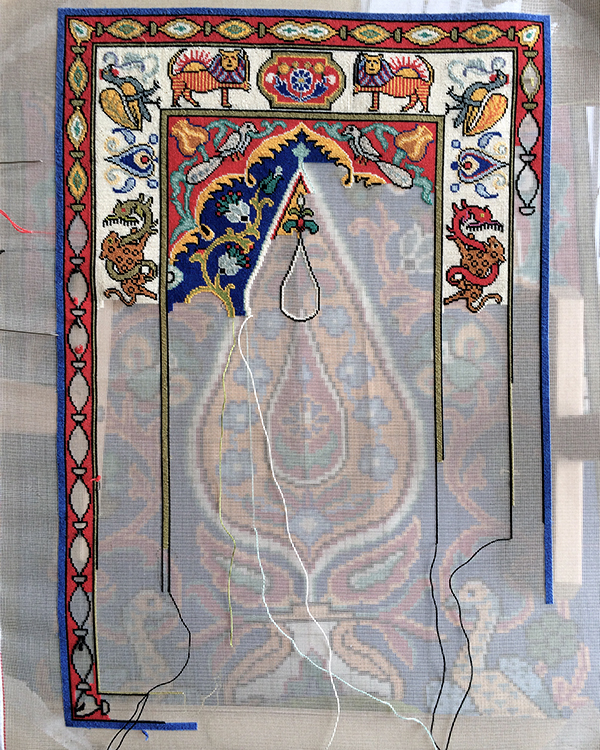
Been spending quality time with the Animals rug again. And with progress comes change. I had been in a quandary over the outer border, and finally solved it by adding an entire additional motif to the length. I had also not been satisfied with the design of the bottom center panel, so adding just a bit to the overall length will allow me to flip the whole yellow flamey curlique border with the spotted doves and poppy pods around and put that in on the bottom, replacing the various sun and flower motifs of the original design. It will fit behind and under the larger birds’ tails. And on the outer border, I’ll flip the horse, elephant and the two stripey lions around, so in effect we have birds and animals coming and going. Or something. Makes sense to me.
This is the portion of the center panel I’m working on now:
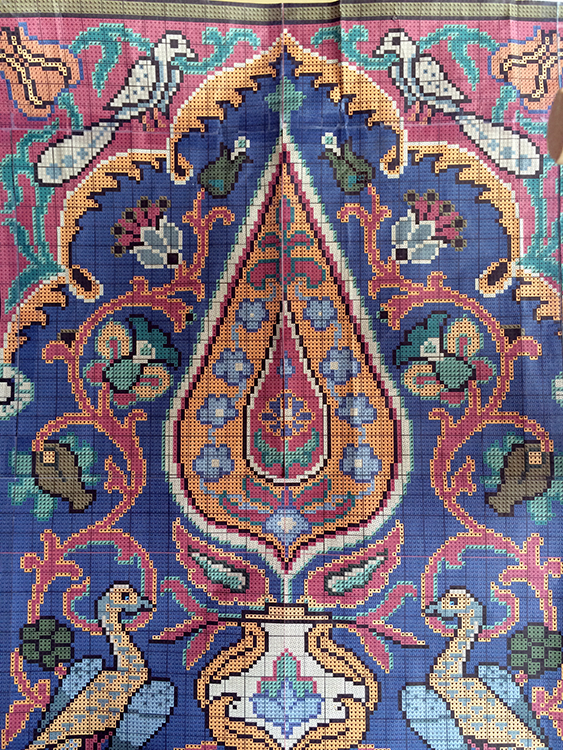
The upper part of the Animals rug center panel
And you can see I’ve made some other changes to the colorways and pattern as well.
Center panel detail with a few pattern and color changes
Spec’s: 49-count silk gauze, 281 x 398 stitches — well now a bit more (5.75 x 8.125+ inches, 14.57 x 20.63+ cm); DMC cotton and Gütermann silk. Original design by the fabulous Natalia Frank.