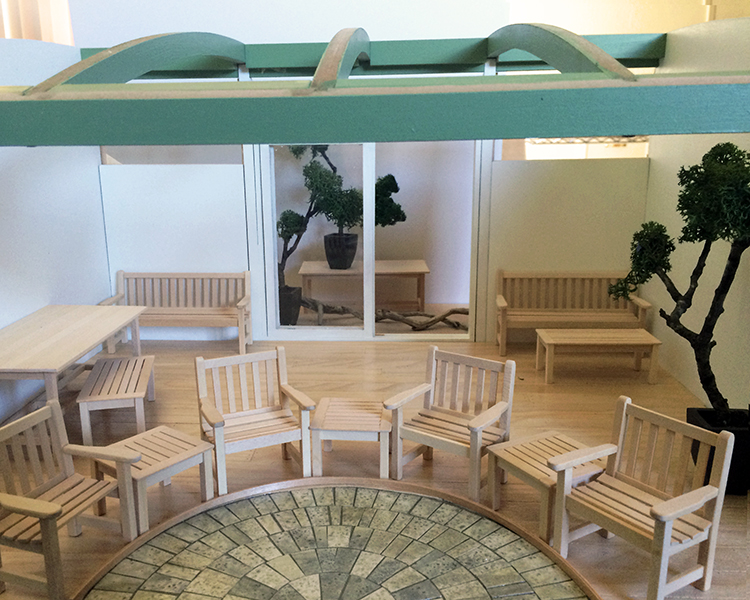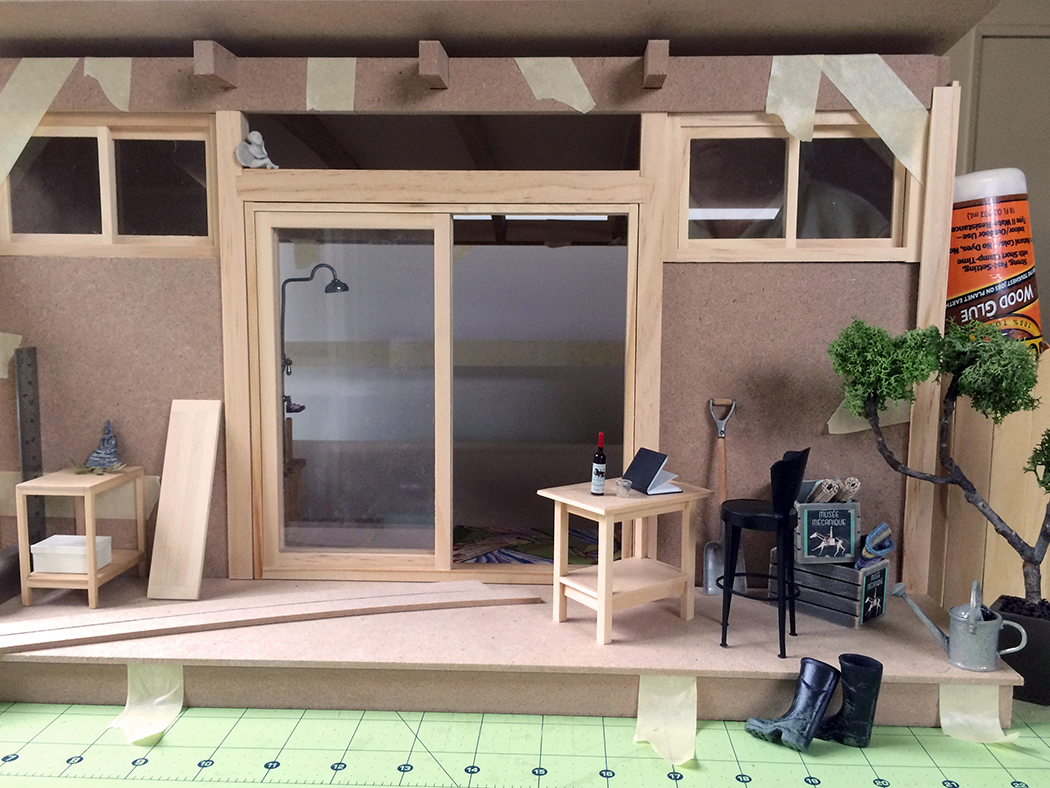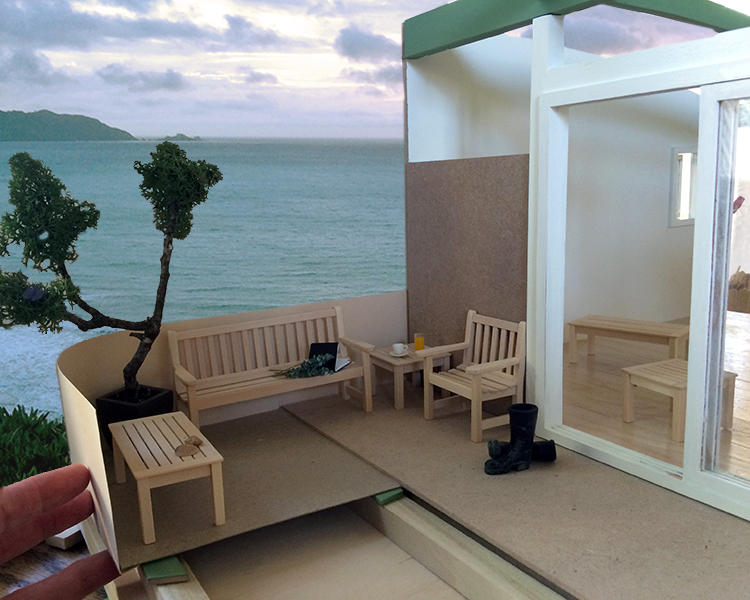
Mockup of the Warming Hut deck extension, with a little Photoshop tomfoolery
The Sea House Warming Hut is snugged into a rocky outcrop on the cliffs, and will have an L-shaped front deck. Here’s a cardboard mockup of the extension, with the Bruce Dawson benches in place for scale.
I drew a plan in Illustrator to work out the measurements, based on the 5/8-inch square poplar I’ll use for the additional foundation and the supporting pillars. I like using Illustrator because I can enter exact dimensions, and easily move stuff around.

Deck extension plan (not to code)
The exterior siding is going to run horizontally, and my plan is to wrap it around the curved deck wall in a seamless run. We’ll see how that goes.
There will be a wide stair leading up to the entry, either of wood or stone. Going to try the salt trick on the painted air-dry clay boulders and bedrock that supports the entire hut. And to top it all off, a living roof of moss, grasses and California poppies :) I ordered some flower kits from Georgie Steeds’ Miniature Garden Center Etsy shop. Love her stuff, as well as SDK Miniatures’ kits. HBS/miniatures.com used to carry some of the SDK kits, not sure if they still do.
I knew you were wondering. The rock formations you see in the ocean shot above is Pedro Point, southern-most in Pacifica, as seen from the cliffs at Mussel Rock, to the north.