Setting up for the local farmer’s market. The pumpkins (smaller this year because of the drought) have arrived, and the apples, pears, potatoes and more herbs and flowers will be coming soon. There’ll be cider, honey, goat cheese and the first press of this year’s olive oil to sample inside. And there’s been great white shark sitings from the cliffs. If you’re out and about, come on by!
Category: thinking through fingers
Sea House Warming Hut: Side Tables
The woodworker elves came during the night and finished the other two chairs, and added a poppy-hued piping made from three strands of cotton floss (DMC 720). That inspired me to sketch a design for two side tables, as well as think out what else might be going on.
Same materials and similar construction as the chairs. The table tops are cut from 1/4- and 1/2-inch x 1/16-inch basswood, and edged with 1/16-inch square trim.
I lost the light last night, so I got up early to photograph and finish. First table, unstained:
Stained and be-glided.
And in place ‘round the hearth:
(The fireplace is out being repainted again.)
Off now to the other side of the room my office. Many voracious pixels eagerly await my return!
Sea House Warming Hut: Begin Chairs
I had a hard time getting up this morning. I was up late last night working, my husband is away in Minneapolis on a business trip, and it was densely foggy, but bright outside.
I made a deal with myself to work on the Sea House Warming Hut fireside chairs in short segments interspersed with my *real* work. This is a downside of having one’s office and one’s studio in the same place. Chairs won. And that’s what’s bad about me.
I decided to build Jane Harrop’s “Utility Fireside Chair” from her book Thirties & Forties, with just a couple of changes.
I located all the stock, cut out the pieces and labeled them, and put them in a project tray.
Then I did a whole hour of *real* work. What happened after that is kind of a flow blur, but I realized the light was changing outside.
Here’s the chair frame, unstained. I added the little crossbar to support the back. The legs and stretchers are only 1/8-inch (3mm) square, so the whole assembly is held together with wee pins and glue. I opted to leave the heads on.
And here it is stained, with the beloved Minwax Classic Gray 271.
I could not resist adding some self-leveling gliders, because after all, these chairs will be moved around the fireplace a lot.
With the upholstered cushions, in luscious peacock blue linen.
I brought the new chair up to the living roof (moss don’t mind) along with a sketchbook to continue my *real* work, while watching the sun set into the foggy horizon. Sometimes there’s a fine line — or no line at all — between work and ideas and how things get done.
Sea House Warming Hut: Living Roof Planted
The base plantings for the living roof are complete. Yay me!
I finished it up today, after marching with Pacifica Beach Coalition in the annual Fog Festival, dressed as a bee and playing a kazoo. (Our original plan was to kazoo Flight of the Valkyries, but that proved a bit too ambitious.) For those of you that know me less well, marching in a half-mile parade before hundreds, if not thousands of spectators, in a bee costume, could not be further from what I might typically choose to do. All that brave eye contact and self-in-presence! I celebrate with you, and you with me: we pick up trash on the beach, and our individual and collective efforts matter. Thank you.
Who knows what’s next?
Never say never. Say yes, instead?
Sea House Warming Hut: Living Roof Growth
To get more use from the many bags of preserved moss, I decided to shred the lower stemmy parts into a coarse scatter, and use that to plant around the taller rounded mounds. I practically got carpal tunnel from snip, snip, snip snipping.
The scatter also adds more texture and another level of growth.
This morning I realized I didn’t like the straw-colored moss clumps, and got out watercolors to green them up, like a photosynthesis devi. That was so satisfying I added some darker tones into the other plantings as well.
I let two of the red poppies sprout, but have determined they wouldn’t survive on the windswept roof. I still like them as flowers, though, so into a bucket for the flower stand (or as starts for planting) they will go.
Sea House Warming Hut: More Foundation Ruins
I’ve been feeling a little detached from the Warming Hut; new projects (yay!) at work are diverting my focus.
I decided to build the remains of a circular cistern for under the hut, both as a plausible once-functional structure, and as a symbolic reservoir to catch and hold ideas :) It was fun and evocative.
But then of course… it drew attention to the barely seen but now unavoidable eyesore that is the shambling way I attached the front steps to the deck. It’s a *little* space under there — the foundation posts are 3 inches (7.62 cm) tall — and it’s torturous fitting my hands in there now, between the posts, over the boulders. It’s challenging just to get a glue bottle in and shaking spoonfuls of beach gravel. However.
So I measured and built a little wall to close off the under stairs. I wanted it old and disheveled, kind of abandoned mine shaft, and I didn’t want to spend a lot of time. I *thought* about doing intriguing doors or more old wrought iron, but really, it’s barely visible.
Here it is all bright. I did more distressing of the bricks before I wrangled it into place.
And here it is in place. I like that it recedes and blends into the background, as it should. The cistern is the center point of interest, holding as it does our random thoughts and stories. But just for a while. Unrealized, they seep back into the ground, and water the deep roots of our imaginations.
Hold on, little cistern!
Pink + Green
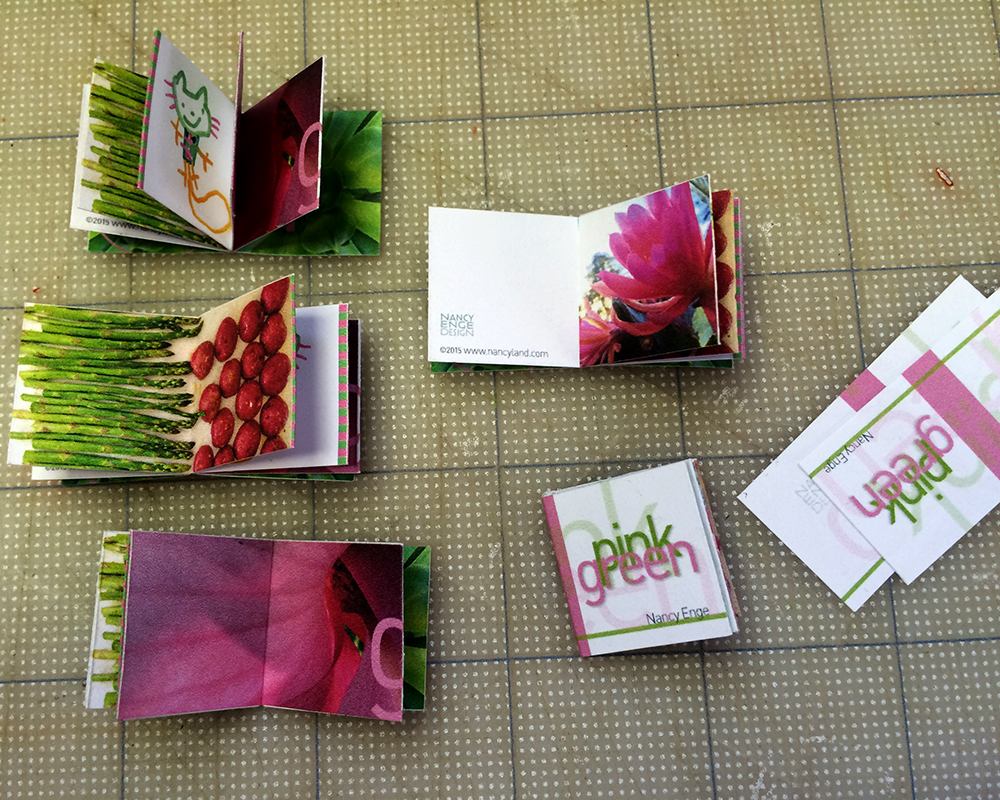
Designed a modern miniature book about color, the first in a series, called Pink + Green. It’s ten pages perfect bound, and measures five picas square (.833 in/21 mm). I made all the photographs; my daughter drew the cat when she was like three or four.
(Actually, she drew the front. I made the back view when I had it printed on fabric at Spoonflower to make stuffed loveys :)
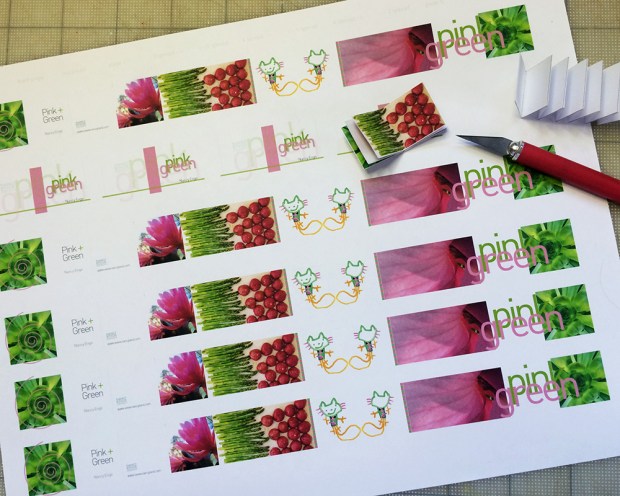
These are the flat pages and covers, ready to be scored and trimmed.
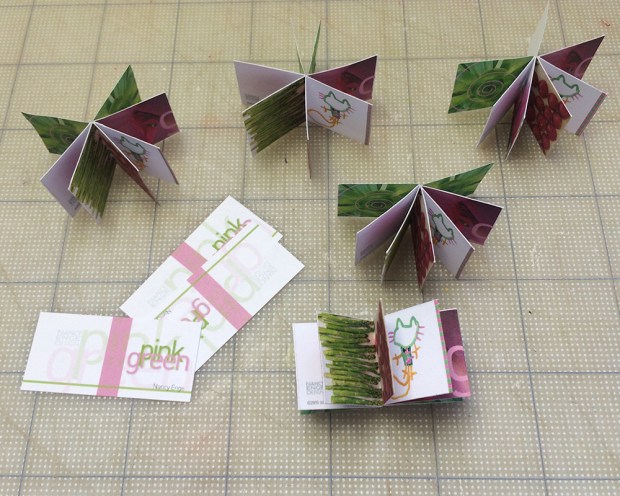
Text blocks folded and glued, waiting to dry.
First cover on. After they’re really dry, I’ll clamp them in a press and square up the spines. And when they’re all crisp, I’ll brush a light coat of varnish on the cover. They’ll be lovely on the shelves with other books about local history and… rocks. Waves. Tides. Fossils? Bee-keeping? Native plants? Marine mammals, fish and invertebrates? Cookbooks? Plate tectonics?
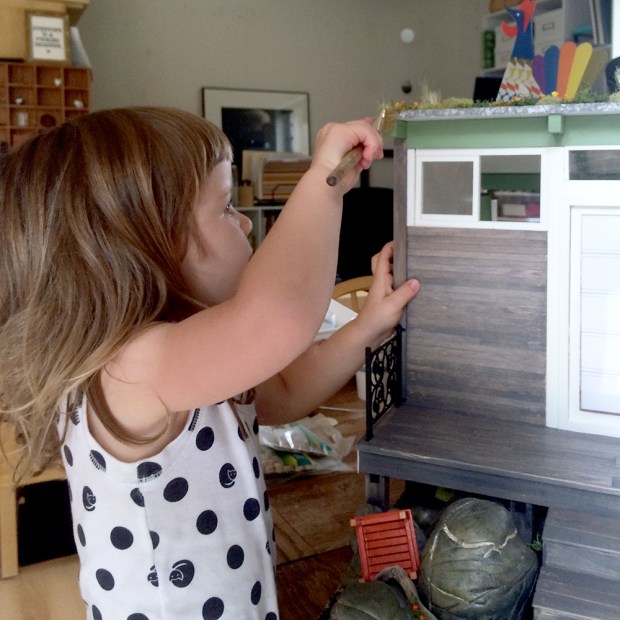
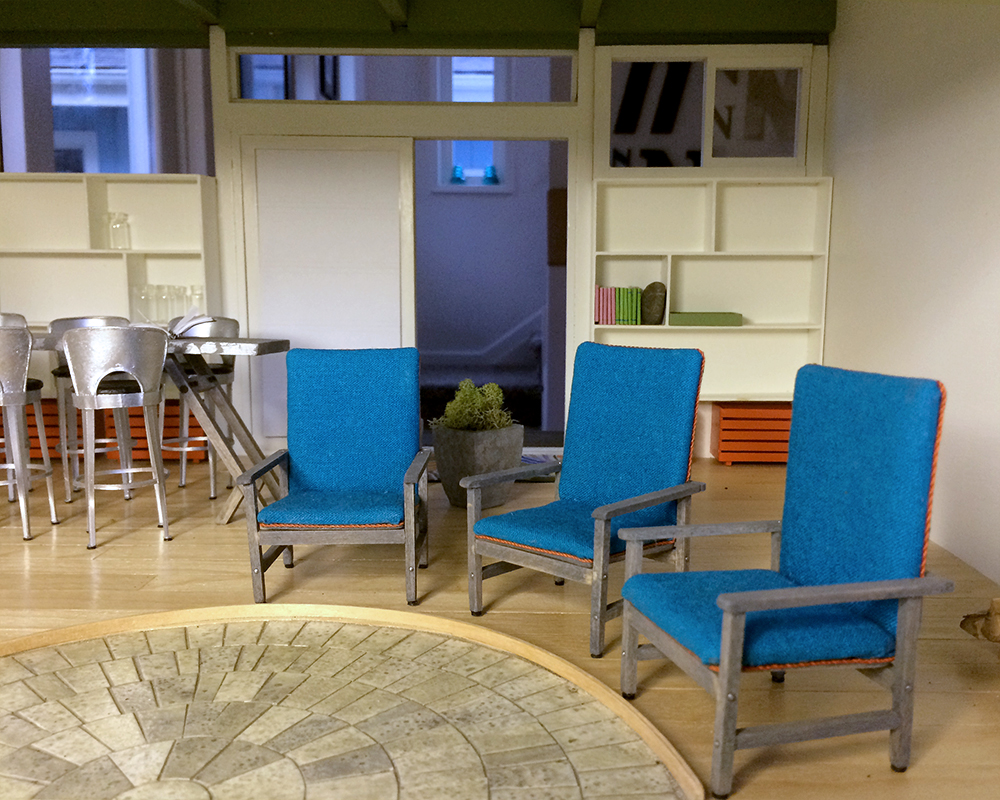
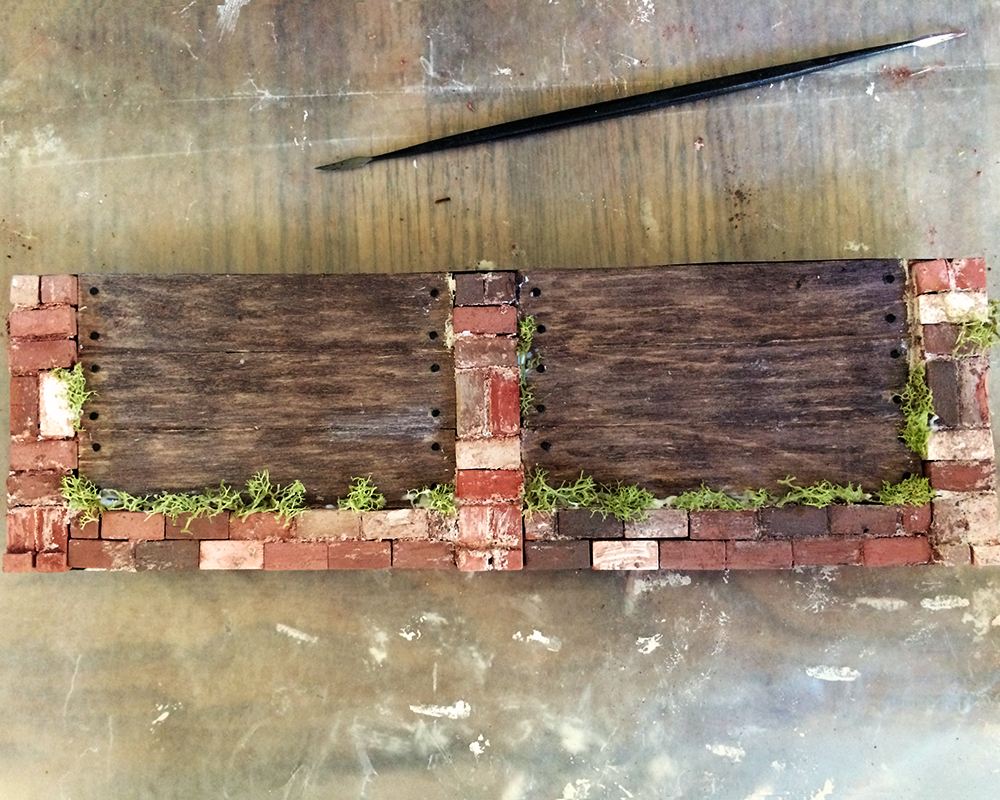
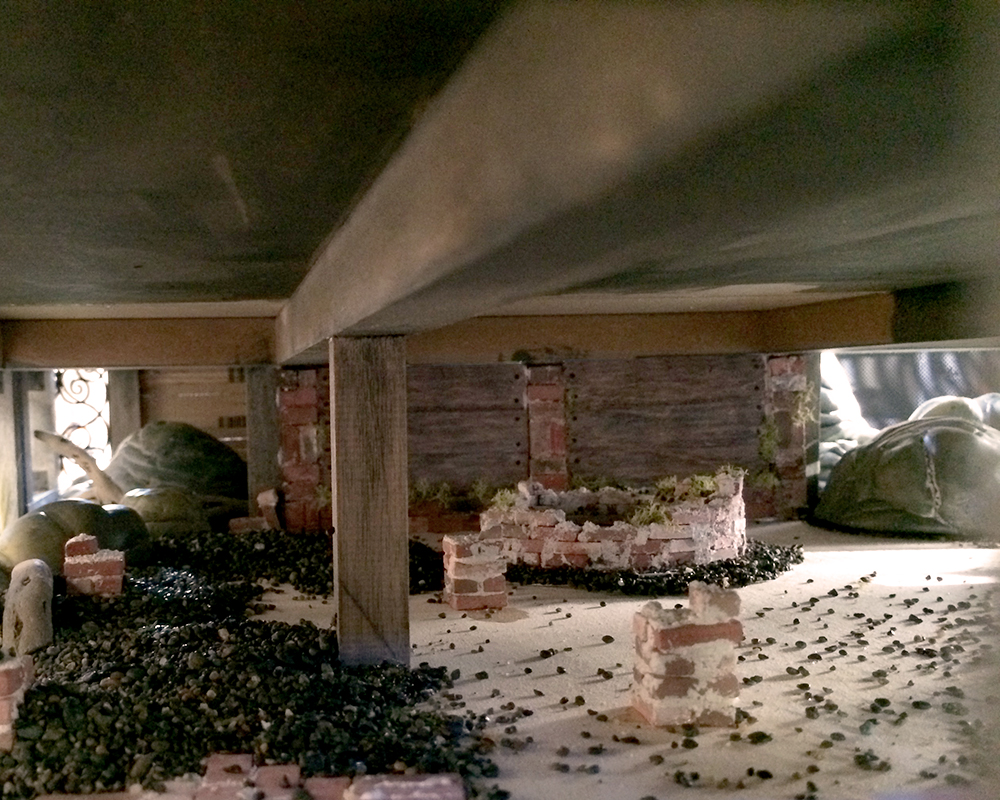
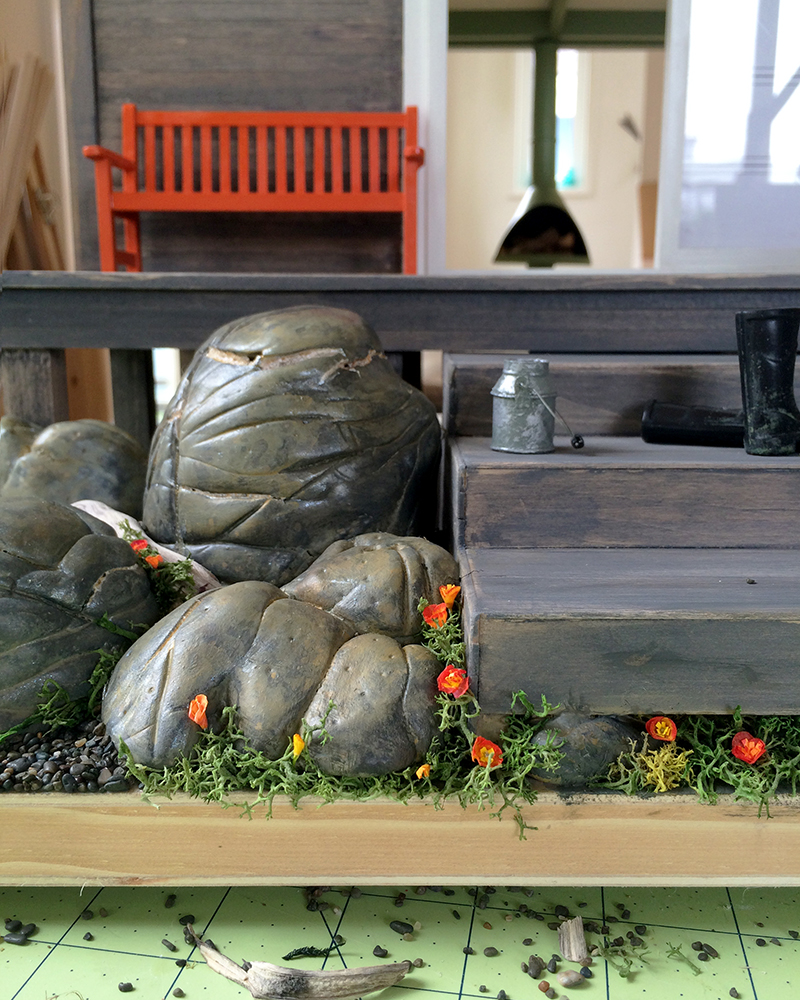
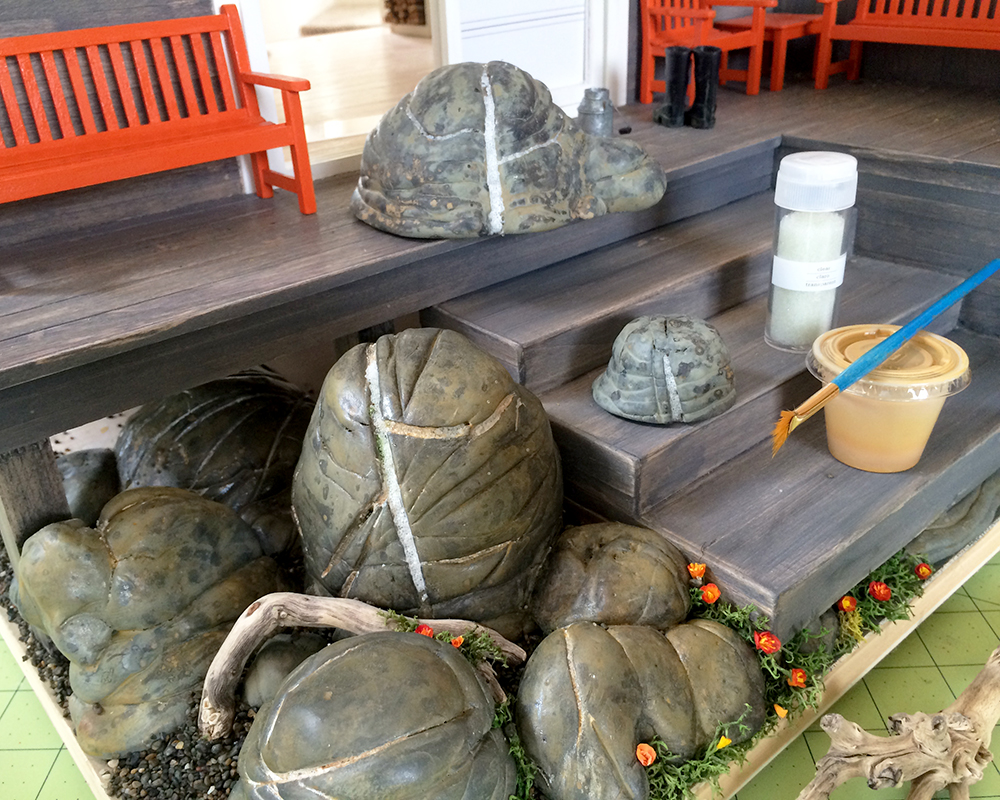
My two-year-old granddaughter was here last weekend, and she is of course very interested in the Sea House Warming Hut. I had moved all the really delicate things out so she can explore and interact with it (supervised). She made sure to close all the windows “so the raccoons don’t come in”. She is a tremendous appreciator of my work :)
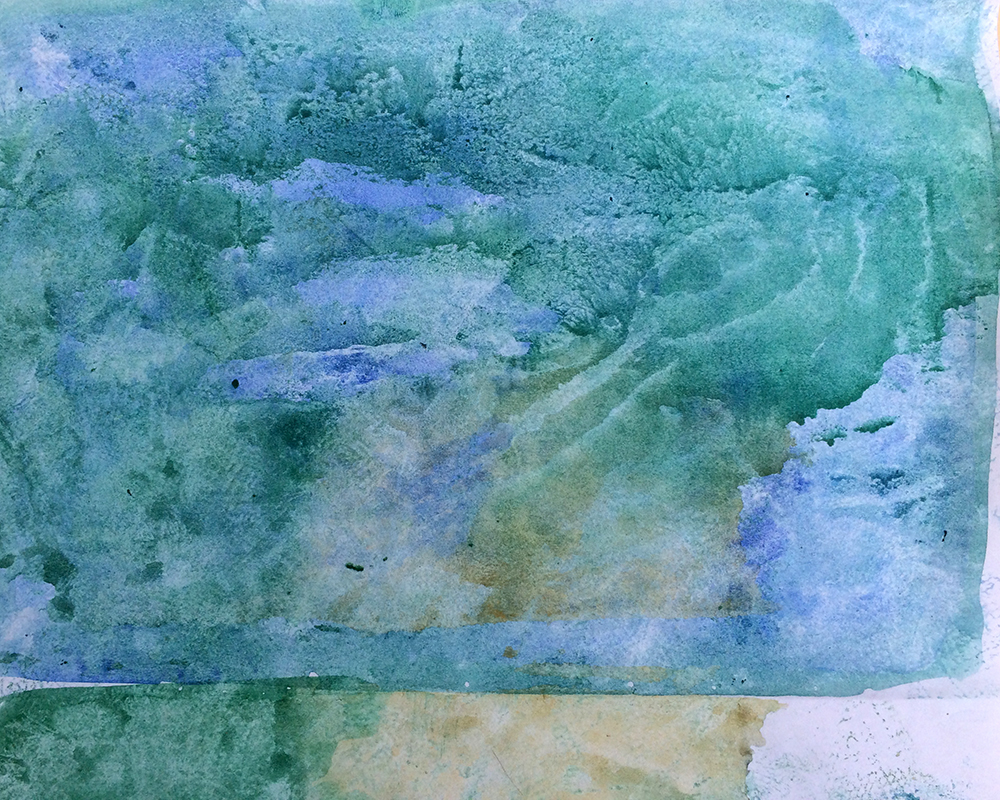
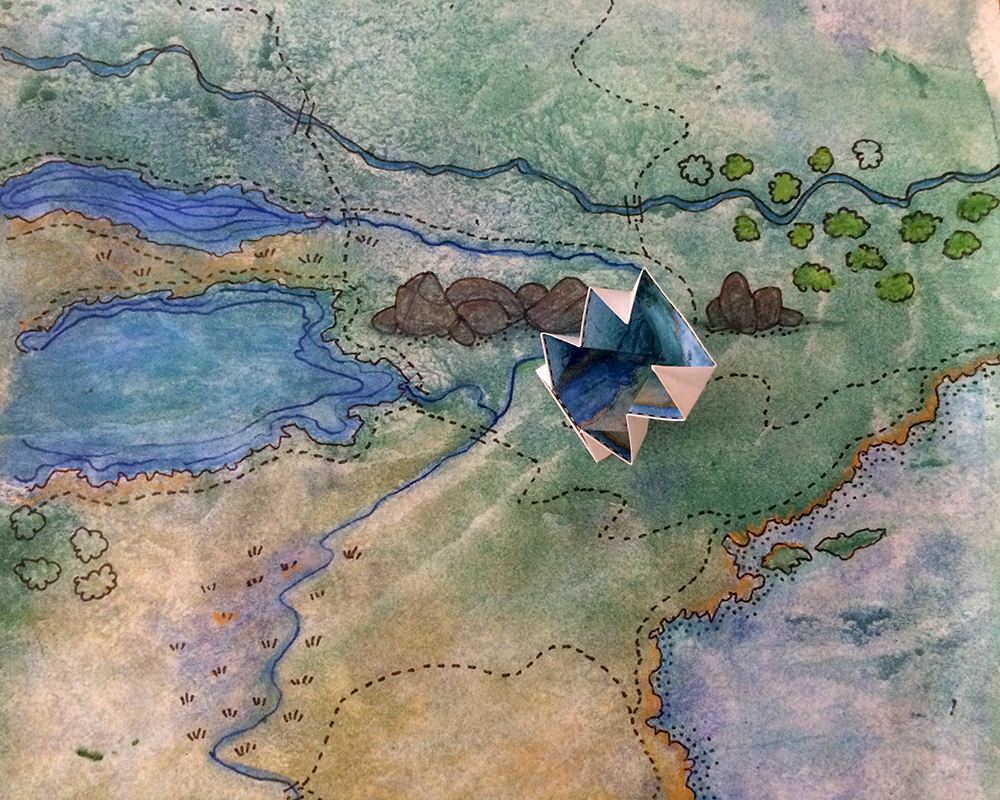
We did painting together. This one turned out to be the base for a trail map of the area I’m working on.
I’m drawing over it with fine tip markers and water color pencils. The little folded jaws-thing is a scaled mockup of the pop-up map it will become (sans cover). I learned this technique from Map Art Lab by Jill K. Berry and Linden McNeilly. It’s a great book; I especially appreciate their List of Resources for Arty Cartographers. Recommend!
I’ll finish the map art in Illustrator, adding names and legends and neat lines.
Realistically, I expect I’ll use a combination of hand-drawn things and copyright-free stuff I glean from the internet and other sources to fill the bookshelves. Because, you know, time.
Finally, and thank you for reading (or skimming) this far, check out my About page. I’ve actually sort of worked on it a teensil, and have added a PO Box to my contact information. Progress!
Sea House Warming Hut: Rocks Again
After a few weeks of realtime gardening, I started back in on the Warming Hut rock foundation. I’m nestling (or is it more like tectonic upthrusting?) my air-dry clay boulders into black sand beach gravel and bits of tiny smooth driftwood. Planting poppies where they might find a scraggly foothold.
And I’m out of poppies again.
I filled the cracks in the clay with veins of “quartz” made from carpenter’s glue and a pearl white matte acrylic. The brightness was toned down with a muddy ochre acrylic wash.
It wasn’t quite as crystalline as I wanted, so I mixed some white glue with clear glass microbeads, and selectively refilled some of the larger fissures. It kind of looked like tiny tapioca pudding, and I really fretted that quartz crystals are not round. Also all the rocks started looking like Jabba the Hutt again, and I was going to have to throw everything away :(
The best tool for smooshing the mixture into the cracks in any semblance of a natural appearance turned out to be, of course, a fingertip, followed by a wet wipe. (More about those later.)
Here you can see the difference between the new crystal mix and the muddy washed-carpenter’s glue and pearl white acrylic veins.
Happily, the white glue did dry clear (just as it always does) and the effect was a little more convincing.
I toned everything down with the muddy ochre wash. I think I’ll glue all the rocks around and under the pilings, and continue adding my beloved Pacifica black beach gravel and pebbles.
And make like 150 more poppies.
Funsy.
Sea House Warming Hut: Living Roof
Moving on to the living roof top, whilst I mull over the rocks. I built a quarter-inch (6.4mm) tall surround and glued it to the roof edges, so it sticks up about an eighth of an inch (3mm) and forms a perimeter. (At first I made it a half-inch tall, but it looked out of scale somehow.) This I painted with a slate grey acrylic, and while still wet, brushed on a darker neutral grey. I stippled metallic silver with a fine 00 dry brush over all, to give it a galvanized look. It blends well with the weathered grey siding (not shown :)
I’m pulling off little clumps of preserved moss in a few different shades, and pressing them into tacky glue. I want to keep the over all profile fairly low, as befits an exposed, windswept rooftop. I thought about “planting” in a pattern, perhaps even rendering the S and H of the Sea House logo,
but am undecided. I’m not really a fan of formal gardens or parterre. Working around the edges of the roof to start keeps my options open. I do want to build a tiny weather station — or at least one of those cup thingies that spin around — and extend the stove pipe up with some sort of bracing and cap. And poppies, growing low among the other plantings, happy little dots of native color.
Meanwhile I just read how Pat and Noel Thomas used dried thyme plants to landscape some of their wondrous builds, and I’ve been curious if lavender leaves will preserve well, so I ordered some silica gel to experiment with. I’ll keep you apprised :)
beginner mind
I keep company with a two-year-old — though not as often as I’d like — and this worksheet was in her cubby when I picked her up from preschool the other day.
Where to begin on how awesome this is?
Blue is her favorite color, so I expect she started her response with that. Observe the variety of her expression, especially the very distinct, staccato marks in the lower right. Those typically come with a lot of force and flair. The rhythm and dynamic articulation, begun in the second and culminating in the fourth form, are both exploratory and concise at once.
With the introspective addition of a bonny spring kelly green, the counterpoint line work defines a new dominion, again both expansive and self-contained.
I could go on, but that would just be silly :)
The point is, someone is telling you, with bold straight lines and dotted guides: this is your name, and how it is “written”.
How will you respond?


