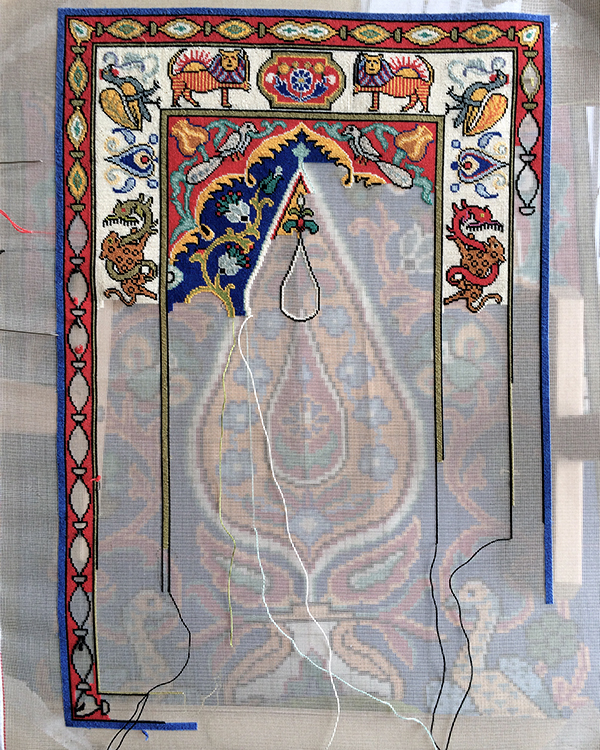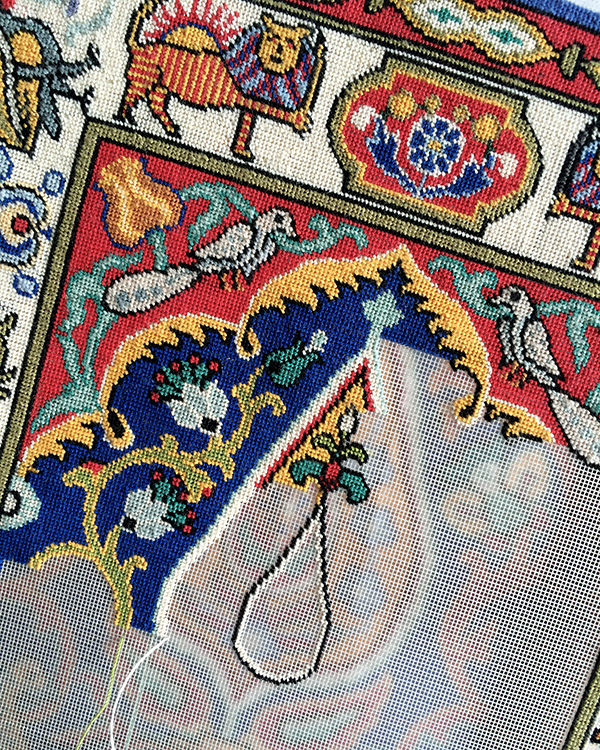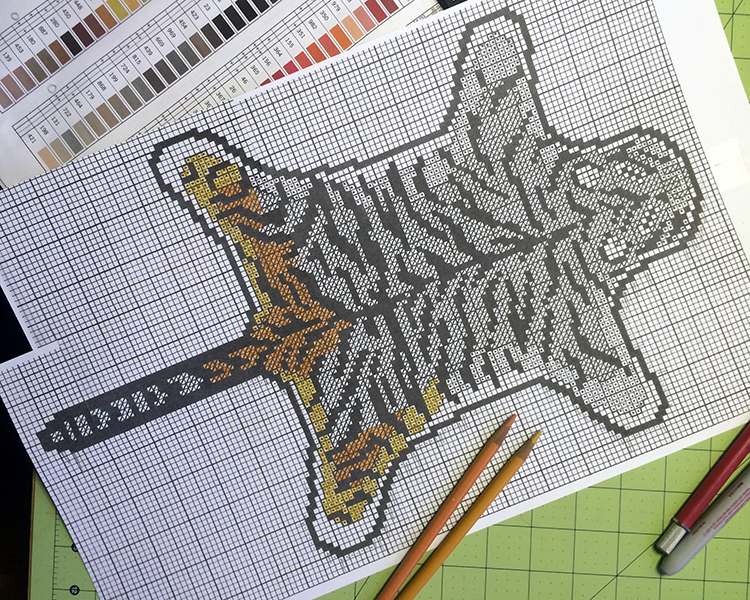
The perimeter is secured
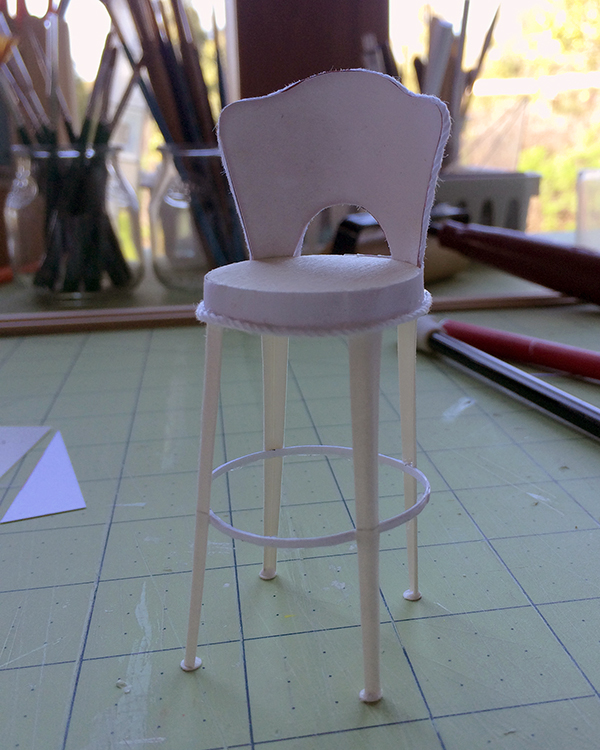
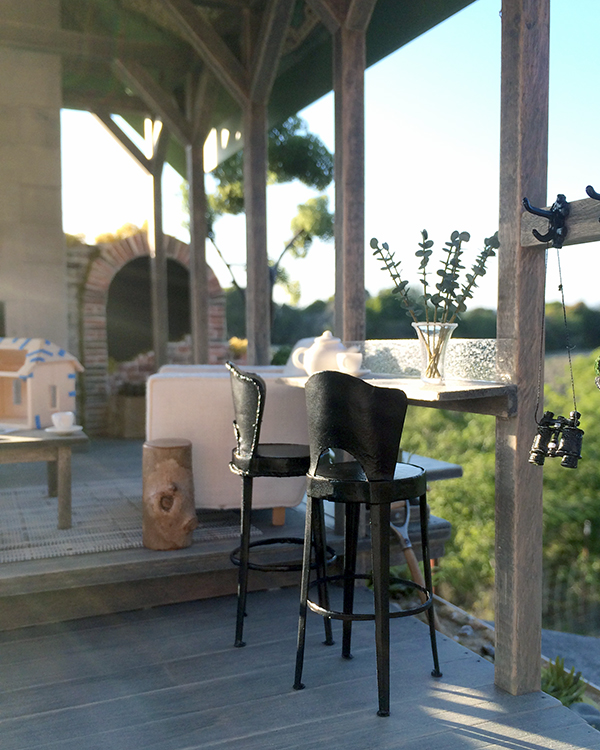
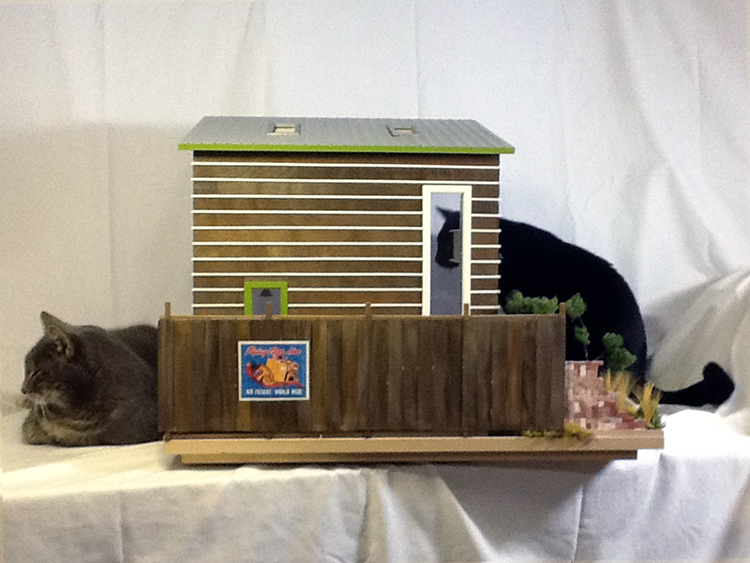
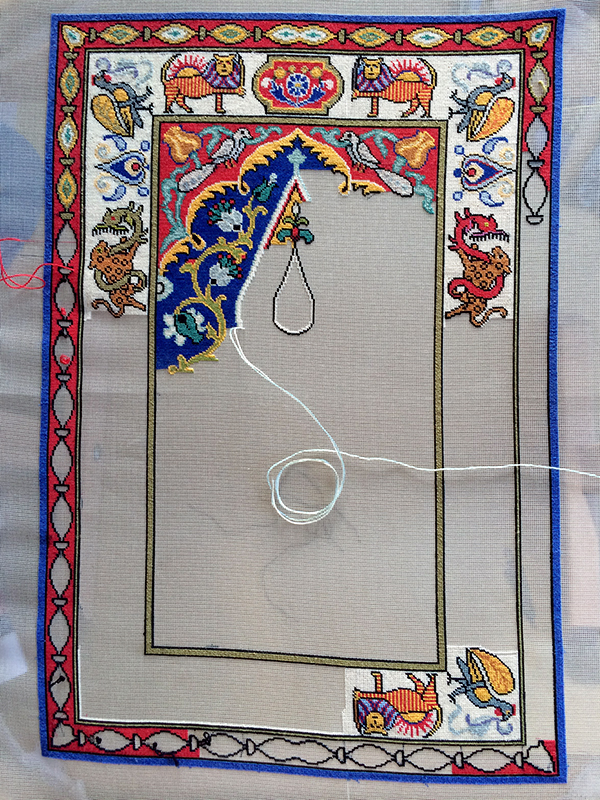
The Animals rug has been my project of choice lately, interspersed with work on the Great Green Room, the new build for the HBS contest, and ongoing additions to the Sea House Pavilion. Miniature needlepoint stitching is tremendously absorbing and satisfying, and I’ve been searching out pattern books from the library and used bookstores.
I got this from the downtown Santa Cruz Friends of the Library bookshop, primarily for the cover:
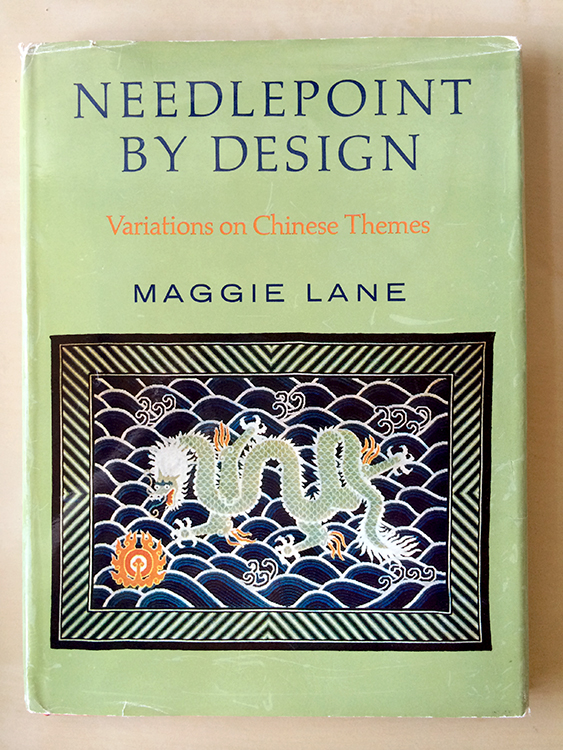
“…a modern breakthrough book in the technique of the ancient, joyful, and beautiful craft of needlepoint.”
from the 1970 foreword by Clare Booth Luce
Needlepoint by Design by Maggie Lane, 1970. As it turns out, the cover design is not included in the book, but there are several other motifs graphed — a fish, a stag beetle, a tortoise, a frog — that I look forward to incorporating in something, some day. Well worth the US$4 price.
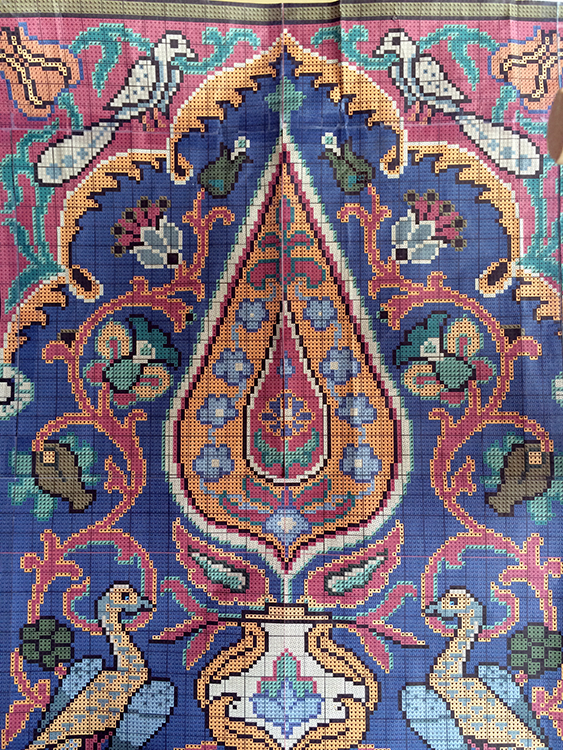
Then there is this, Needlepoint Designs From Oriental Rugs by Grethe Sorensen, published in 1983:

“Perhaps, unencumbered by outer distractions, the mind’s eye turns inward to the world of color, shape and symbolism to which human imagination first awoke.” —Grethe Sorensen, 1981
This book. This book is luscious. There is a great history and discussion of design elements, rich full-page photography, and well-drawn charts. I am daydreaming a simplified version of the cover’s outer border, without the squiggly bits, as part of the next major rug after Animals is done.
Spec’s: 49-count silk gauze, 281 x 398 stitches — well now a bit more (5.75 x 8.125+ inches, 14.57 x 20.63+ cm); DMC cotton and Gütermann silk. Original design by the fabulous Natalia Frank.