Another great tutorial from Kris Compas
I took another break from construction on the Warming Hut to make Kris Comapas’s latest project, a miniature covered cream can. I always learn something new from her! This time it’s how she paints a galvanized finish. It’s like magic.

Tiny cream cans, made from card stock
I left them overnight, for the wood glue she favors to set up.
The next day, I sanded them smoothish, and painted two coats of gray acrylic.
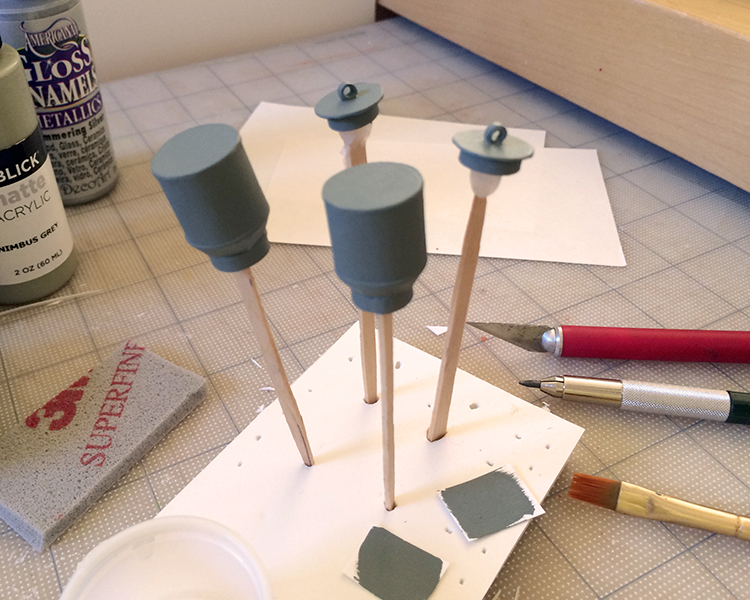
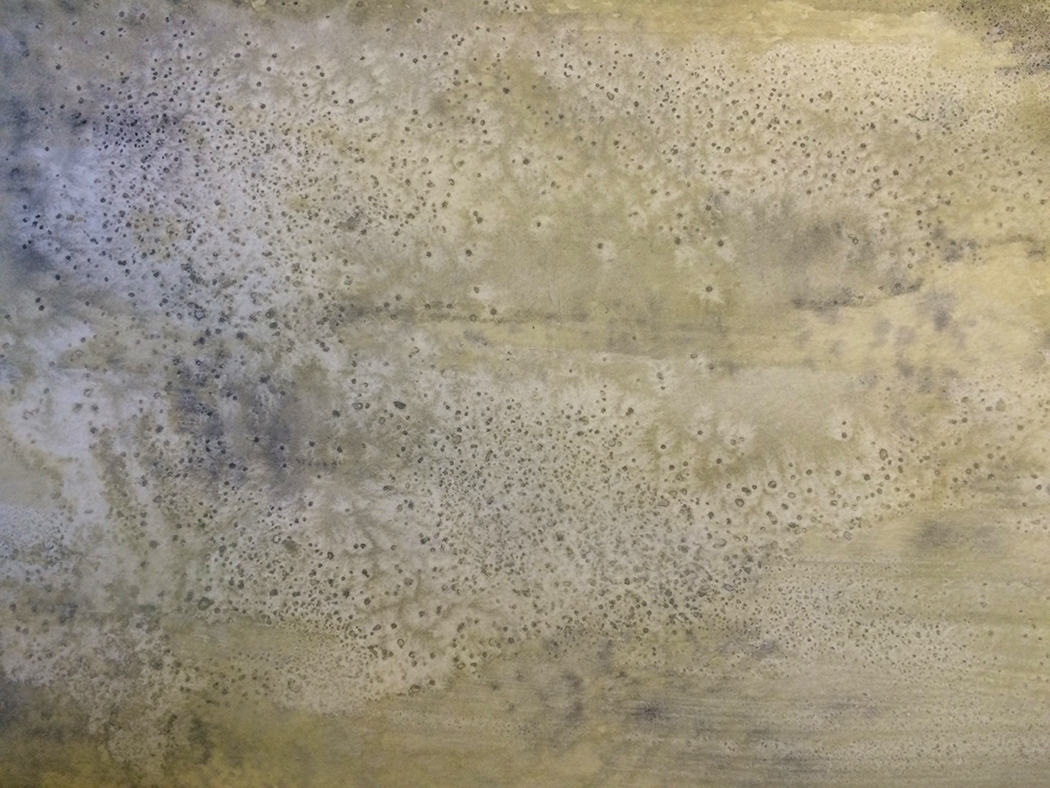
My approximation of galvanized base, a blend of nimbus gray and a touch of lamp black.
Then I got really involved, and didn’t take any more pictures. But that’s OK, because Kris’s tutorials are always very well documented. Also I tried and failed twice to drill a hole lengthwise through a quarter-inch length of toothpick for the wooden handle, so I used a little roll of cardstock painted black to look like a piece of hose.