Courtyard Set

floor

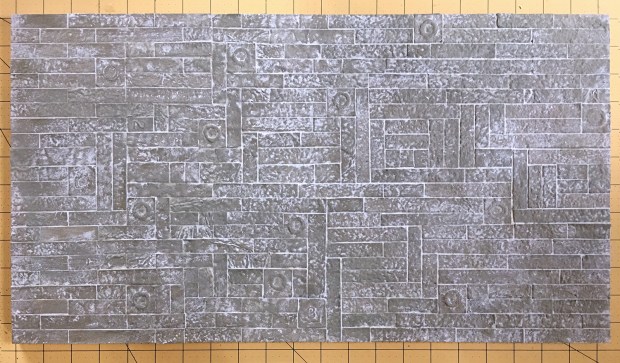
I wanted to build a courtyard set in which to photograph the miniature succulents, and I didn’t want to spend a lot of time doing it. I mulled it over conceptually for a few days, then remembered I had this egg carton paved floor from a few years ago. It had been sealed, so I grouted it with DAP spackle.

end_wall

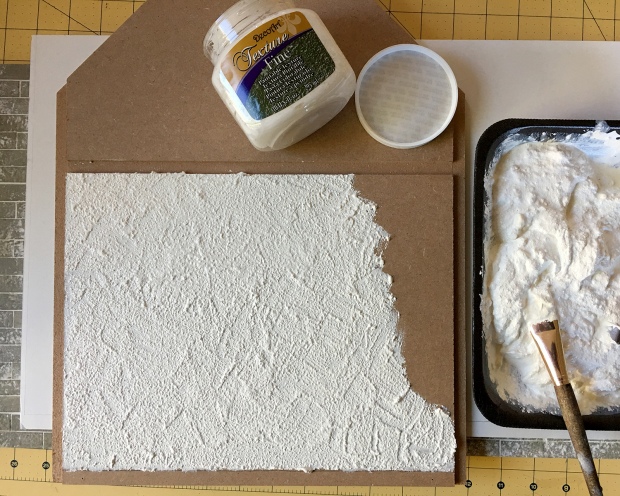
I spent about half a day going through all my MDF scrap, windows, doors and gates, dry-fitting various combinations to fit the floor. And getting frustrated when they inevitably collapsed, as all dry-fits do. All the while sighing with that sinking feeling of I really don’t want to do all the work of cutting, patching, painting, sanding. Then I remembered I didn’t have to, and settled on a peaked end panel from a garage kit, and a length of half-inch foamboard for the long back wall. I mixed up a stucco slurry from some fine texture medium, thinned acrylic paint and a little tacky glue. It was a very enjoyable application :)

drying

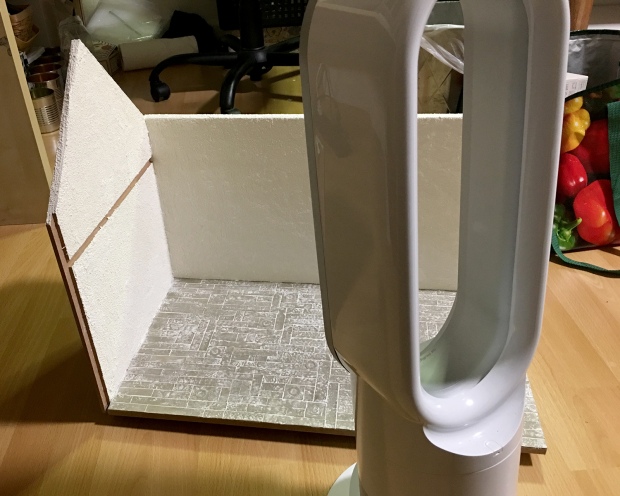
After gluing the pieces together, I put it on the floor in front of my wee-yet-powerful Dyson heater to dry overnight.

done

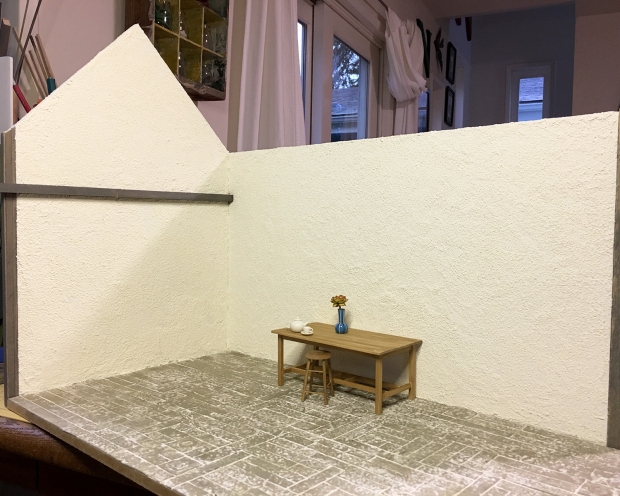
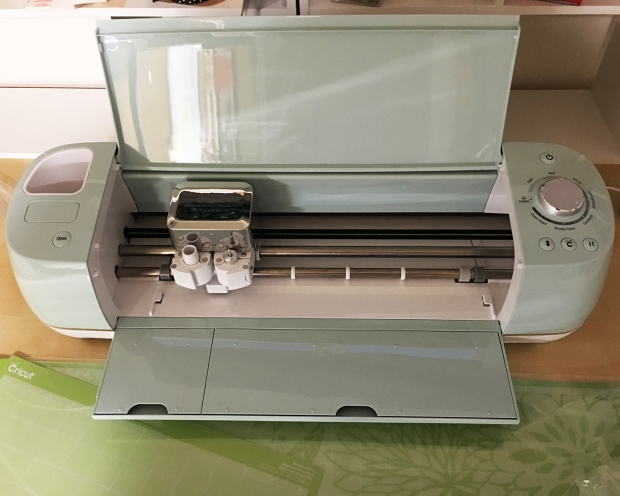
Today I added a few pieces of wood trim — a cross beam and some posts — all stained leftovers from Argo Wool Works, and called it done. Actually, tomorrow I’ll drill some holes and add small nails and dowels for increased stability. Also I’m currently incubating designs for building anchor stars to cut on the Cricut and a few implementations of MMS+S signage :)

deco_vase

Here are some vases that will be available real soon over at Modern Miniature Succulents + Sundries. (These are just my prototype succulents; the actually plants have thinner stems.) Above is a turquoise-glazed porcelain Art Deco vase, about an inch tall.

seahorse_vase

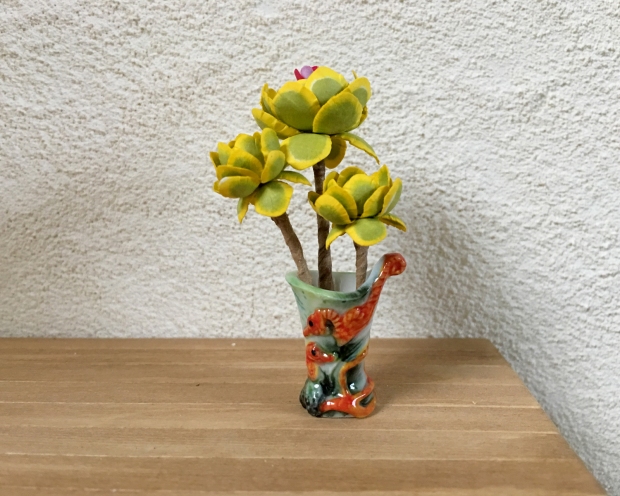
This is a glazed porcelain vase sculpted with cavorting sea horses.

lady_face_vase

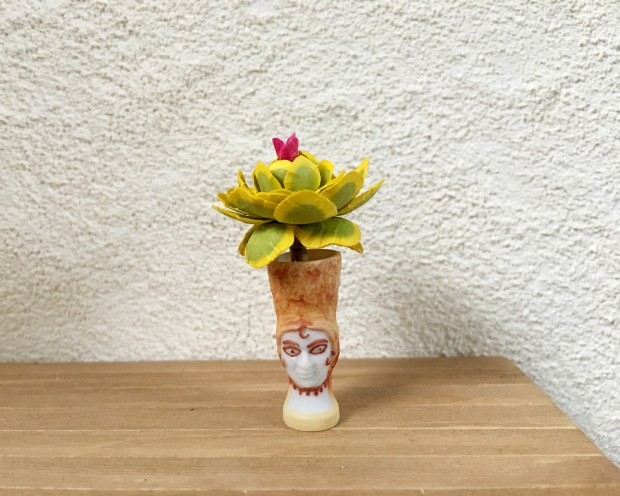
And one of my freaky favorites, a reproduction of an ancient 15th–13th century vase marked Chypre (Cyprus). Fierce! Nasty!

cyrpus_vessel

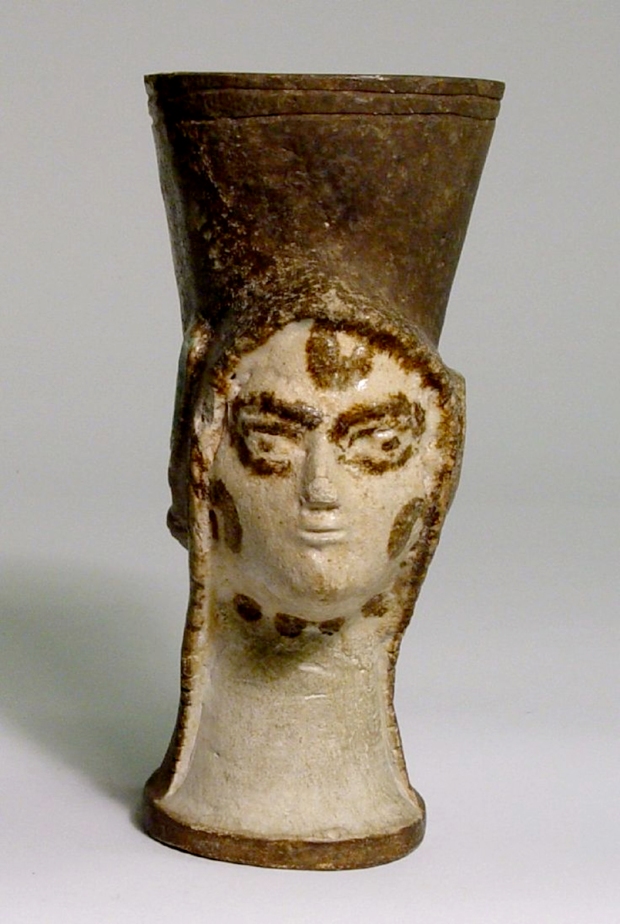
Update: Original vessel is in The British Museum, whose website is impossibly slow, but I found this image on a Pinterest board. “Glazed composition vessel in form of woman’s head. Ancient Cyprus in the British Museum”.
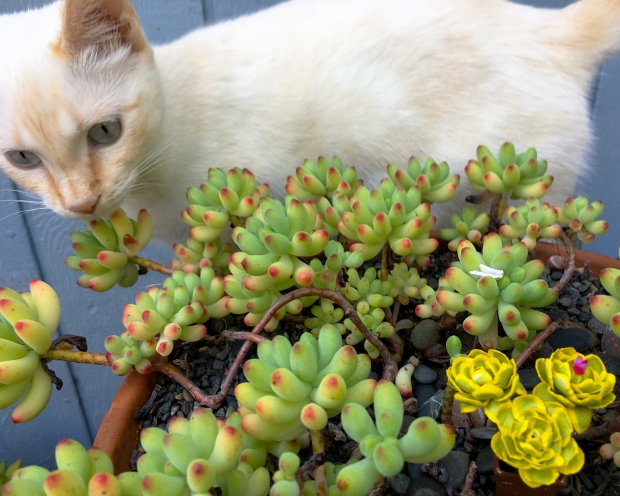
cyprus_zoltar

For you, Pepper.

hens test

hens_holes

Hen and chicks are one of the first succulents I fell in love with, so this design is dear to my heart. And I felt like a right genius because I figured out how to get the machine to cut a hole in each center. It is not an automatic process and involves what Cricut calls “attaching” layers. (The above holes are three points in diameter; I’ve since upped it to four.)

hens_fun_part

This is the fun part. Removing the waste from the sticky mat makes a musical plinking sound that is very satisfying. And as I soon learned and as Nora suggested, it’s far easier to remove the cut shapes after the mat has been “de-sticked” a bit — which seems to happen with use.

hens_shaping

Color test and shaping. The little point on the end of each leaf adds such sweet realism. My inspiration:

live

These guys are in a bit more shade now in my early winter backyard, so they’ve lost most of their edge-leaf color.

hens_proto

Prototype hen. Next up is to draft a smaller-leaved pattern set for the chicks, so we can build happy succulent families. This one is about 5/8-inch (16 mm) across.

hens_storage

And this is how I’m keeping all the very many parts organized and identified. I’ve long kept a stash of these useful little containers from takeout food, but ran out quickly. Dollar store to the rescue! Ten cups with lids/$1. I should probably cost them out in greater quantities :(


Testing

first_test_cut_120116

I drew some succulent patterns in Illustrator and exported them as SVG. The Cricut Design Space, the app the cutter uses, is fairly straight forward and easy to navigate. First cuts! The sticky cutting mat smells like a toxic headache, though.

more_120116

Here’s the first batch. The software arranges the cuts for best use of the material.

shapes_120116

By far the most difficult and tedious task is removing my many, many small shapes from the cutting mat.

stack_120116

A proposed stack. As it turns out, the two 11-leaved pieces don’t work well at all for miniature succulents.

prototype_120116

Here’s a first model and prototype. I’ll need to make some several before I work out the best construction techniques.

12x12_120116

After revising the patterns, I cut a 12 x 12-inch sheet of colored stock. That’s a lot of prying off to do. Best tool I’ve used thus far is a thin, flexible wedge-shaped palette knife. The next thing I want to determine is if the pen can have a broader tip, and can outline the cut line, and hold registration with the cutter. Learning!

New Echeveria Kit in Development

ec01_color_113016
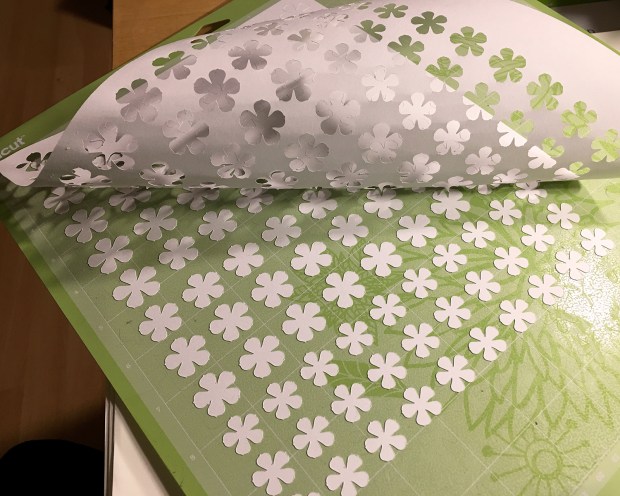
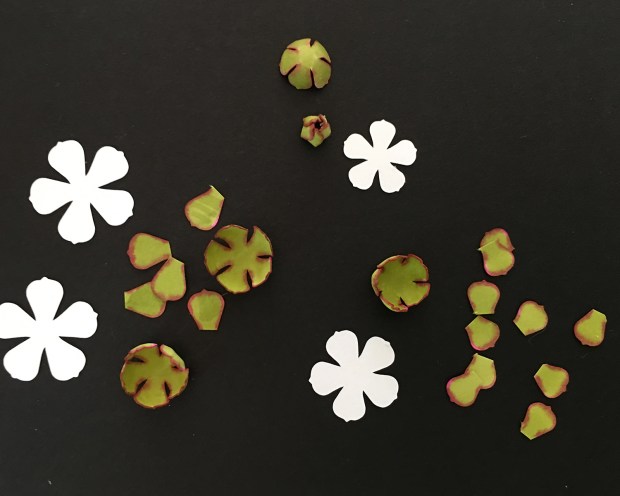
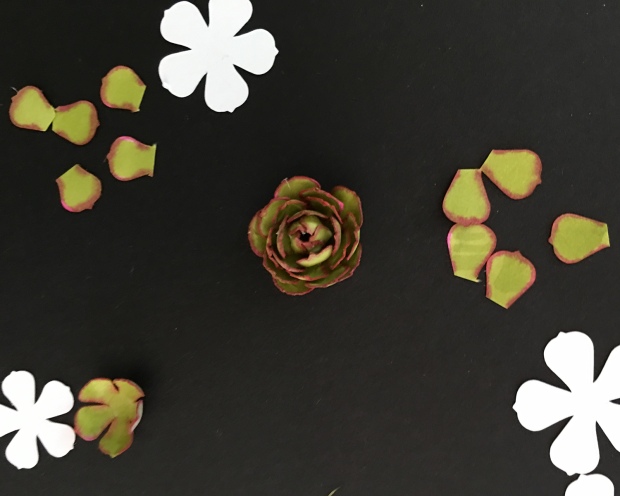
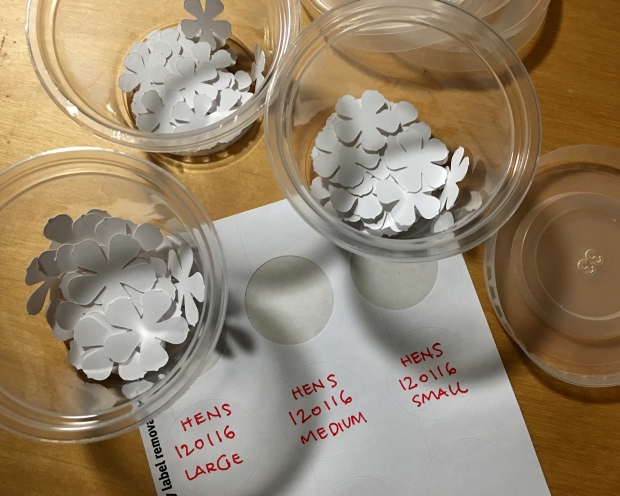
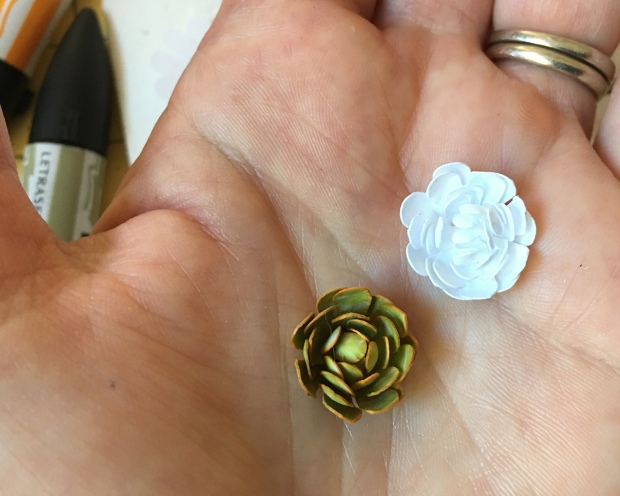
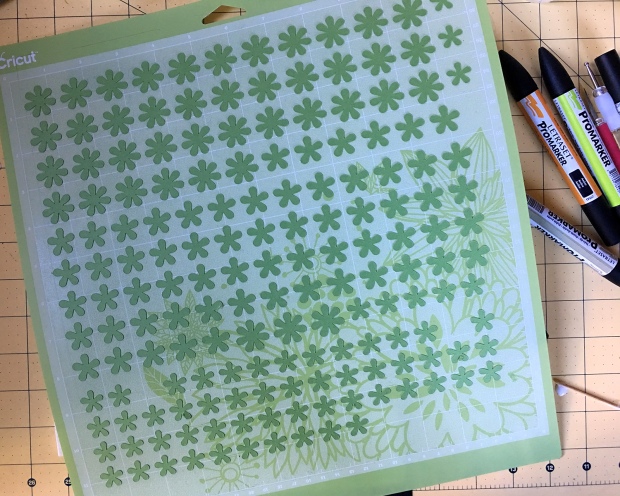
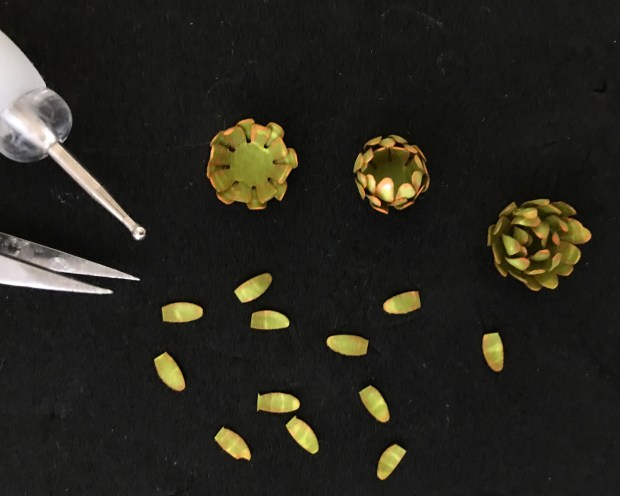
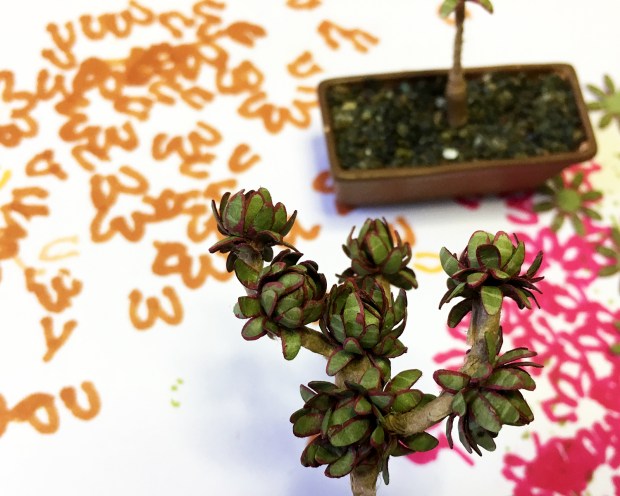
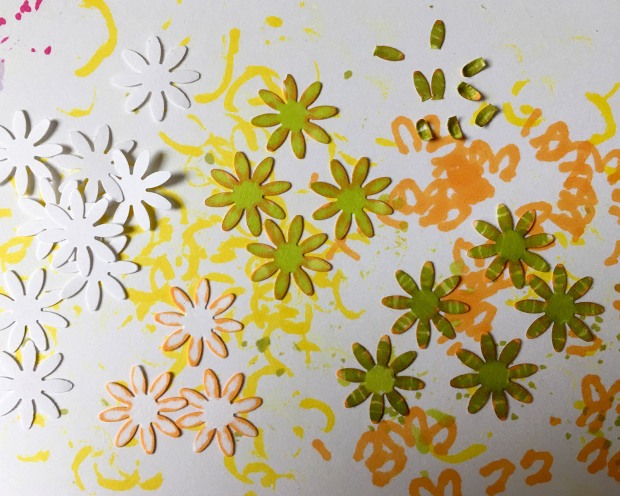
Experimenting with color for a new echeveria kit for
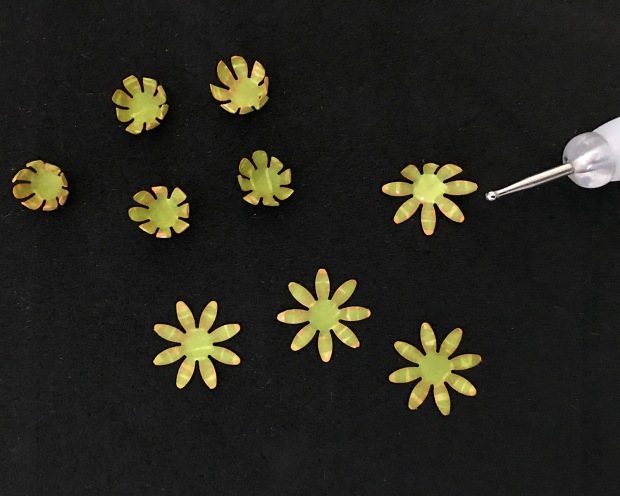
 the shop. This is two shades of green and an orange on white stock.

ec01_shaping_113016

Shaping with a fine point stylus.

ec01_building_13016

Trying out construction techniques and build sequences. This succulent is wonderfully small, just a half-inch (13 mm) in diameter.

houses_blog

The first issue of my newsletter, Cut, Fold + Make, goes out tonight! Look for it in your inbox on the first of each month. Included is a free pattern to make these iconic, and very versatile little paper houses.

arrived_113016

And possibly most exciting of all the things: this just arrived. Let’s get started.


New Kit

scarlett_sv02_112716

Listed another kit in the Etsy shop, a larger, more-specimeny succulent that pairs nicely with SV01. Continued heartfelt gratitude and thanks for your warm wishes and interest. I wish I had like a whole line plan to lay out — and I do! In my head! — instead of this kit-by-kit piecemeal showing. And soon, on offer, completed specimens, in some of the most wonderful containers I’ve ever seen! However. I am learning by doing, and this is bootstrap crafty business making. Rhetorical question: would we have it any other way?

First Listing

sv01_spray

So pleased to announce the first kit is available over at MMS+S. I expect I’ll be making editing tweaks for a while, in between assembling and listing new kits. Potted specimen succulents and sundries coming real soon. Heartfelt thank yous to all who showed interest. Happy making!

S6A

box_112516

Supplies and materials flowing in at a steady rate. Got the next two kits prototyped and spec’d, therefore only needing specimens, photography models, and instructions. Easy-peezey. Mighty progress!

The Argo Wool Works build-in-progress has been moved back up onto the high shelf, to free the work table for kitting, photography and the rest. I’m also putting away the needlepoint frame, and about half a dozen other would-be, want-to-be, once-were projects. Deargod I may even dust.

shelf_112516

So sad.

studio

I’m surprised I get as much done as I do.

b_sharppark_112516

In other news, Brian and I headed out this morning for a beach walk and cleanup. Esplanade had no beach at all because of high surf, so we went to Sharp Park. So very many small bits of styrofoam, plastic bottle caps, straws, and miscellaneous plastic packaging, all washed down to the ocean with the recent rains :(

Still, the waves were booming, and there were many dogs and walkers out. I love the coast in winter.

First Packaging Prototype

first_packaging2_111816

Exciting times here in Nancyland. Been researching and getting in supplies for packaging and shipping, and working on the graphics for labels and such. Need to reshoot two four photos for the first kit instruction sheet, and that’s done. Then do glamour shots and write product descriptions for the Etsy shop, and actually list stuff for sale. Getting good response to the newsletter offering — thank you, thank you — and Volume 01, Issue 01 drops the first of December. Whirlwindy!

Sempervivums

new_color_111516

Another new species of succulent! I’m classifying this one in the sempervivum genus. Also, I’m working towards putting these (and others) into production, as both kits and potted specimens, in my Etsy shop! You can peek through the window here. I’ve been sourcing some great planters and containers for both inside and out, as well as classic terra cotta pots. Wish me focus and follow-through!

shop_icon3_111616

What?! Echeverias, Yes, again

8-petal_110616

I got a new eight-petaled punch, about 5/8-inch (16 mm). It has spawned a whole new genus of succulents. These are punched from a sage green cardstock painted with an acrylic wash. After lengthy fooling around, I prefer detailing each shape with markers.

8-petal-2_110616.jpg

Here’s where my documentation lapses. Profoundly. I call Sunday, North American time change, and very good California champagne.

8-petal-3_110616

I’m really happy with the end result, and will be more mindful to share my steps. It’s basically three punched and shaped forms, and then a lot of individually applied shaped petals. Or leaves, whatever they’re called. This version more closely approximates what I see in parts of my own succulent garden.

This is also where I *really* want to buy a laser cutter, to be able to realistically emulate the considerable varieties of succulents and cacti. What do you think? Anyone else out there enamored of miniature succulents to want to make them in their boundless assortment? Do you know of anyone already making kits?