There are many, many sides of many windows that must be masked, with many small strips of masking tape. But still, the paint will leak.
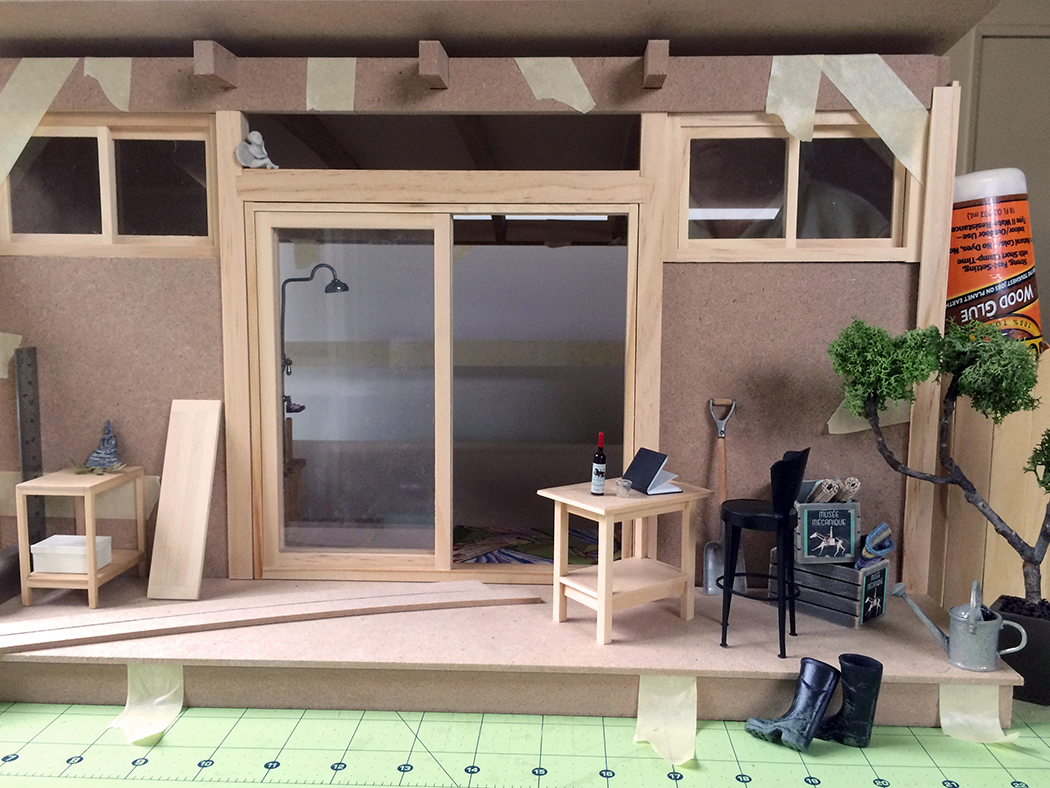
With 90 percent honesty, prepping and painting miniature woodwork is as tedious as prepping and painting their full-size counterparts. For the Sea House Warming Hut, I considered staining all the trim — a mildly less tedious process — using the same Minwax Classic Gray that the exterior cladding will be. Instead, I opted to paint a semigloss “Simply White” for contrast. My impatient paint application suggests the multiple paint layers slapped on over the years in an effort to preserve coastal buildings from salty corrosion.
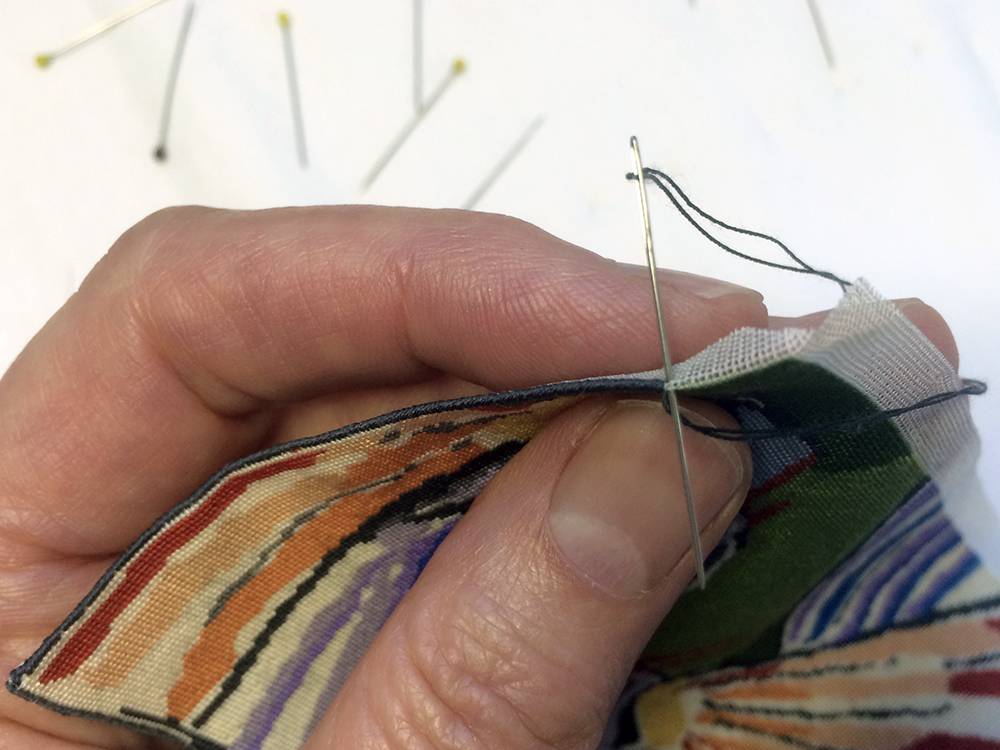
And so I carry on, striving for both mindfulness in the process and the satisfaction that only sanding with tiny squares of 600-grit paper can bring.
Through the unpainted window above you can see the Chrysnbon kit stove I assembled and painted like 300 different colors before returning to matte black, that will heat the hut. Still unsure if I’ll use it. I’m rather taken with this modern “Shaker” stove, designed by Antonio Citterio with Toan Nguyen in 2006. I think it would translate to 1:12 scale beautifully, and be fun to build.
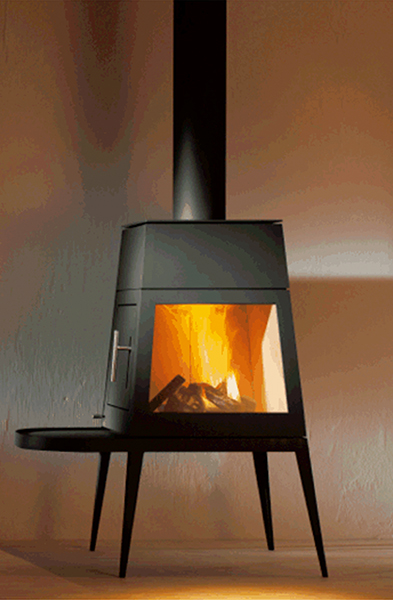
Shaker wood burning stove/fireplace, designed by Antonio Citterio with Toan Nguyen. Beauty.
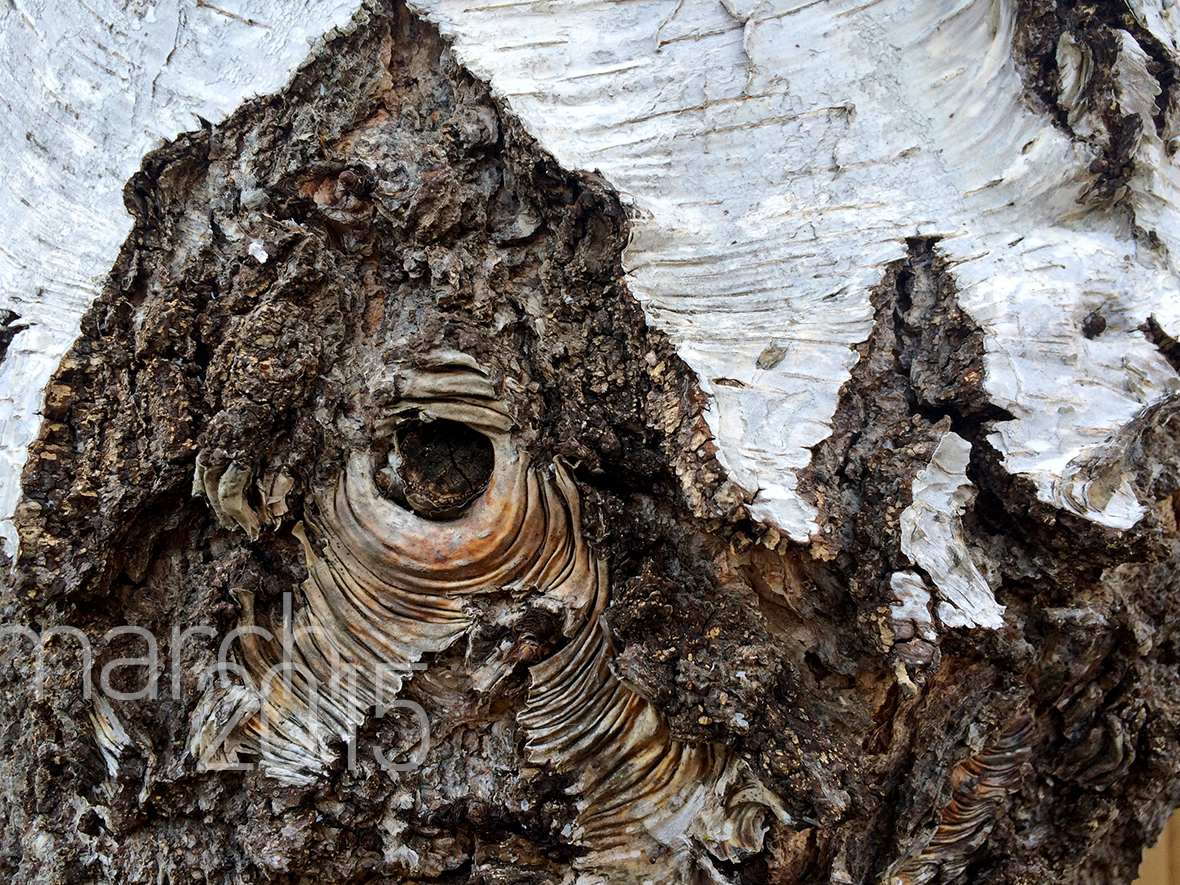
Finally, this is the unobscured featured image for March on this site’s landing page. It’s a birch tree in Soquel, California that wants to see you.
Until next time, when the paint is dry, and ready to be sanded, then painted. And sanded.