Sea House Warming Hut Secure

Something was bothering me.

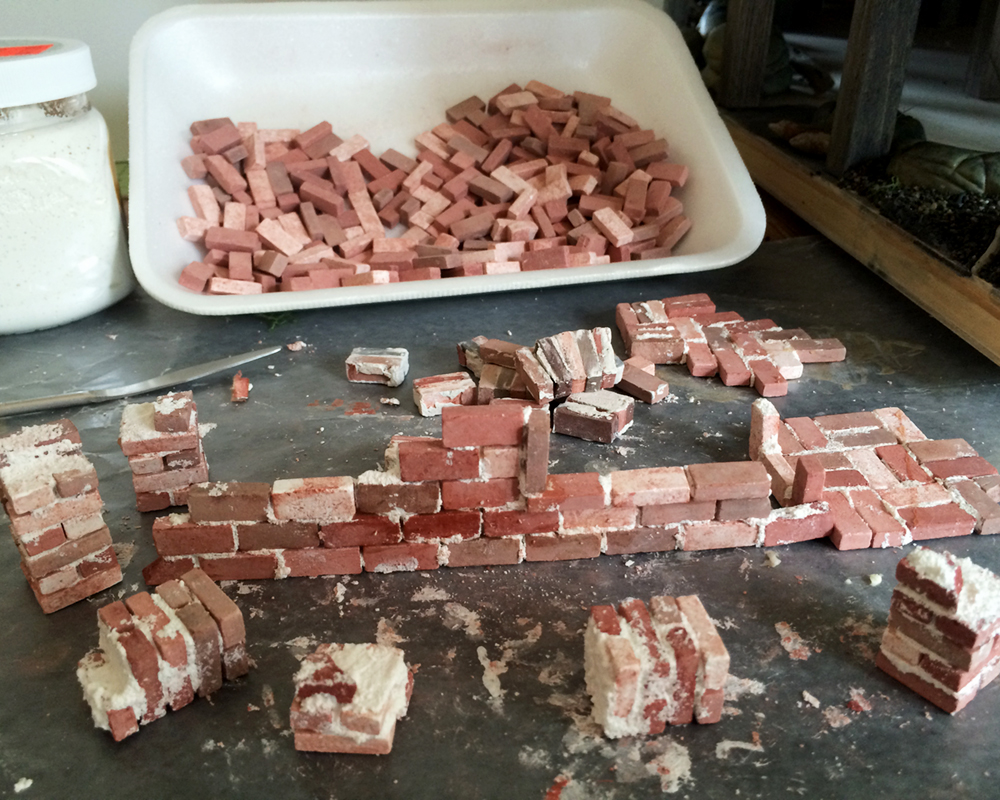
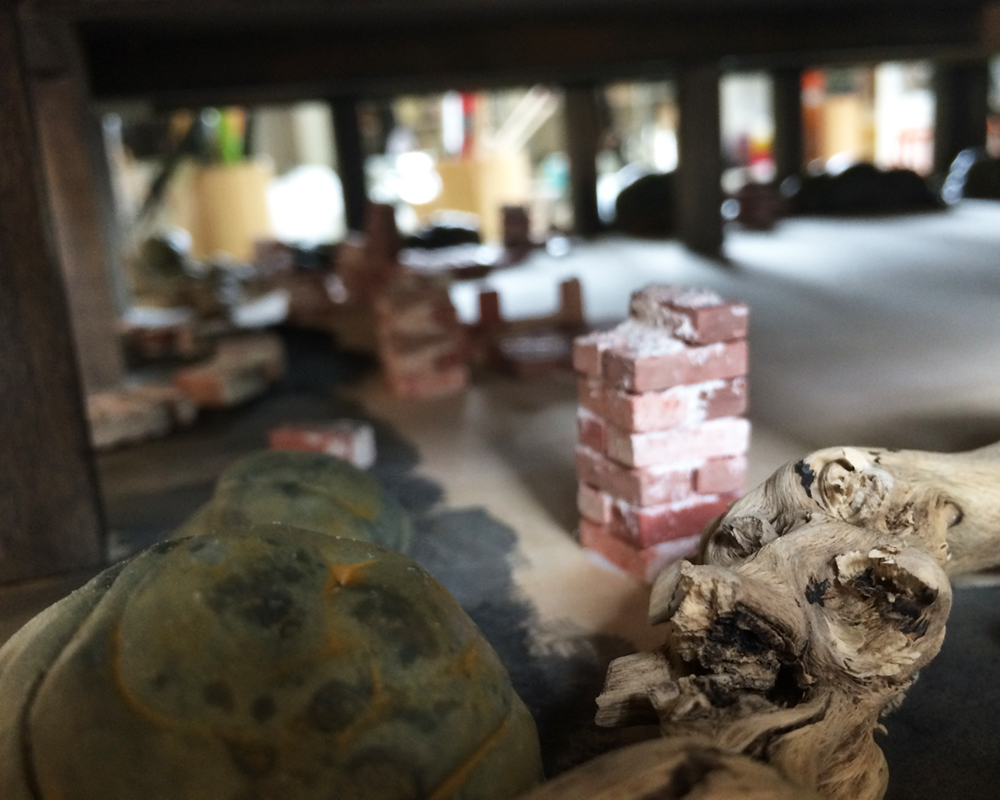
Backstory: The Sea House Warming Hut is situated on a rocky coastal bluff, in seismically active Northern California. Although it has a new post-and-pier base (built over the evocative remains of an unreinforced brick masonry foundation), I doubted that the wood glue used (miniature code for imaginary construction screws and nails) would keep it from sliding over the cliff in the event of a temblor.

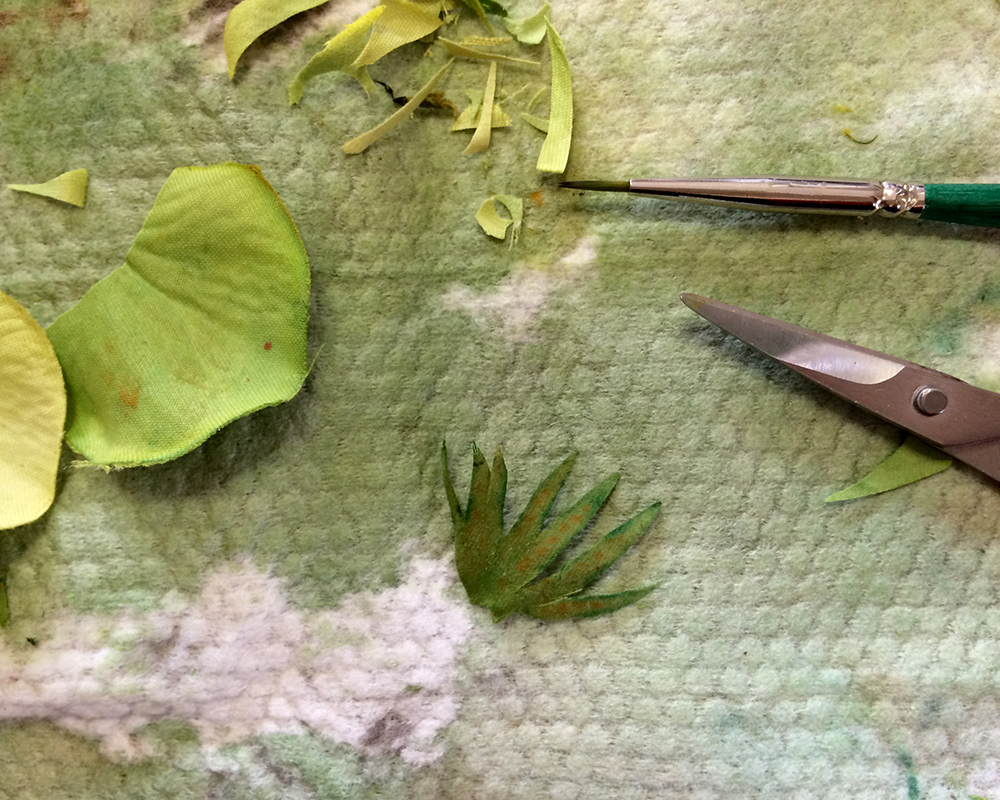
So I set about making brackets and bolts.

www.nancyland.com

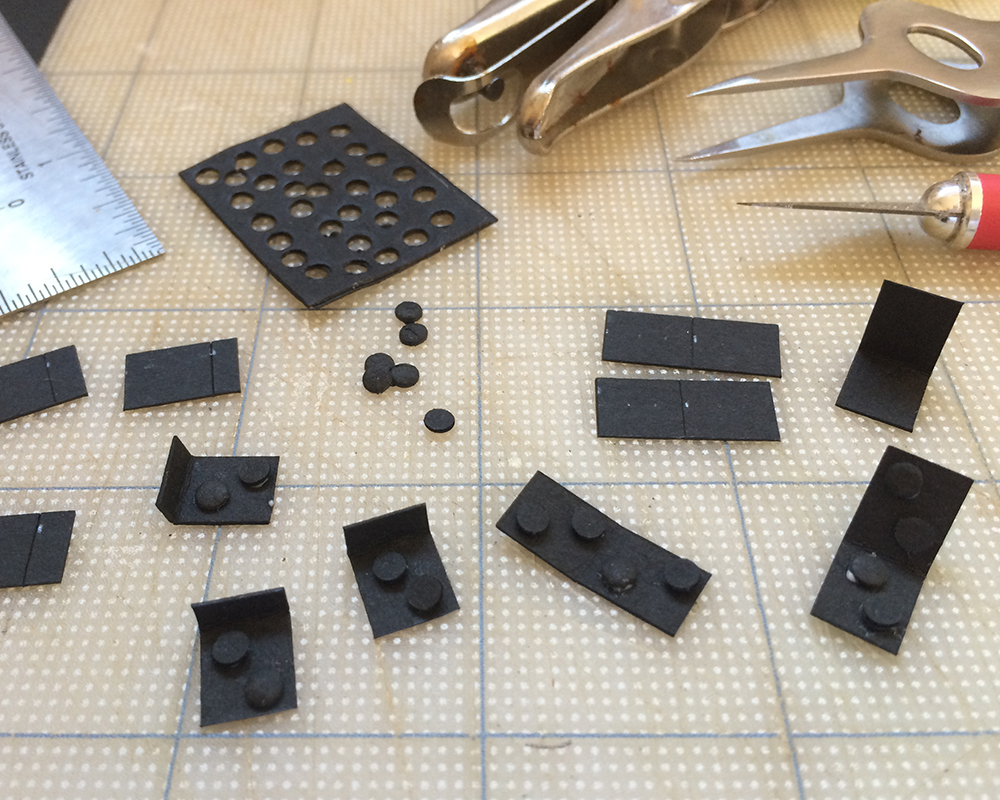
From cover weight solid-core black paper (think: powder-coated steel), I cut  5/16-inch (10 mm) wide strips, which were scored and trimmed to form the various styles of structure-saving brackets. And from a doubled thickness of the black paper I punched 1/16-inch (2 mm) circles to serve as bolts. These were glued in place with tiny dots of tacky glue.

www.nancyland.com

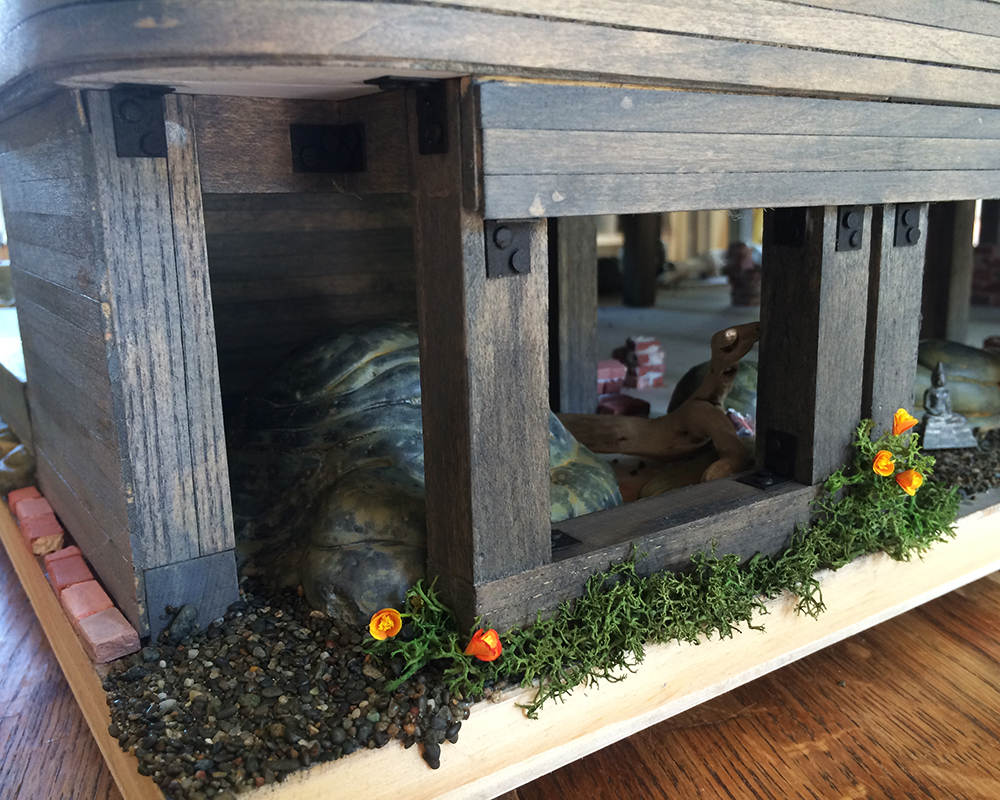
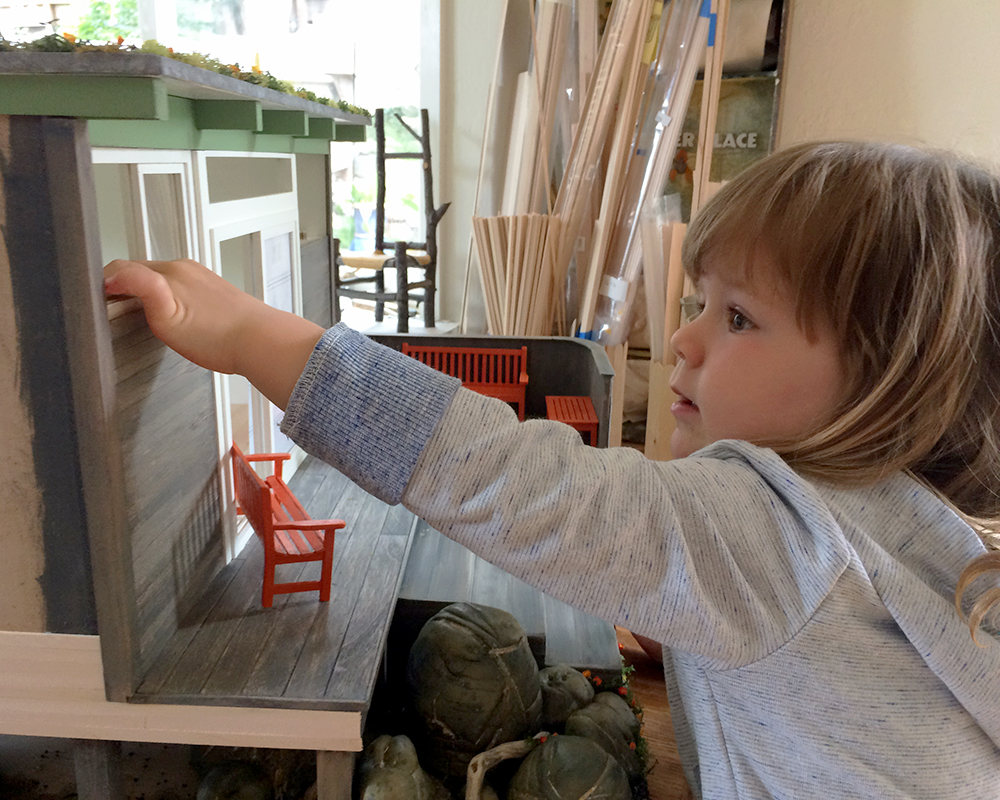
The bracket assemblies are secured to the structure in all the proper places. I am not even going to count how many more I need to make. Because now our little hut is secure on its cliffside, and we can all breathe deep sighs of relief and well-being. Please, enjoy your day. Maybe stop by for an iced tea or Pimm’s Cup?

Argh! I just realized I’m going to have to retrofit the Sea House Pavilion and Loft 1961 too. Gah.

Sea House Warming Hut: As above, so below

www.nancyland.com

I visited one of the Warming Hut muses today: the living roof atop the California Academy of Sciences in Golden Gate Park.

It is a wonderland.

www.nancyland.com

Those are whale bones drying in the sun, and views of San Francisco neighborhoods to the south.

The biggest revelation was what to do with the Warming Hut roof, in my ambiguous quest to add visual interest.

www.nancyland.com

Criss-crossing the Cal Academy roof’s seven hills is a grid work of stones contained in wire mesh, like ley lines, to facilitate drainage.

www.nancyland.com

They create a subtle framework, and could translate to 1:12 scale splendidly. I am so happy to have my answer!

Meanwhile, I’ve been building out the terrain under the the hut.

www.nancyland.com

In addition to the air-dry clay boulders, tiny driftwood logs and beach gravel, I’m adding some scrumbly old brick foundations. They’ll be only mildly visible, but will add some mystery + history :)

And, it ties the Warming Hut to the Sea House Pavilion, which was staged against some brick ruins.

I’ve learned to do mortar a little better since then :)

www.nancyland.com

The ruins of old brick buildings adjacent the Sea House Pavilion

Here’s the wee brick skunk works:

www.nancyland.com

And one final work-in-progress mood shot:

www.nancyland.com

Because I love the combination of gnarly real and simulacrum.

Input

www.nancyland.com

Madeline (age: 2) came to visit and give her feedback on the Sea House Warming Hut. So gratifying to see her interact with the build and components. Her most enduring source of fascination, beyond the opening and closing windows and slider? And moving the deck furniture indoors and out? And loading the firewood into the stove? And watering the poppies with the miniature watering can?

How it was that the beach gravel was glued in place.

Draw your own conclusions, but never underestimate the apparently simple magics.

Sea House Warming Hut: Rocks Again

www.nancyland.com

After a few weeks of realtime gardening, I started back in on the Warming Hut rock foundation. I’m nestling (or is it more like tectonic upthrusting?) my air-dry clay boulders into black sand beach gravel and bits of tiny smooth driftwood. Planting poppies where they might find a scraggly foothold.

And I’m out of poppies again.

I filled the cracks in the clay with veins of “quartz” made from carpenter’s glue and a pearl white matte acrylic. The brightness was toned down with a muddy ochre acrylic wash.

It wasn’t quite as crystalline as I wanted, so I mixed some white glue with clear glass microbeads, and selectively refilled some of the larger fissures. It kind of looked like tiny tapioca pudding, and I really fretted that quartz crystals are not round. Also all the rocks started looking like Jabba the Hutt again, and I was going to have to throw everything away :(

www.nancyland.com

The best tool for smooshing the mixture into the cracks in any semblance of a natural appearance turned out to be, of course, a fingertip, followed by a wet wipe. (More about those later.)

Here you can see the difference between the new crystal mix and the muddy washed-carpenter’s glue and pearl white acrylic veins.

www.nancyland.com

Happily, the white glue did dry clear (just as it always does) and the effect was a little more convincing.

www.nancyland.com

I toned everything down with the muddy ochre wash. I think I’ll glue all the rocks around and under the pilings, and continue adding my beloved Pacifica black beach gravel and pebbles.

And make like 150 more poppies.

www.nancyland.com

Funsy.

Sea House Warming Hut: How does your rooftop grow?

www.nancyland.com

The rooftop perimeter is established, and I’m still considering what, if anything, the interior might contain as a “feature”. Miniamalist me thinks more of the same: low-growing poppies, random clumps of wild grass (from Woodland Scenics www.scenearama.com), dried thyme clumps, the odd cut-silk succulent nestled in amongst the preserved moss.

Mosaicist me is visualizing the Sea House logo done in tiny granite tiles, for the pinpointing of passing pilots, while Gratuitous Decorator me thinks a simple checkerboard of square pavers might add some flair.

As for the California poppies, I’ve made 31 so far. Maybe 200 more to go?! I’ve graduated from the lovely, convenient kit to crafting from scratch, using crepe paper for the petals and 30-guage thread-wrapped bead wire for the stems (what I had on hand). At first I painted the paper with watercolor, but finally arrived at *blush* using Sharpie markers as a best solution.

www.nancyland.com

I punch 3/16-inch (5mm) circles from ivory crepe, then dab colors on the four petals that make each poppy. The centers are made from a thin strip of printer paper colored yellow, snipped into a very fine fringe and rolled around the top of the stem wire. These four Sharpies are giving me all the tints I need, as they saturate and bleed on the crepe paper and thread-wrapped wire beautifully. Who knew?

Sea House Warming Hut: The Living Roof grows

www.nancyland.com

Preserved moss, painted cut silk succulents, a paper poppy, real thyme sprigs. Oh, and maybe a few tufts of dried grass. A lot of glue. Moss is sproingy.

www.nancyland.com

My palette of watercolors.

www.nancyland.com

Wee dotted faux succulent-type plant form. Still fooling around.

I seem to have used up most of my “good” moss clumps foliating the trees and bushes of the Sea House Pavilion, leaving mostly weird stems and sad tendrils. Not ideal for this roof.

Yay for 40% discount coupons at Michael’s.

Sea House Warming Hut: Living Roof

www.nancyland.com Moving on to the living roof top, whilst I mull over the rocks. I built a quarter-inch (6.4mm) tall surround and glued it to the roof edges, so it sticks up about an eighth of an inch (3mm) and forms a perimeter. (At first I made it a half-inch tall, but it looked out of scale somehow.) This I painted with a slate grey acrylic, and while still wet, brushed on a darker neutral grey. I stippled metallic silver with a fine 00 dry brush over all, to give it a galvanized look. It blends well with the weathered grey siding (not shown :)

I’m pulling off little clumps of preserved moss in a few different shades, and pressing them into tacky glue. I want to keep the over all profile fairly low, as befits an exposed, windswept rooftop. I thought about “planting” in a pattern, perhaps even rendering the S and H of the Sea House logo, Sea House Warming Hut nancyland.com but am undecided. I’m not really a fan of formal gardens or parterre. Working around the edges of the roof to start keeps my options open. I do want to build a tiny weather station — or at least one of those cup thingies that spin around — and extend the stove pipe up with some sort of bracing and cap. And poppies, growing low among the other plantings, happy little dots of native color.

Meanwhile I just read how Pat and Noel Thomas used dried thyme plants to landscape some of their wondrous builds, and I’ve been curious if lavender leaves will preserve well, so I ordered some silica gel to experiment with. I’ll keep you apprised :)

Sea House Warming Hut: Ferns and Rocks

www.nancyland.com

Constructed a pair of wee potted ferns with the laser-cut leaf set from The Miniature Garden (made by Jeannetta Kendall) that I had painted last week. These are in scant half-inch (12 mm) clay pots, topped with a very fine Earl Grey tea :) The root structure is formed with torn pieces of thin rice paper, bundling groups of two or three fronds. The one on the right is still drying before I can shape it.

Then there were the rocks.

www.nancyland.com

Here you can see my palette of washes. I painted in successive layers, with the darkest last, knowing I would rub most of it off. I had high hopes for the salt-on-wet-paint technique.

www.nancyland.com

Regrettably, it worked less well than I had envisioned. They kind of look like unwell alien sea mammals (that’s a thing around here).

And then it was my husband’s birthday and work deadlines and houseguests and sick baby girls and a cocktail party and a long weekend… and so the rocks languish in limbo fugue until I have the creative problem-solving state of mind to assess what wants to be done with them.

Also, Grimm.

Sea House Warming Hut proceeding

www.nancyland.com

I filled in the rest of the siding. Ran out of quarter-inch stock before reaching the roof trim, so I cut down some wider boards. The top row on the railing curve split along the uneven grain when I was trimming it to height :(
Hoping the railing top and stain will hide the gap.

www.nancyland.com

Here is the siding stained, with the half-inch wide top railing glued on. I used two lengths of strip wood for the straight parts, then etched the shape of the curve on paper (like gravestone rubbings) and cut it from 1/16-inch stock. It overhangs the railing a bit on either side.

www.nancyland.com

Railing top joints and edges sanded smooth, and stained. You can also see the paper templates drawn in Illustrator taped to the slider window to guide placement of the cross bars. I’m slacking on painting trim once again.

But, the rocks have been calling to me.

www.nancyland.com

I’m using acrylic paint, matte gel medium and water for a second glaze of medium warms and one cool tone. I got into all the dry crack crevasses with color, so the “granite” veins will (hopefully) look organic.

Switching to water color, I painted the undersides of these laser-cut fern leaves. I think these will be for indoor plants, to help the air quality in the wood-fired warming hut interior. In the language of flowers, ferns bring magic, fascination, shelter and confidence. We could all enjoy more than a bit of those qualities.

www.nancyland.com

deck extension cladding

www.nancyland.com

I found a circular form with a similar radius to the deck extension curve. I soaked the quarter-inch stock in a thermos of water, then pressed it around the form, securing it with wide rubber bands and tape.

www.nancyland.com

The wall is three inches tall, so that’s 12 lengths of quarter-inch stock.

www.nancyland.com

Here are the first four courses.

www.nancyland.com

And the subsequent ones. One of the boards cracked at the curve, so I need to soak and form the final course… tomorrow. The rest of the wall is a great opportunity to utilize the many lengths of quarter-inch siding I have piling up on my table.

I wonder if an actual woodworker cringes at the imprecision of my efforts as much as I as do, say, when encountering bad typography.